

Table of Contents Show
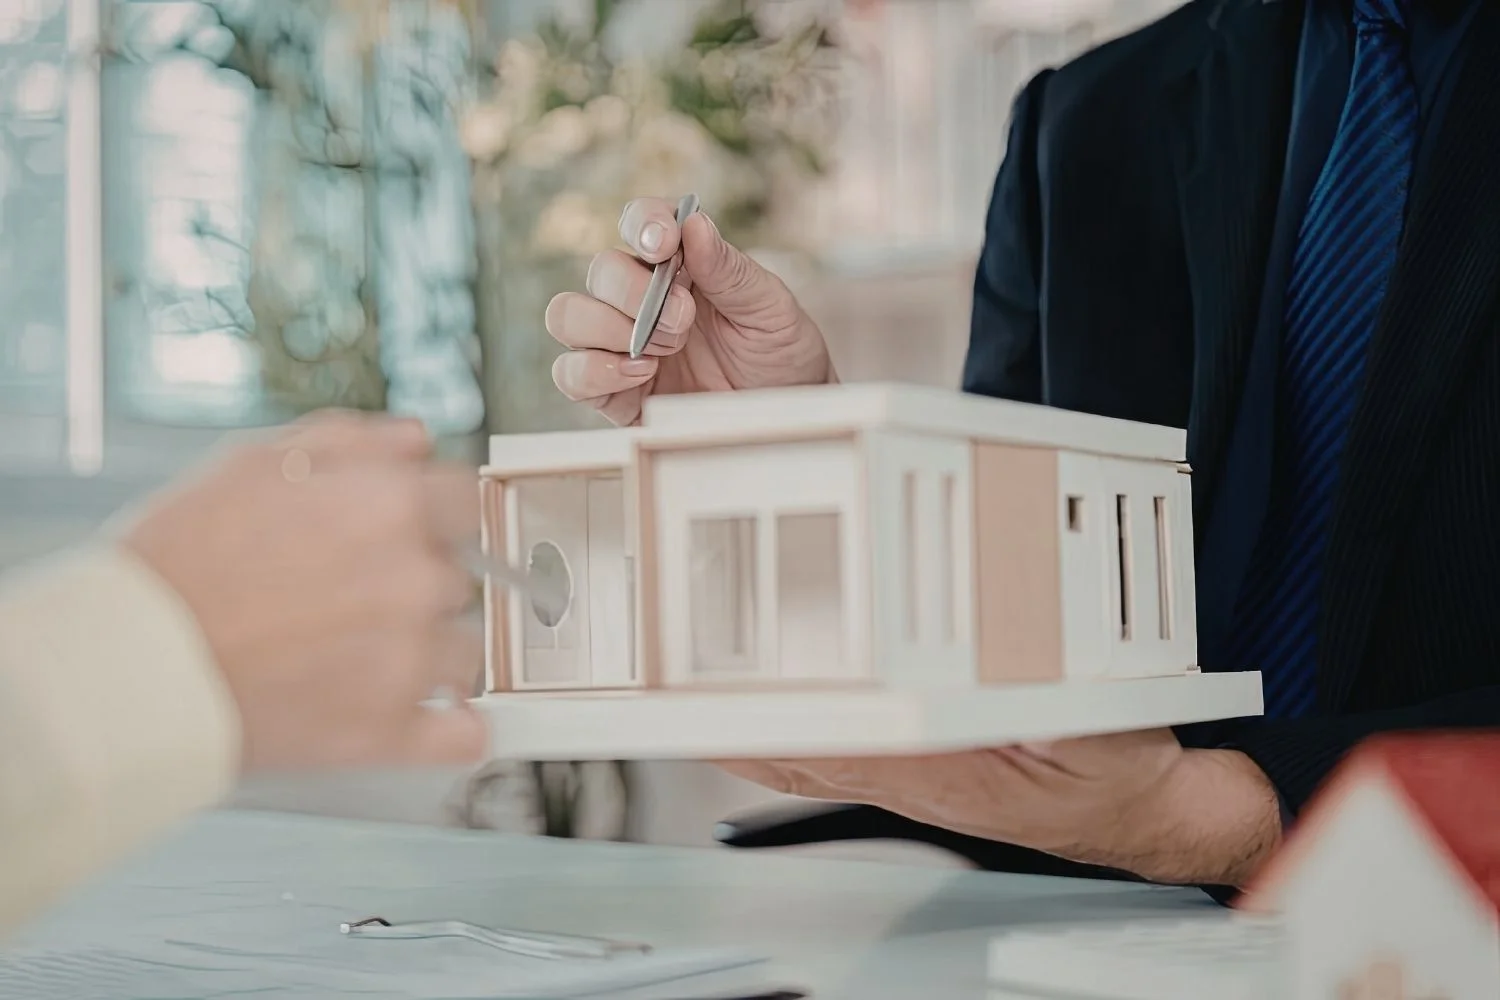
3D architectural model making is the process of building physical, scaled replicas of buildings and spaces using everyday materials like foam board, balsa wood, cardboard, and clay. These hands-on models help architects and students test design ideas, study light and shadow, and present proposals to clients or professors in a way that screens simply cannot replicate.
Physical models remain a core part of architectural concept development for good reason. They force you to think in three dimensions, confront structural problems early, and communicate spatial relationships with a clarity that flat drawings often miss. But material costs can add up fast, especially for students working through multiple design iterations in a single semester. The good news? You do not need expensive supplies to build effective models. The seven materials below are easy to source, budget-friendly, and proven across studios worldwide.
Foam Board for Clean, Crisp Architectural Models
Foam board is the workhorse of architectural model making. It consists of a rigid polystyrene foam core sandwiched between two smooth paper or card layers, and it produces sharp edges and clean corners that photograph well. Most architecture students reach for foam board first because it cuts easily with a fresh blade, holds glue reliably, and comes in thicknesses from 3 mm to 10 mm.
You can find foam board at any major art supply store, including Blick Art Materials, Hobby Lobby, and local stationery shops. Online retailers like Amazon and Jackson’s Art Supplies carry bulk packs that bring the per-sheet price down significantly. For quick volume studies and early-stage massing models, standard white foam board at 5 mm thickness is the most versatile choice.
💡 Pro Tip
Always use a fresh blade when cutting foam board. A dull blade tears the paper face and crushes the foam core, leaving ragged edges that ruin the model’s appearance. Replace snap-off blade segments after every 15 to 20 cuts for the cleanest results.
One limitation of foam board is its tendency to warp under humidity or if glue is applied too heavily on one side. To prevent this, apply adhesive evenly and press the piece flat under a weight while it dries. For curved surfaces, scoring the back paper layer at regular intervals allows gentle bending without cracking.
Balsa Wood for Detailed Architectural Design Model Making
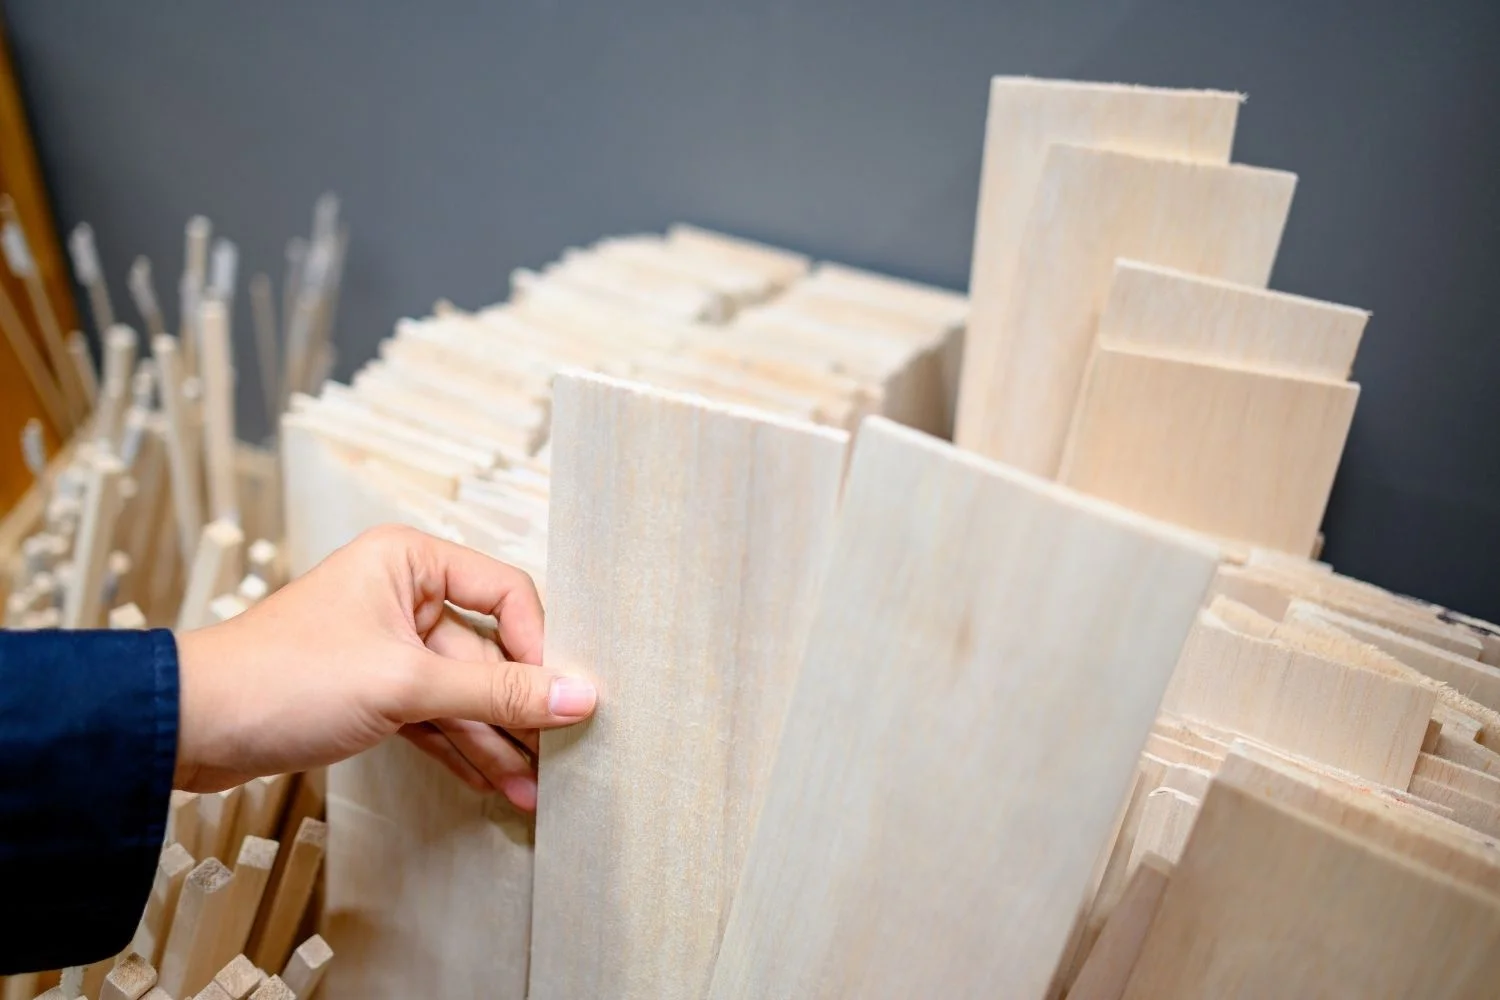
Balsa wood has been a staple of architectural design model making for decades. It is extremely lightweight, easy to cut with a hobby knife, and available in sheets, strips, and blocks of various dimensions. Balsa takes sanding and paint well, which makes it a strong option for presentation models where surface finish matters.
Hobby shops, model train suppliers, and online stores like Hobby Lobby stock balsa in standardized sizes. A single sheet typically costs between $2 and $6, depending on thickness. For structural elements like columns and beams in your model, balsa strips in 3 mm x 3 mm or 5 mm x 5 mm cross sections work well.
Basswood is a denser, stronger alternative to balsa that holds finer detail and resists denting. It costs slightly more but is worth considering for presentation models that need to survive transport to critiques and client meetings.
⚠️ Common Mistake to Avoid
Many students cut balsa wood against the grain, which causes it to splinter and break. Always orient your blade along the grain direction when making lengthwise cuts, and use a steel-edge ruler as a guide. For cross-grain cuts, score the surface lightly first, then gradually deepen the cut over two or three passes.
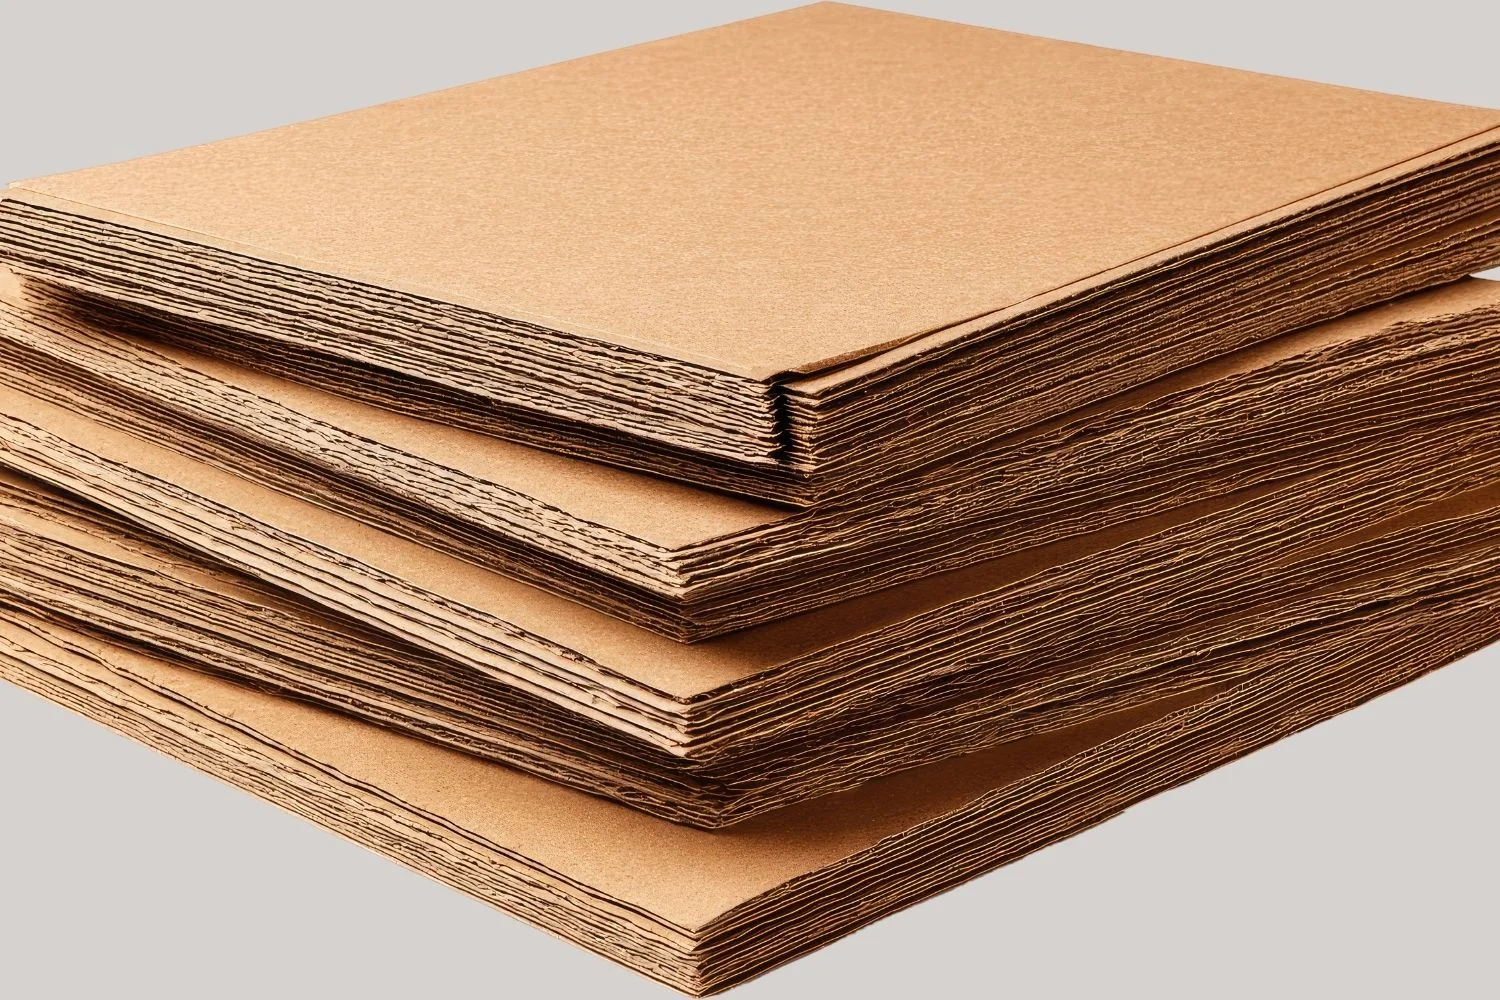
Cardboard and Corrugated Card for Quick Study Models
Cardboard is the most accessible material for architectural model making. You can source it for free from shipping boxes, packaging, and cereal boxes. Corrugated cardboard works for rough massing studies and site models, while thinner card stock is better for walls, floors, and smaller-scale elements.
Gray chipboard (also called gray board or mounting board) is a step above recycled cardboard. It offers a uniform surface, consistent thickness, and clean cutting edges. Art supply stores sell it in sheets, and it is often cheaper than foam board. Many professional model-making studios use gray board for concept models because its neutral tone keeps the focus on form rather than material expression.
Kraft paper, another cardboard variant, is elastic and tear-resistant, making it useful for curved or folded forms. It is widely available at craft stores, and its natural brown tone gives models a warm, monochromatic appearance that looks sharp in portfolio photographs.
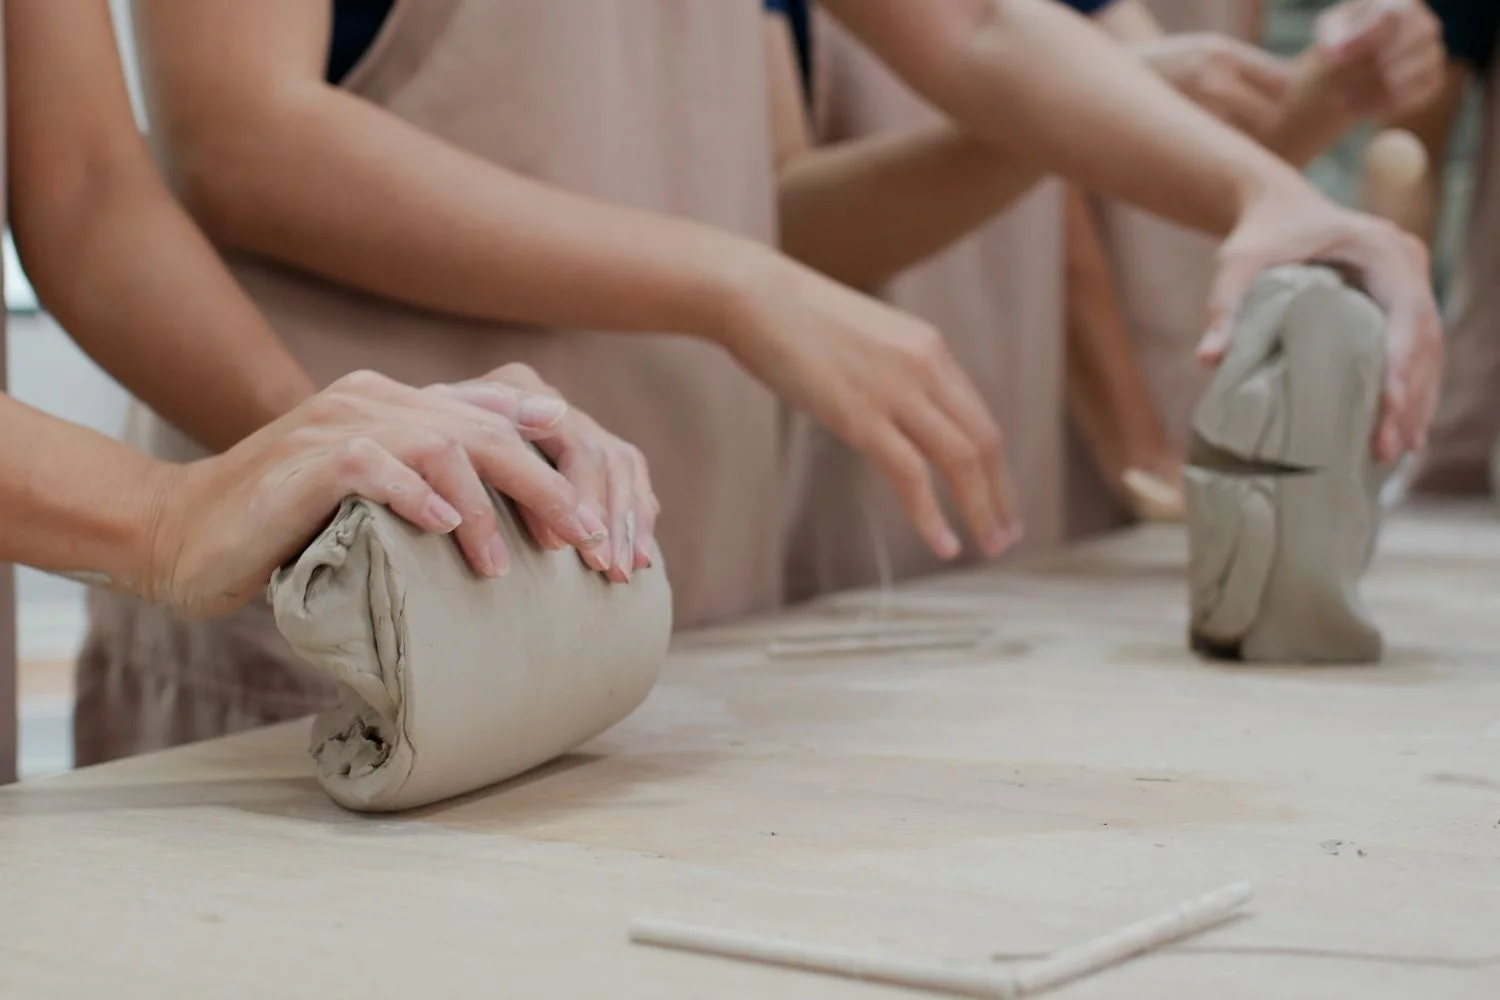
How to Use Architectural Clay for Model Making
Architectural clay model making offers a different approach from flat-sheet materials. Clay lets you sculpt organic shapes, test topography, and model curved facades that would be difficult to achieve with foam board or card alone. Air-dry clay is the most practical option for students because it requires no kiln and hardens overnight at room temperature.
Brands like DAS and Crayola air-dry clay are available at most craft stores for under $10 per kilogram. Polymer clays such as Sculpey offer finer detail and greater durability once baked in a standard oven, but they cost more per unit weight.
For site models showing terrain and landscape contours, clay is hard to beat. You can press it over a cardboard substructure to create hills, slopes, and water features. Once dried, it accepts paint and can be sanded smooth for a polished finish.
🎓 Expert Insight
“The act of making and manipulating things with your hands has been shown to produce more efficient, more creative, and insightful solutions to problems.” — Eric Reinholdt, Architect, 30X40 Design Workshop
This observation highlights why physical model making, even with simple materials like clay, remains relevant in an era dominated by digital tools. The tactile feedback of shaping a form by hand often reveals spatial relationships that 3D software misses.
Cork Sheets for Texture and Landscape Elements
Cork is an underrated material in architectural model making. Thin cork sheets (1 mm to 3 mm) are flexible, easy to cut, and add a distinct texture that represents terrain, paving, or natural ground cover effectively. Stacked and layered cork sheets can simulate topographic contour lines for site models, a technique used by firms like 30X40 Design Workshop for residential projects.
You can buy cork sheets at craft stores, hardware stores (they are sold as bulletin board material), and online from suppliers like Amazon. A pack of self-adhesive cork sheets costs around $8 to $12 and provides enough material for multiple models. Cork also works well as a base surface because it grips components without sliding.
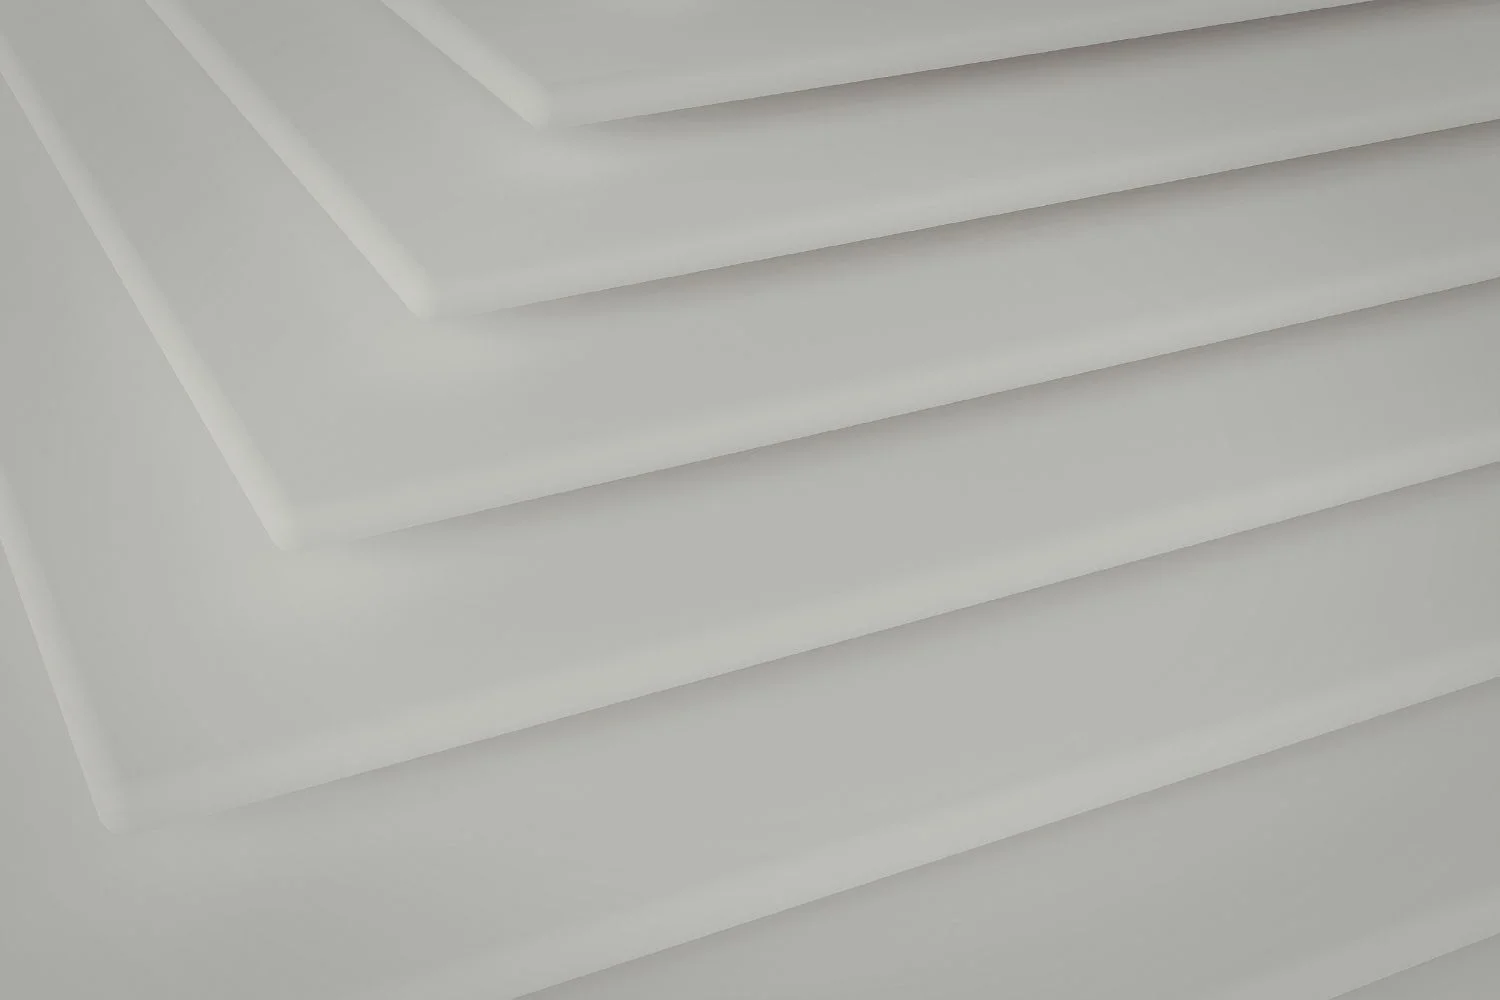
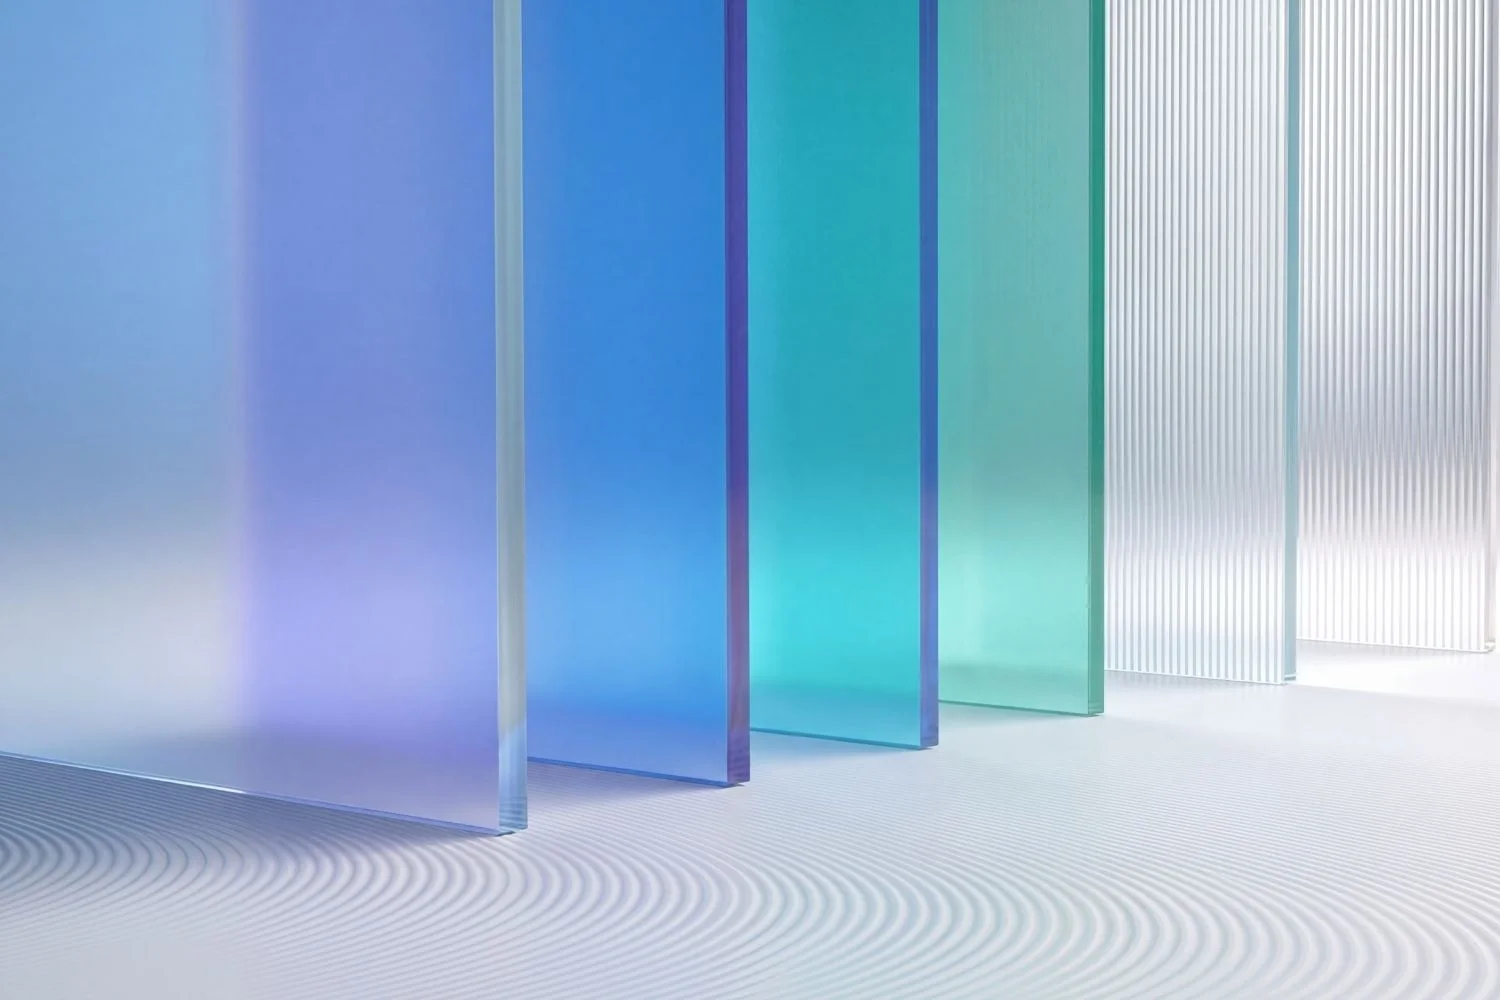
Acrylic and Plastic Sheets for Architectural Interior Model Making
When you need to represent glass, water, or transparent surfaces in your model, acrylic sheets are the go-to material. Clear acrylic simulates windows and curtain walls, while frosted or tinted sheets can suggest translucent partitions. This makes acrylic essential for architectural interior model making, where showing the relationship between rooms, light, and glazing is the point of the model.
Acrylic sheet offcuts are often available at low cost from local plastic fabricators and sign-making shops. Ask for scrap bins, as many shops will sell or give away small pieces that are perfect for model-scale windows. Online, TAP Plastics and similar retailers sell custom-cut pieces. For very thin applications, overhead projector transparency film or acetate sheets from office supply stores work as a cheaper substitute.
Styrene (polystyrene) sheets are another plastic option worth knowing about. They are rigid, easy to score and snap, and accept solvent-based plastic cement for invisible joints. Architectural model supply companies like Evergreen Scale Models sell styrene in strips, tubes, and sheets specifically designed for model builders.
Architectural Model Making Concrete and Plaster Mixes
Architectural model making concrete and plaster open up possibilities for creating highly realistic miniature surfaces. Plaster of Paris is cheap, sets quickly, and can be cast into molds to produce walls, floors, and even furniture at model scale. Dental plaster and casting resin offer finer detail and greater strength for presentation models.
For a concrete-look finish, mix fine cement with sand and water in small batches. Pour the mixture into laser-cut or hand-built formwork made from foam board or acrylic, and allow it to cure for 24 to 48 hours. The result is a miniature surface that closely mimics the texture and color of real poured concrete.
📐 Technical Note
Standard plaster of Paris has a working time of approximately 5 to 10 minutes before it begins to set. For more control, use pottery plaster (such as USG No. 1 Pottery Plaster), which offers a longer working time of about 15 minutes and produces a harder, more durable cast suitable for detailed architectural models.
Plaster and cement supplies are available at hardware stores like Home Depot and Lowe’s. Dental plaster, which produces a smoother finish, can be ordered from dental supply companies online. Small bags of plaster (2 to 5 kg) cost between $5 and $15, making it one of the most affordable materials for creating realistic finishes.
Comparison of Affordable Model-Making Materials
The following table summarizes the key characteristics of each material to help you choose the right one for your project:
| Material | Best For | Approx. Cost | Skill Level |
|---|---|---|---|
| Foam Board | Massing models, walls, floors | $2–$5 per sheet | Beginner |
| Balsa Wood | Structural details, columns, beams | $2–$6 per sheet | Beginner |
| Cardboard / Chipboard | Quick study models, iterations | Free–$3 per sheet | Beginner |
| Air-Dry Clay | Organic forms, terrain, topography | $5–$10 per kg | Beginner–Intermediate |
| Cork Sheets | Landscape, contour models, texture | $8–$12 per pack | Beginner |
| Acrylic / Styrene | Glass, windows, transparent elements | $3–$10 per piece | Intermediate |
| Plaster / Concrete Mix | Realistic surfaces, cast elements | $5–$15 per bag | Intermediate |
Where to Source 3D Printed Architectural Model Making Supplies
3D printed architectural model making has grown rapidly as desktop printers have become more affordable. An entry-level FDM printer like the Creality Ender 3 can produce model components with reasonable detail for under $200. PLA filament, the most common 3D printing material, costs around $20 per kilogram and is enough for several models.
If you do not own a printer, many universities now have 3D printing labs open to architecture students. Public libraries with maker spaces also offer printing services, often at minimal per-gram charges. Online services like Shapeways and Xometry print and ship custom parts based on your uploaded digital files.
For combining 3D printed parts with traditional materials, print the complex or repetitive components (such as columns, railings, or intricate facade elements) and build the simpler volumes from foam board or card. This hybrid approach saves time and keeps costs down. If you are interested in the digital side of the process, free architectural digital tools like TinkerCAD and SketchUp can help you prepare 3D files for printing without any software cost.
📌 Did You Know?
Jørn Utzon presented a simple wooden model to win the Sydney Opera House competition in 1957. Despite having access to far less technology than today’s students, his physical model communicated the shell geometry so effectively that it beat 232 other entries. Physical models remain one of the most persuasive tools in architectural competitions.
How to Save Money on Architectural House Model Making
Architectural house model making does not have to be expensive. Here are practical strategies for keeping material costs low without sacrificing quality:
Buy materials in bulk with classmates. Foam board, balsa sheets, and adhesives are significantly cheaper in larger quantities. Splitting a bulk order among four or five students can cut individual costs by 30% or more.
Reuse and recycle. Scrap foam board, offcut balsa strips, and leftover acrylic pieces from previous projects are perfectly usable for study models and test builds. Keep a scrap box in your studio space. Many experienced model makers start every project with whatever leftovers are on hand before buying new stock.
Check local sources first. Hardware stores, dollar stores, and thrift shops carry materials like chipboard, dowel rods, sandpaper, and basic adhesives at lower prices than specialized art supply retailers. Sign shops and plastic fabricators often have scrap bins with usable acrylic pieces.
Print your textures instead of buying them. You can print brick, stone, wood, or metal patterns on regular paper and glue them to foam board or card surfaces. This technique adds material representation to your model for pennies. For more on how material selection affects design, consider how your model material choices mirror real-world construction decisions.
Video: Architectural Model Making Techniques and Tutorial
This step-by-step walkthrough by architect Eric Reinholdt covers material selection, cutting technique, and assembly methods for building a physical study model from scratch.
Essential Tools for Working with These Materials
Good materials need good tools. You do not need an expensive kit, but a few quality items make a major difference. A sharp hobby knife (X-Acto No. 1 or equivalent) is non-negotiable for clean cuts in foam board, balsa, and card. A steel-edge ruler prevents the blade from wandering and protects your fingers. A self-healing cutting mat preserves both your work surface and your blade edge.
For adhesives, PVA (white) glue works on most porous materials. Cyanoacrylate (super glue) bonds non-porous surfaces like acrylic and styrene. A hot glue gun is useful for fast tacking during study model iterations but creates bulkier joints that show in finished work. Tacky glue sits between PVA and hot glue in terms of hold strength and drying speed, making it a reliable all-purpose option.
Tweezers, a pin vise, fine-grit sandpaper (220 and 400 grit), and a small metal square round out the basic toolkit. If your school has a laser cutter, learning to prepare files in AutoCAD or Illustrator will let you produce precisely cut pieces from card, chipboard, and thin MDF. This pairs well with architectural detailing skills that translate directly from model to built form.
💡 Pro Tip
Before starting a final model, build a quick sketch model from gray cardboard to test proportions and construction sequence. Experienced model makers at professional firms spend 20 to 30 minutes on a rough test build to identify problems before committing to expensive materials. This habit saves both time and money in the long run.
Final Thoughts
✅ Key Takeaways
- Foam board and cardboard are the most accessible and affordable starting materials for any 3D architectural model making project.
- Balsa wood and basswood offer greater detail and strength for presentation-quality models at a reasonable cost.
- Air-dry clay and cork sheets handle organic forms and terrain modeling that flat-sheet materials cannot achieve.
- Acrylic offcuts from local shops and 3D printing services at university labs keep specialty material costs near zero.
- Building a sketch model from scraps before starting the final version is the single most effective way to save materials and improve results.
3D architectural model making does not require a big budget. The seven materials covered here, from foam board to plaster mixes, give you everything you need to build concept studies, presentation models, and competition entries that communicate your design clearly. Focus on clean cuts, smart material selection, and solid construction technique, and your models will speak for themselves. For further reading on how physical models fit into the broader design workflow, the guide on architectural concept development covers the full process from idea to execution.
Cost figures are approximate and vary by region, retailer, and current market pricing. Always compare local suppliers for the best deals in your area.
Frequently Asked Questions
What is the best material for beginners starting architectural model making?
Foam board is the best starting point for beginners. It is affordable, forgiving, and easy to cut with basic tools. Start with 5 mm white foam board for walls and floors, and use a sharp hobby knife with a steel ruler for straight cuts. As your skills develop, introduce balsa wood and cardboard for variety in texture and structural capability.
How much does it cost to build a basic architectural model?
A basic study model using foam board, cardboard, and PVA glue can be built for $10 to $20. A more detailed presentation model incorporating balsa wood, acrylic, and printed textures typically ranges from $30 to $60, depending on scale and complexity. Buying materials in bulk and reusing scraps keeps costs at the lower end.
Can you make architectural models without a laser cutter?
Yes. Thousands of professional architects built award-winning models long before laser cutters existed. A sharp hobby knife, a steel ruler, and patience will produce clean, precise results in foam board, card, and balsa. Laser cutters speed up repetitive elements but are not necessary for excellent model work.
What glue should I use for architectural model making?
PVA (white) glue works for most porous materials like foam board, cardboard, and wood. Use cyanoacrylate (super glue) for non-porous materials like acrylic and styrene. Apply adhesive sparingly; excess glue is the most common cause of messy joints in student models. A fine-tip applicator or toothpick gives you precise control over placement.
Where can I find free or cheap materials for model making?
Shipping boxes, packaging inserts, and scrap wood from workshops are all free sources. Ask local sign shops and plastic fabricators for offcut bins. University architecture departments often have shared material stocks or swap shelves where students leave reusable scraps. Dollar stores carry basic supplies like dowel rods, cork boards, and sandpaper at very low prices.


Leave a comment