

Table of Contents Show
A realistic Lumion render rarely comes from a single trick. It is the result of a controlled chain: a clean model, calibrated PBR materials, ray tracing turned on with the right sample count, a real-world sun position, layered foreground detail, and a final pass of color grading. Get those right, and even a moderately complex scene will read as a photograph rather than a CG image.
How to Make Lumion Renders Look More Realistic
To make a Lumion render look more realistic, enable Ray Tracing in the FX panel, replace generic materials with PBR textures using a Metalness/Roughness workflow, set the sun via Sun Study to match a real-world location and time, and add layered foreground detail. Finish with subtle color correction, vignette, and grain in post-production.
Why Most Lumion Renders Look Fake (And How to Fix It)
If you have spent any time in Lumion, you already know the moment: the model imports cleanly, the styles are applied, you hit render, and the image still looks slightly off. It is not the software; it is the workflow. Most flat-looking Lumion images share the same handful of issues: oversaturated default materials, a sun that is sitting at noon in a clear sky, no foreground depth, and zero variation between similar surfaces.
The fix is layered. You start at the model, work outward through materials and lighting, then finish in composition and post. Each step is small, but stacked together they push a render from almost real to convincing. This guide walks through every layer in the order I would build a scene, with specific Lumion settings and what each setting actually does for the image.
If you want broader context on where Lumion sits in the rendering ecosystem, the Lumion vs Twinmotion vs Enscape comparison covers how the three real-time engines stack up on quality, speed, and BIM integration.
💡 Pro Tip
Before you change a single Lumion setting, gather three or four real photographs that match the lighting and atmosphere you want. Stick them on a second monitor while you work. Almost every “is my render done?” question gets answered faster by glancing at a reference photo than by tweaking another slider.
Start With a Clean, Detailed Model
Realism starts before you open Lumion. A model with single-surface walls, missing window mullions, and zero edge detail will look fake regardless of how good your materials are. Lumion is a presentation tool, not a modeller, so the geometry you bring in needs to carry the detail your camera is going to focus on.
A few habits that pay off every time:
- Model the things your camera will see closely. Door frames, baseboards, window reveals, and small ledges read as subtle shadows in the final image and instantly make a building feel built rather than rendered.
- Add slight bevels to sharp edges. Real-world corners are never razor-thin; even a 1-2 mm chamfer catches light differently and breaks the perfectly geometric look.
- Respect scale. Doors at 2,100 mm, ceilings at 2,700-3,000 mm, treads around 280 mm. When proportions are off, your eye registers it before you can articulate why.
Once you are happy with the geometry, use Lumion’s LiveSync feature to keep the model in step with your CAD or BIM source. This way you can adjust geometry on one screen and see the rendered scene update instantly on the other, which removes the export-import friction that usually discourages last-minute fixes. The official Lumion photorealistic rendering tips guide also covers the underlying logic of how the engine handles light, materials, and composition, and is a useful companion to the workflow steps below.
Master the PBR Material Workflow
However good your lighting is, a scene falls apart if materials do not respond to that light correctly. Lumion’s Material Editor uses a full PBR (Physically Based Rendering) pipeline with a Metalness/Roughness workflow, so the goal here is to make every surface respond to light the way the real material would.
Use PBR Textures, Not Solid Colors
A solid grey wall is not concrete. Real concrete has fine surface variation, slight color shifts, occasional staining, and roughness that changes across the panel. Lumion’s built-in library has been significantly upgraded over recent years, and includes a wide range of Poliigon-sourced PBR textures that are ready to use. For materials not in the library, sites like Poliigon and Quixel Megascans give you high-resolution PBR sets with proper albedo, roughness, normal, and displacement maps.
Vary Roughness Across Similar Surfaces
One of the easiest tells of a fake render is identical roughness across every wood floor plank or every concrete tile. In reality, foot traffic polishes some areas, water marks others, and dust settles in corners. In Lumion, you can apply a slightly different material instance to a smaller area, or use the surface decals system to add wear patterns, smudges, and stains on top of the base material.
📐 Technical Note
Lumion’s PBR workflow expects roughness values between 0 (perfect mirror) and 1 (fully matte). Most architectural surfaces fall between 0.4 and 0.85: polished concrete around 0.4-0.5, brushed metal around 0.3-0.5, painted drywall around 0.7-0.85, raw timber around 0.6-0.8. Glass uses a separate Transparent material type with its own IOR (Index of Refraction) settings rather than a low roughness value.
Scale Textures Correctly
A brick that reads as one metre wide on a facade kills realism instantly. Inside the Material Editor, the Map Scale slider controls how the texture tiles across the surface. Set the scale so that visible features (a single brick, one floor plank, one tile) match real-world dimensions. If your wall is 8 m long and you can see roughly 32 brick courses in the texture, your scale is wrong.
Turn On Ray Tracing (And Tune the Samples)
Ray tracing is the single biggest realism upgrade you can apply in Lumion. It simulates how light actually behaves: bouncing between surfaces, refracting through glass, casting soft shadows that match the size of the light source. Without it, you get the flat, slightly cartoony GI that real-time engines used to be known for.
Find Ray Tracing in the +FX panel and enable it. The default settings are a reasonable starting point, but for final images you usually want to push the sample count higher. Around 256 samples removes most of the visible noise in interior and complex exterior scenes, and Lumion’s built-in Denoiser cleans up what remains. If you still see grainy patches at 256 samples, the cause is usually a very dim artificial light or excessive bounces between two reflective surfaces, both of which produce uneven, blotchy artifacts.
Fully Ray-Traced Glass
For scenes with skylights, glass canopies, or decorative glass objects, switching on Fully Ray-Traced Glass produces noticeably better refraction and shadow behavior. You can read more about how this option was introduced and refined in our coverage of the latest Lumion features for architects. For simple flat windows, leaving it off rarely makes a visible difference and saves render time, so test both before committing.
⚠️ Common Mistake to Avoid
Cranking ray tracing samples above 512 because the image still looks noisy is almost always solving the wrong problem. If 256 samples are not clean, the issue is usually a light source that is too dim, a small emissive material acting as a primary light, or two glossy surfaces creating a feedback loop. Fix the lighting first, sample count second.
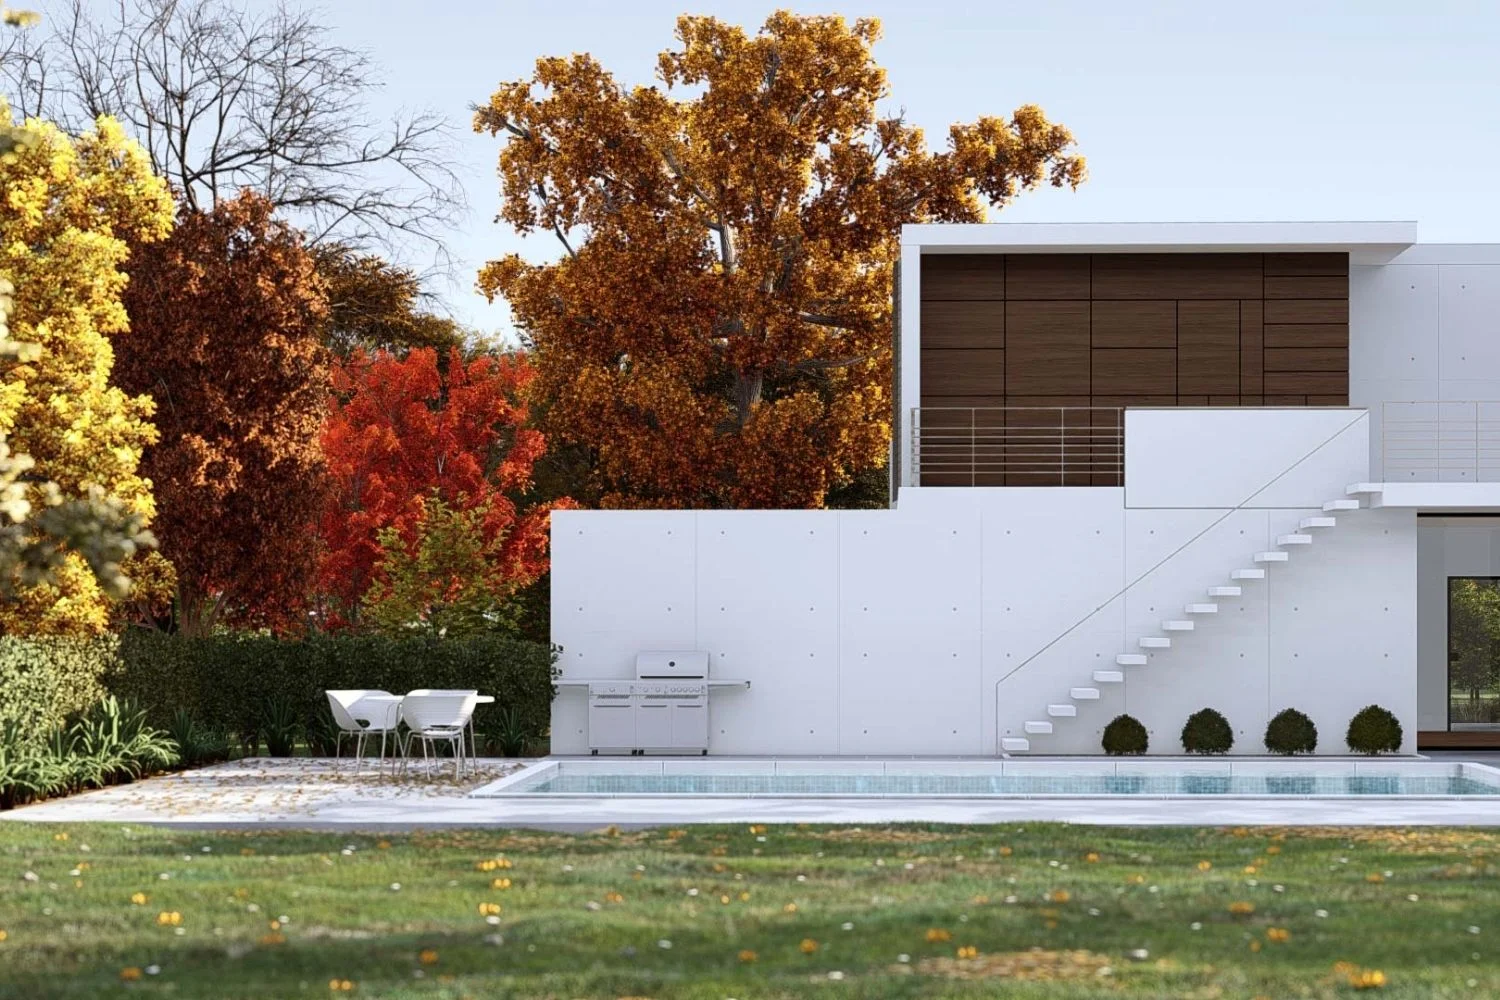
Get the Sun and Sky Right
Lighting carries more of the realism load than any other variable. A photorealistic interior with the wrong sun angle still looks wrong; a moderately detailed exterior at golden hour can look stunning. Lumion gives you two main controls here: the Sun effect for direct light, and Real Skies (or HDR skies) for ambient and atmospheric lighting.
Use Sun Study, Not the Default Slider
Lumion’s Sun Study effect lets you set a precise geographic location, date, and time. The sun then sits at the actual angle it would in reality at that moment. This sounds minor until you compare a render set to “Sun Study: Istanbul, October 14, 16:30” against the default sun slider. Real shadow angles, real sun height, real shadow length. The difference is immediate.
Golden hour, roughly the first hour after sunrise and the last hour before sunset, is the safest choice for exterior shots. Long shadows give your facade depth and texture, warm light flatters most materials, and the sky has color rather than the flat blue of midday.
Real Skies vs Procedural Sky
The procedural sky is fine for early concept renders, but Real Skies (real-world HDRI captures) bring something the procedural version cannot: realistic ambient color, accurate cloud detail, and a horizon that feels like a place rather than a gradient. For interior renders where the sky is barely visible through windows, the procedural sky is often enough. For hero exterior shots, switch to Real Skies and pick one that matches the mood and time of day you set in Sun Study.
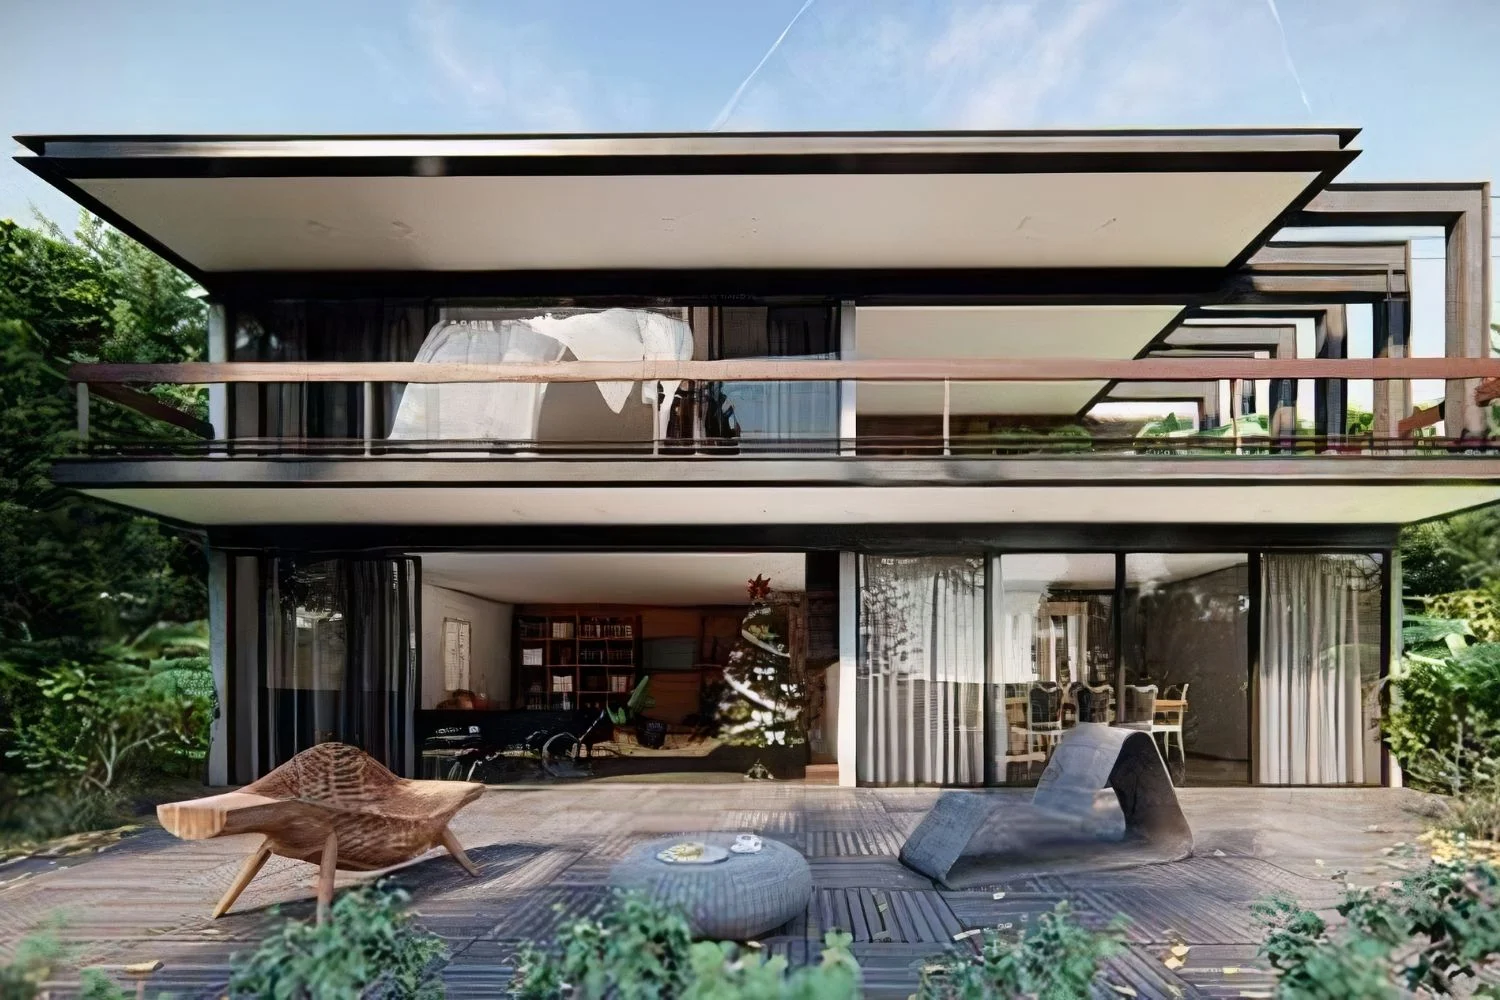
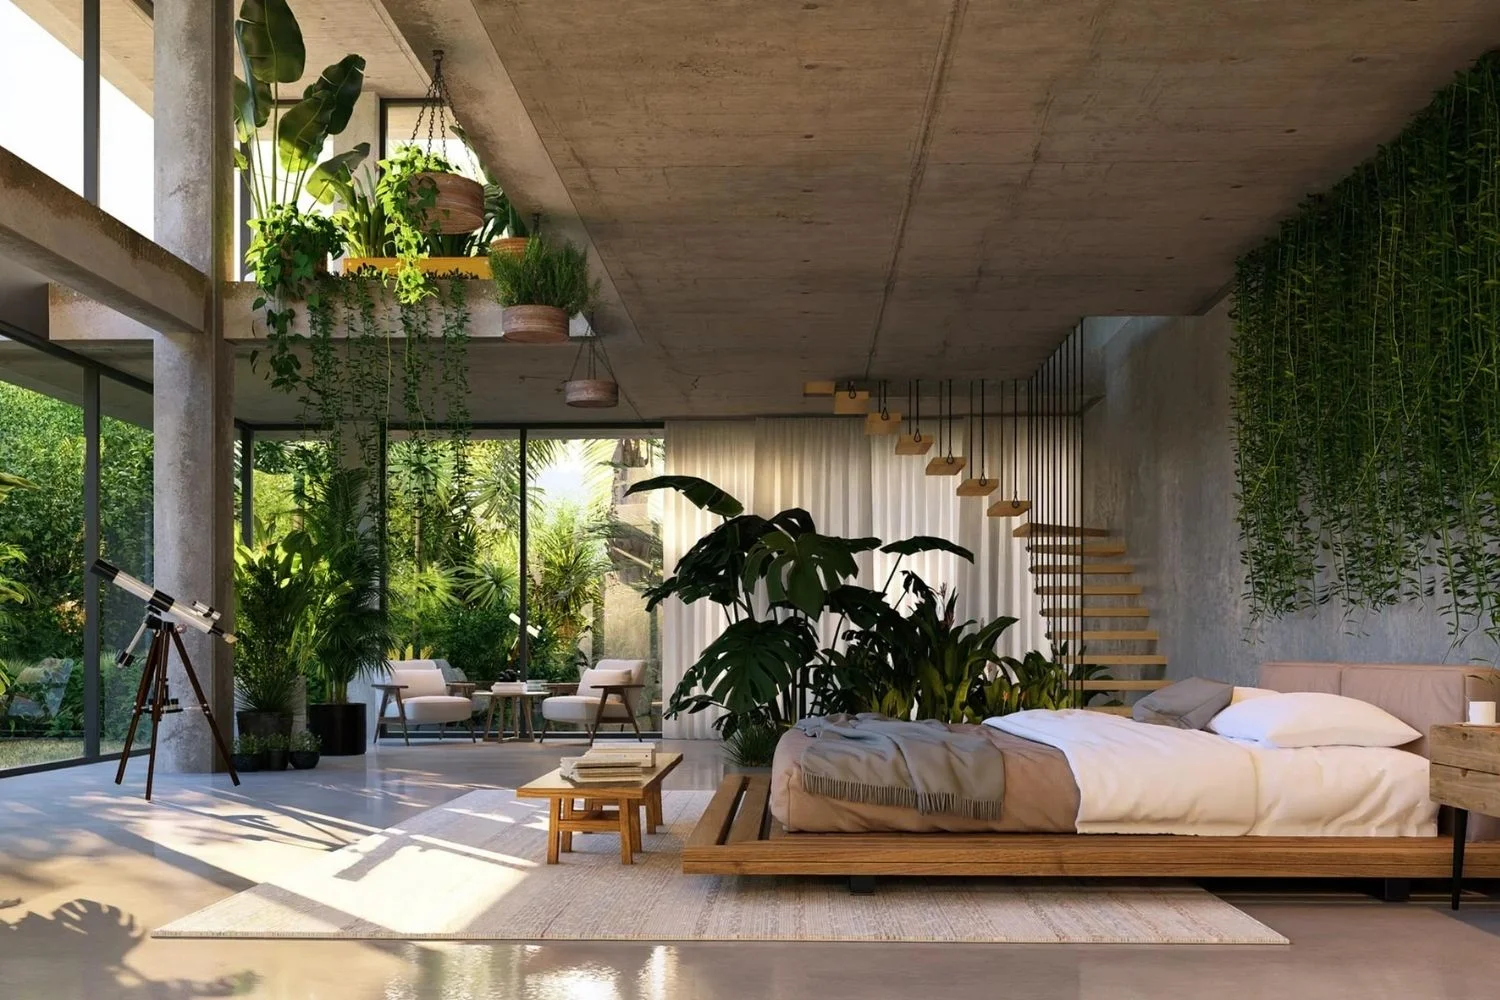
Layer Your Composition: Foreground, Middle Ground, Background
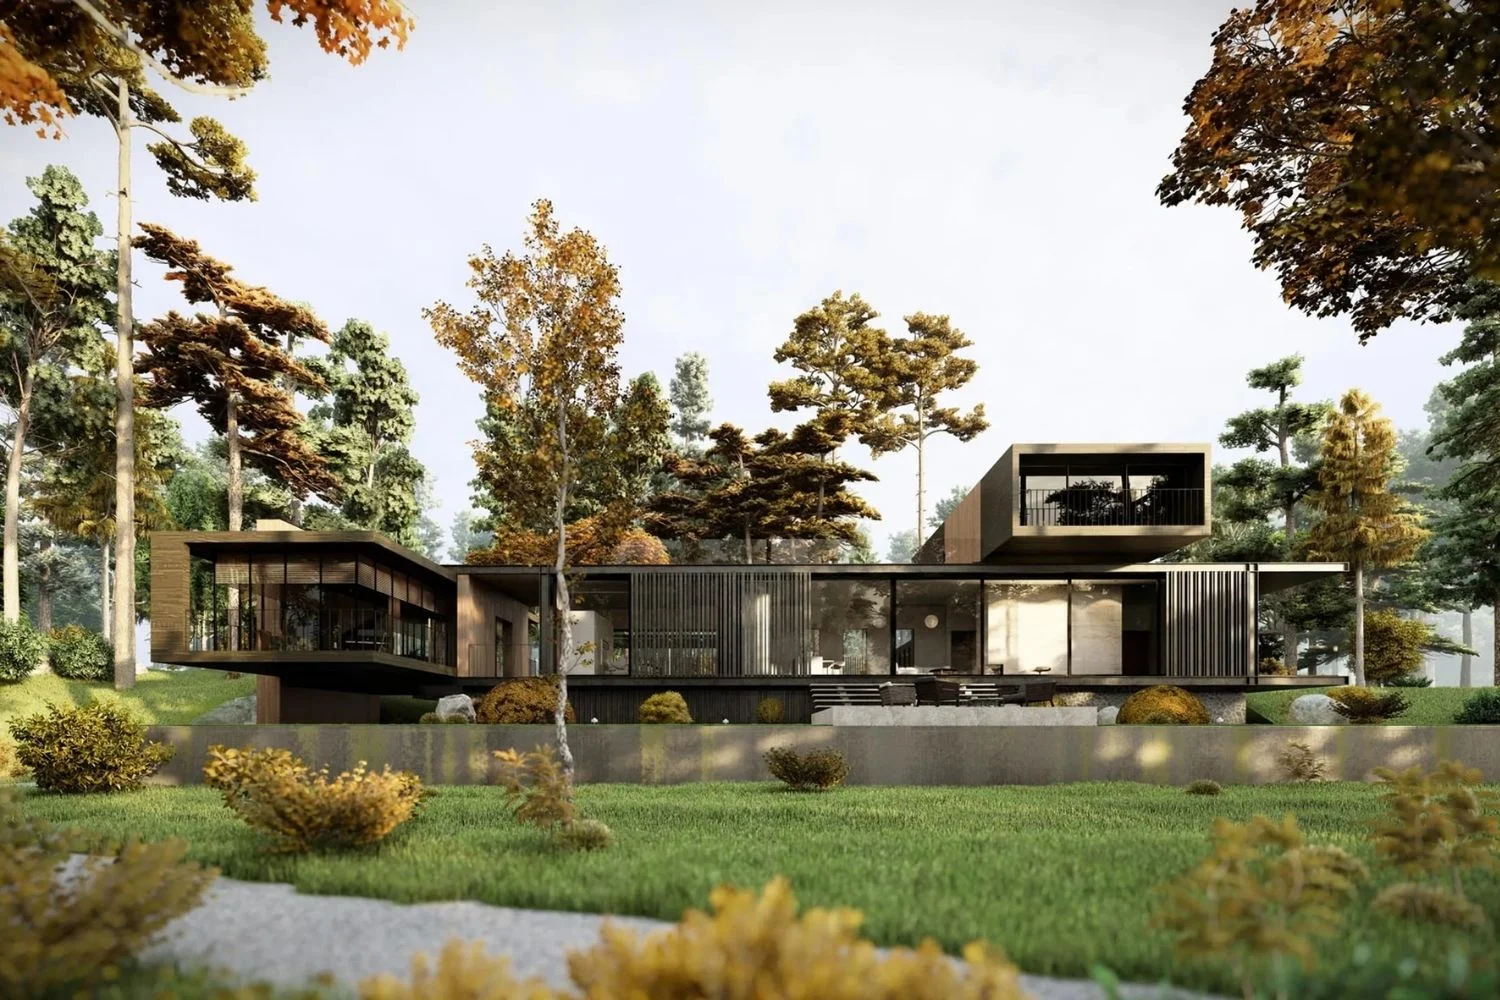
Open any well-composed architectural photograph and you can identify three layers: something close to the camera (a tree branch, a railing, a foreground figure), the building itself in the middle ground, and a softer background (a distant cityscape, hills, sky). Most amateur Lumion renders have only the middle and background layers, which is why they feel flat.
Add Foreground Depth
Place an out-of-focus tree branch, a planter, a person walking, or a fence in the first 2-3 metres of camera depth. With a moderate aperture and Depth of Field enabled, this foreground element blurs slightly and instantly creates a sense of distance between the camera and the building. Even a single branch added in front of a hero exterior shot can transform the image.
Use Two-Point Perspective for Tall Buildings
Architectural photographers use tilt-shift lenses to keep vertical lines straight, and Lumion has a Two-Point Perspective effect that does the same thing in software. When your camera tilts upward to capture a tall building, vertical edges converge unnaturally; turning on Two-Point Perspective forces those verticals to stay parallel, which is what your eye expects to see in a serious architectural image.
⚖️ Pros & Cons at a Glance
✔️ Lumion Default Styles: Fast first impression, decent for early concept reviews, good baseline for new users
✖️ Lumion Default Styles: Generic look, flat lighting, identical results across very different projects, hard to refine into something portfolio-grade
How Do You Light an Interior Lumion Scene Realistically?
Realistic interior lighting in Lumion comes from layering three light types: natural light from windows, primary artificial fixtures (ceiling lights, pendants), and ambient or accent lights (table lamps, cove lighting, wall washers). Match real-world lumens, vary color temperature slightly between fixtures, and let some areas remain in shadow.
Lumion measures light brightness in Lumens for Spotlights and Omnilights, and Nits for Area Lights and emissive materials. A useful benchmark: a well-lit room needs roughly 20 Lumens per square foot. So a 9′ × 12′ bedroom (about 108 sq ft) wants around 2,160 Lumens total spread across all fixtures. Stay close to those values rather than dialing every light up to maximum.
The temptation in interior renders is to over-light the scene so nothing is dark. Resist it. Real interiors have shadow areas; uniformly bright rooms read as fake. Sky Brightness in the FX panel adjusts ambient sky light, and pulling it down activates artificial lights more strongly, which is how you get believable evening or dusk scenes.
💡 Pro Tip
In interior ray-traced scenes, do not pile up too many low-brightness lights. Combined dim sources cause patchy, blotchy walls and uneven shadows because each light contributes its own noise pattern. A few well-placed, properly bright fixtures beat a dozen dim ones every time.
Build a Lived-In Environment
An empty building looks rendered. A building with people, vehicles, plants, and small everyday objects looks photographed. Lumion’s content library includes thousands of high-quality models for exactly this reason: trees, foliage, vehicles, furniture, and human figures designed to populate scenes.
Use Trees and Plants With Detail
Replace low-poly placeholder trees with the high-detail nature assets in the library, and put the most detailed ones close to the camera. For exterior shots, layer different plant heights and species rather than dropping in identical instances of one tree. Group dense vegetation in the background and let a few specimen plants take focal positions.
Add People and Cars Sparingly
People and cars give scale and life, but a render with twelve identical figures standing perfectly still looks worse than one with two well-placed figures. Pick figures whose poses fit the scene (someone walking past a cafe, two people in conversation outside an entrance) and avoid placing them in poses they would not naturally hold for the duration of a still image.
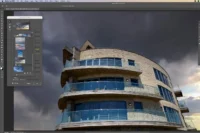
Apply the Right Render Effects
The FX stack in Lumion is where most of the visual polish happens. Beyond Ray Tracing, the effects that consistently push images closer to photography are:
- Reflection Plane: Adds proper planar reflections to water, polished floors, and glass tabletops. Without this, reflective surfaces look painted on.
- Depth of Field: Subtle is better than dramatic. A narrow aperture with focus locked on the building keeps the foreground slightly soft and creates camera-like depth cues.
- Sharpness: Use moderately. Cranked too high it produces halos around edges; set too low the image goes soft and feels like a print.
- Color Correction: Slight de-saturation is almost always an improvement. Real photographs rarely have the punchy saturation that default Lumion output produces.
- Bloom: Use sparingly for bright light sources. Heavy bloom looks dreamy rather than realistic.
- Chromatic Aberration: A tiny amount mimics real camera lens behavior and adds subtle realism. Too much, and the image looks like a phone photo.
Video: Realistic Exterior Render Workflow in Lumion
This walkthrough by Nuno Silva covers a full exterior render workflow in Lumion, from reference gathering and terrain data to PBR materials, foreground detail, and post-production. Useful for seeing the layered approach in practice rather than just reading about it.
Render at the Right Resolution
Resolution choice should match the output. For internal review and quick approvals, 1920 × 1080 is enough. For client presentations and websites, 4K (3840 × 2160) is standard. For print boards (A3 size or larger), render at 5K or higher so detail holds up at scale.
Lumion’s AI-based image upscaling lets you render at half your target resolution and upscale to full size on the CPU side. This produces 8K stills without the GPU memory or render time that native 8K demands. For most architectural scenes the quality difference is minimal, so it is a sensible default for very high-resolution outputs.
Finish in Post-Production
Even a strong final image benefits from a few minutes in Photoshop or a similar editor. The goal is not to fix the render, but to add the small camera-and-print artifacts that real photographs have. Subtle vignette darkens the corners and pulls the eye to the center. A touch of grain breaks up the perfectly clean digital surface. Light color grading shifts the white balance toward whatever mood the image is selling.
If your goal is mastering the wider workflow rather than just the Lumion side, our practical walkthrough on photorealistic architectural renderings covers the full pipeline from model preparation to final delivery, regardless of which engine you use.
Where AI Tools Fit Into the Workflow
AI rendering and post-processing tools have changed how quickly architects can iterate on visual ideas. They do not replace a properly built Lumion render for final marketing material, but they are useful for quick concept variations, atmosphere studies, and entourage upgrades. For a broader look at where these tools fit in the architectural pipeline, see our guide to AI tools for architectural visualization.
For deeper context on how the discipline of architectural visualization itself has evolved, the overview of archviz fundamentals covers the core principles that apply whether you are working in Lumion, V-Ray, or any other engine.
✅ Key Takeaways
- A realistic Lumion render is the result of layered choices, not a single setting. Geometry detail, PBR materials, ray tracing, sun position, composition, and post each carry weight.
- Always enable Ray Tracing for final renders, push samples to around 256, and let the built-in Denoiser handle remaining noise. Going higher rarely solves a noise problem; fix the lighting instead.
- Use Sun Study with a real location and time, and pair it with Real Skies for hero exterior shots. Default sun positions almost never match what your eye expects to see.
- Compose with three layers: foreground, middle ground, background. Adding even one foreground element transforms a flat render into a depth-rich image.
- Light interiors with realistic lumen values, vary roughness across similar materials, and keep some areas in shadow. Uniformly bright, uniformly polished scenes always read as fake.
- Finish in Photoshop with subtle vignette, grain, and color grading. Real photographs have these artifacts, and removing them is what makes the final image feel less digital.
Frequently Asked Questions
How do you make Lumion renders more realistic without buying Lumion Pro?
The standard Lumion version still gives you Ray Tracing, Sun Study, the PBR Material Editor, Real Skies, and the Two-Point Perspective effect, which together account for most of the realism gains. Pro adds higher-detail nature assets and some advanced features, but the core realism workflow works on either tier.
Why do my Lumion interior renders look noisy?
Noise in interior ray-traced scenes usually comes from one of three sources: too many dim artificial lights, an emissive material acting as the primary light source, or excessive bounces between glossy surfaces. Increasing samples helps, but the real fix is reviewing the lighting setup. Aim for fewer, properly bright fixtures and check that bounce counts are not stacking up between mirrors and polished floors.
How long should a realistic render in Lumion take?
Render time depends on resolution, ray tracing samples, scene complexity, and your GPU. A 4K still with ray tracing at 256 samples on an RTX 4070-class card typically lands between 3 and 12 minutes for a moderately complex architectural scene. Interiors with many light sources sit at the higher end; clean exteriors with daylight only sit at the lower end.
Is ray tracing always better than the default render mode?
For final still images of detailed scenes, yes. Ray tracing handles reflections, soft shadows, and indirect lighting in a way the default rasterizer cannot match. For early concept work, animations where speed matters, or scenes where the lighting is simple and direct, the default render is faster and often visually sufficient. Use ray tracing for hero shots, save it for animations only when the project warrants the time.
What is the best resolution for a portfolio image rendered in Lumion?
4K (3840 × 2160) is the practical sweet spot for portfolio and website use. It looks sharp on modern displays, prints cleanly at A4 and A3 sizes, and renders in a reasonable time. Go to 5K or higher only if you know the image will be printed at A2 or larger, or if a client has specifically asked for it.


Leave a comment