


Table of Contents Show
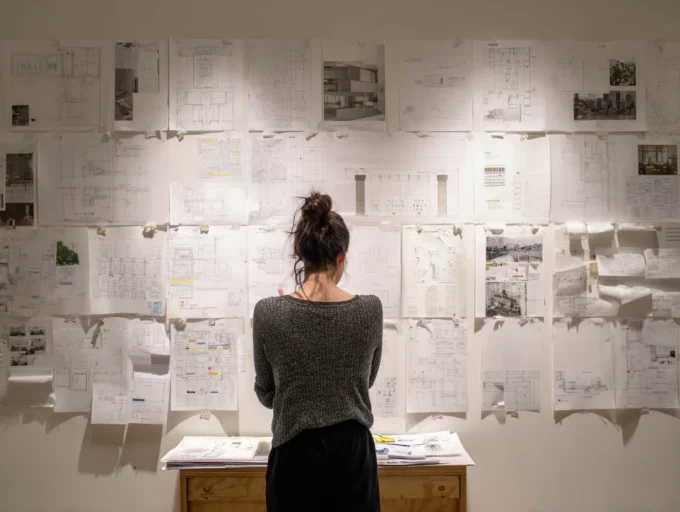
Creating an architectural model can be both an exciting and daunting task. Whether you’re showcasing the sleek lines of a modern skyscraper or the intricate details of a cozy apartment, the process requires a keen eye for detail and a strategic approach. We’re here to guide you through the essentials, from understanding the project’s scale to selecting the right tools and materials.
Essential Tools for Architectural Modeling
Choosing the Right Cutting Tools
Cutting tools are crucial for architectural modeling. Precision and accuracy define the success of our models. We use a variety of cutting tools to achieve this precision. Craft knives are essential for detailed cuts, particularly for intricate designs and small components. Metal rulers help guide our cuts, ensuring straight lines. Cutting mats provide a safe surface, protecting both our blades and workspaces from damage. For thicker materials like foam board, a utility knife offers the necessary strength. Each tool plays a specific role based on the material used and the complexity of the design.
Importance of Measuring and Scaling Tools
Accurate measurements are foundational in architectural modeling. Measuring and scaling tools allow us to maintain the correct proportions in our models. A steel ruler offers durability and precision, especially when working with fine details. We use digital calipers for measuring thickness and depths, ensuring every part fits perfectly. Architects’ scales, with multiple unit conversions, help us translate design dimensions into accurate model proportions. These tools enable us to create models that faithfully represent our architectural visions, facilitating better communication and understanding during presentations.

Selecting Materials and Adhesives
Opting for Quality Model-Making Materials
Quality materials ensure the longevity and professionalism of our architectural models. For card and paper options, use high GSM (grams per square meter) paper for sturdiness. When working with wood, balsa wood is light yet strong, while basswood links flexibility with ease of cutting. Consider using acrylic or polystyrene sheets for a modern look. These materials can handle intricate designs and hold their shape well under different conditions.
Understanding Adhesive Types for Different Materials
Choosing the correct adhesive is crucial for durability. For paper and card, use sprayable glue for an easy fix and clean finish. Glue syringes provide precision when working in tight spaces. When bonding plastics or metals, opt for specific adhesives designed for those materials. Glue guns facilitate quick drying but can be messy and are not suited for metals. Masking tape and double-sided tape can hold parts together while glue dries, crucial for holding shapes and ensuring alignment. Always match the right adhesive with the material to avoid weak bonds or damage.
Techniques for Effective Architectural Modeling
Role of Sketch Models and Preliminary Designs
Sketch models act as the foundation for preliminary designs. These models help in visualizing spatial relationships and material choices before committing to a final design. Using basic materials like foam board, cardboard, or balsa wood, sketch models can quickly showcase ideas and identify potential issues. By iterating on these early versions, we can refine our architectural concepts more efficiently. Conceptual models, which might use masking tape to temporarily hold pieces together, offer flexibility in making adjustments.

Tips on Crafting Detailed Components
When crafting detailed components, precision is key. Glue syringes can be indispensable for applying small amounts of adhesive to intricate areas. They allow for accurate placement and reduce the mess associated with larger glue bottles. For quick fixes, double-sided tape provides a robust and neat solution but handle with care to avoid tearing delicate materials like paper or foam board. For creating textured surfaces, print bitmaps of materials such as tiles or bricks to scale and adhere them precisely to the model. For complex structures, utilizing straight pins to hold pieces while the glue sets can ensure proper alignment and stability.
Incorporating Technology in Model Making
When to Use Laser Cutters
Laser cutters excel in creating precise and intricate parts for architectural models. This technology is ideal for producing perfectly square floor plates, detailed elevations, and complex geometric forms. It’s effective for materials such as wood, cardboard, paper, foam, polystyrene, and acrylics. Preparing your CAD drawings for laser cutting involves laying out pieces to be cut, enabling an efficient and accurate cutting process. We recommend using laser cutters in the initial stages of model assembly, allowing more focus on intricate detailing and overall model quality.
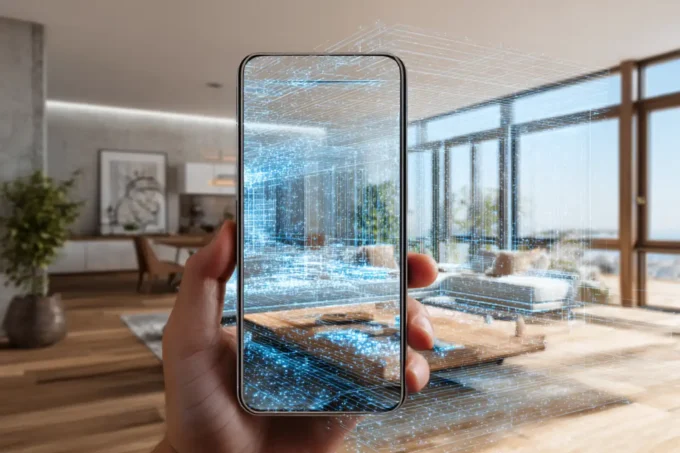
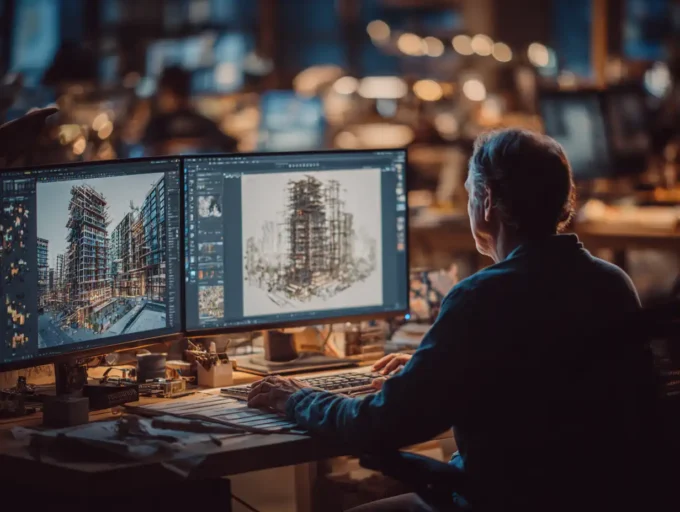
Benefits of 3D Printing and Digital Modeling
3D printing and digital modeling have revolutionized architectural model making. These technologies allow for the rapid creation of detailed and complex models. 3D printing is especially beneficial for fast prototyping, enabling quick iterations and design exploration. The ability to convert virtual 3D models into physical ones facilitates enhanced communication of design concepts to clients and stakeholders. Additionally, 3D printing often results in clean and contemporary models extracted from CAD, offering both speed and cost efficiency. Using hybrid workflows that combine traditional model making with 3D printing can significantly streamline production and improve model accuracy.
Presentation and Detailing of Architectural Models
Integrating Lighting and Shadows
Integrating lighting into architectural models offers an enhanced visualization, particularly for schemes active at nighttime. Illuminated models create impressive effects, highlighting specific areas. We recommend using LEDs for their low heat output and energy efficiency. When planning your model’s design, think about how light interacts with materials and geometry. Using diffused light can soften the appearance, while targeted lighting can emphasize architectural features.
Shadows play a significant role in understanding light behavior. Incorporate shadow studies to evaluate how buildings will interact with their environment throughout the day. Experiment with different light sources and placement to achieve realistic shadows, ensuring your model accurately represents the design intention.

Adding Finishing Touches for Professional Presentation
Adding finishing touches elevates the presentation of architectural models, making them stand out. We suggest choosing high-quality materials that reflect the actual design. Print scaled bitmaps of tiles or bricks, then accurately attach them to foam board walls. For roofs and select wall finishes, use corrugated paper sheets.
For a polished look, you can also use sprayable glue that allows for precise fixing and repositioning. Utilize glue syringes for intricate areas, ensuring stability and a neat finish. Masking tape and double-sided tape can temporarily hold parts together while glue sets, aiding in flawless assembly.
Remember to consider the context of the site. Integrate surrounding structures and natural elements to provide a comprehensive view of the project. A well-detailed, contextually accurate model speaks volumes about the project’s feasibility and design quality.
Planning and Execution Strategies
Space and Scale Considerations
Accurate space and scale considerations are crucial in architectural model making. Models should reflect real-world proportions accurately. For instance, a scale of 1:50 is common for displaying room layouts and furniture placement, while 1:100 is often used for overall building exteriors. Using smaller scales helps manage the size of the model, making it more portable.
We should also consider the workspace. Ensuring adequate room for layout and assembly minimizes the risk of damage and improves precision. Tools such as cutting mats and grid-lined tables aid in maintaining scale accuracy.
Time Management Tips for Model Making
Effective time management ensures project deadlines are met without compromising quality. Breaking the model making process into stages, such as initial design, component crafting, and final assembly, helps streamline workflow. Setting specific goals for each stage keeps the project on track.
Allocating time for drying and setting of adhesives is also essential. For example, using a glue syringe or double-sided tape can speed up the assembly process. We should plan workspace setup in advance, keeping all necessary supplies within reach to avoid unnecessary delays. Regularly evaluating progress allows adjustments to be made swiftly, preventing last-minute rushes.

Conclusion
When wrapping up any architectural project, model assembly often poses unique challenges, but valuable tips can make a significant difference. Understanding essential tools and materials is crucial. We recommend high-precision craft knives, metal rulers, high GSM paper, and balsa wood for constructing intricate models. High-quality adhesives ensure structural integrity.
Utilizing sketch models aids in visualizing spatial relationships and material options during preliminary design phases. They serve as a trial method, refining concepts before the final build.
Incorporating technology like laser cutting and 3D printing enhances model precision. Laser cutting is particularly advantageous for creating detailed components efficiently. It’s essential to get your virtual model set up correctly, though, since different materials require specific considerations. For instance, wooden models may exhibit burned edges, which you’ll need to manage or conceal.
Accurate space and scale considerations must be prioritized. Common scales like 1:50 for room layouts and 1:100 for building exteriors ensure precision in spatial representation. To convert real-world measurements to model scale, divide 1000 by the scale indicator number. For example, at a 1:200 scale, one meter equals 5mm on the model.
Workplace layout impacts model-making accuracy. Cutting mats protect surfaces and aid measurement consistency. Effective time management involves breaking the process into stages, setting clear goals, and allocating time for adhesive drying.
By integrating these tips into our process, we can create architectural models that are both accurate and visually compelling.
- Accurate model rendering
- Architectural model construction
- Architectural model creation
- Architectural model design tips
- Architectural model efficiency
- Architectural model making tips
- Architectural Model Tips
- Architectural modeling strategies
- Construction precision in models
- Creating precise architectural models
- Efficiency in architecture modeling
- Efficiency in model building
- Efficient architectural models
- Enhancing model efficiency
- High-precision architectural models
- Model building techniques
- Optimizing architectural model accuracy
- precision in model making
- Precision in scale modeling
- Precision techniques for models
- Professional model building tips


Leave a comment