


Table of Contents Show
Tools used in architecture education go far beyond software. The right physical kit, including drafting tools for architecture, measuring devices, and model-making essentials, builds the precision and craft that studio work demands. This guide covers the 10 most useful items every architecture student should own, with practical buying advice for each.
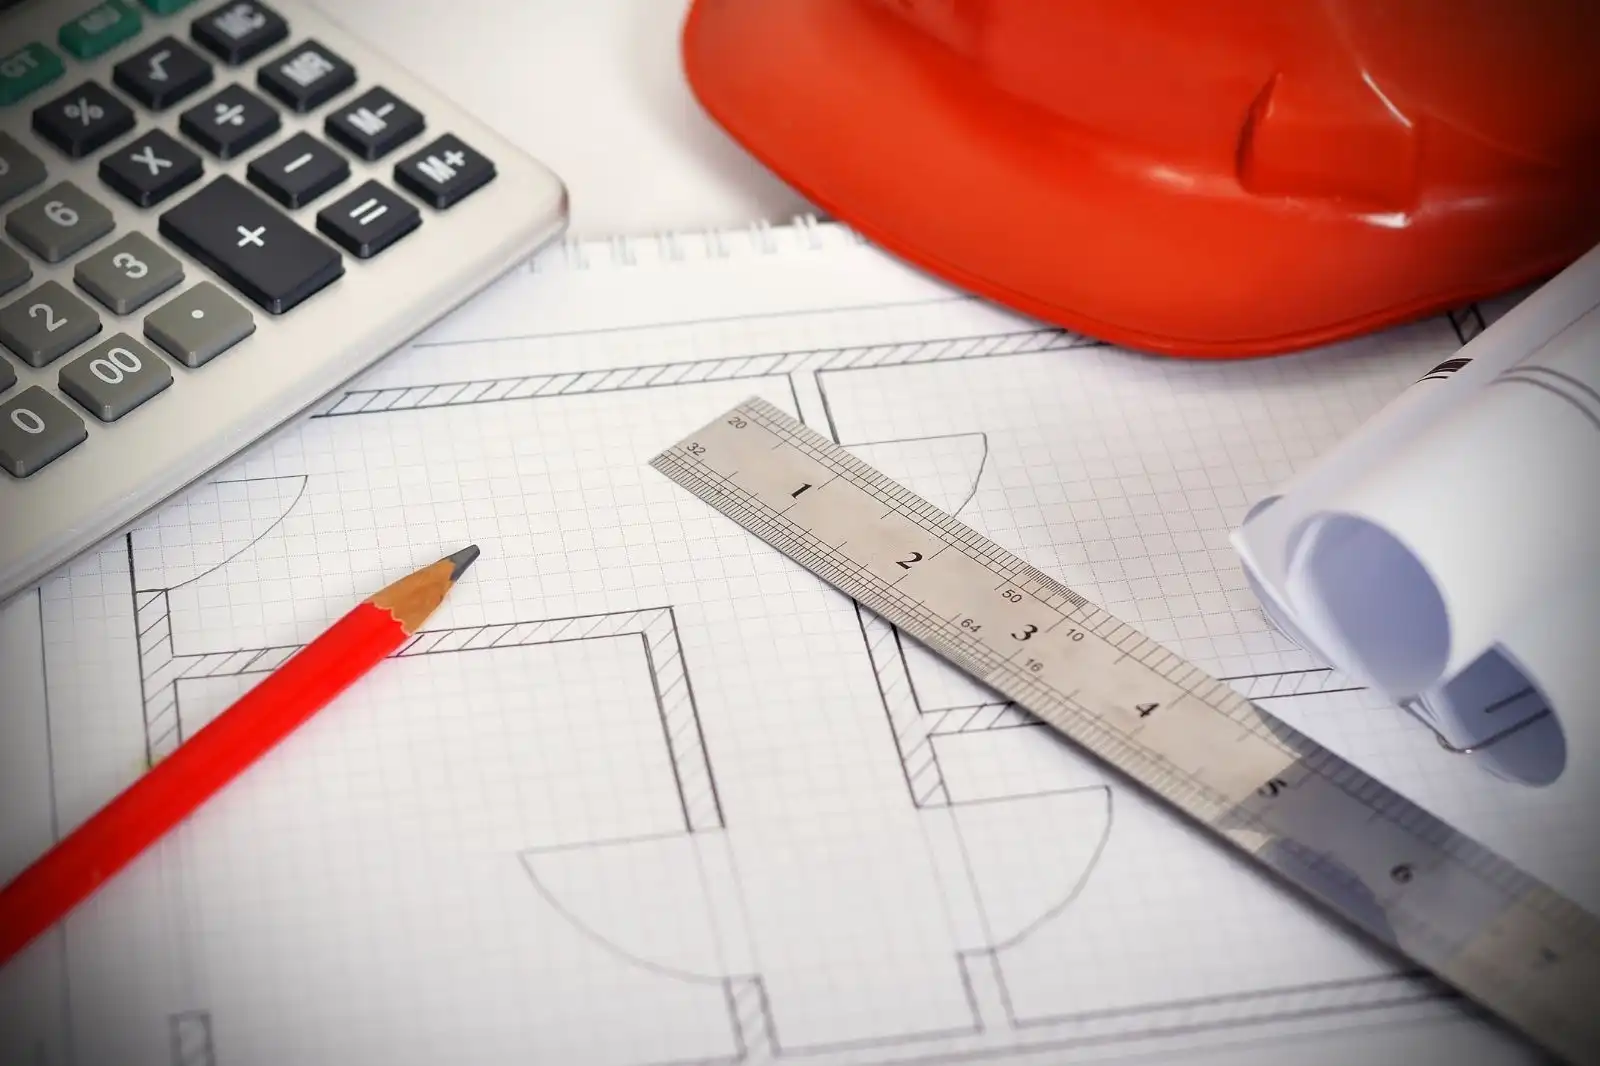
Walk into any architecture studio at 2 a.m. during a thesis crit and you will see the same thing: laptops glowing on every desk, sure, but also scale rulers, X-Acto knives, basswood scraps, and tracing paper covering every surface. Software gets the attention these days, yet the physical kit you carry through five or six years of architecture school shapes how you draw, measure, and think. Architectural drafting tools are not relics. They are the equipment that builds your hand-eye judgment, the same judgment that translates later into better screen work.
This list focuses on what genuinely earns a place in your bag. No gimmicks. Each item below has a clear use case in studio, on site visits, or at the model-building table. Most can be bought once and last the entire degree if you choose well.
Why Physical Tools Still Matter in Architecture School
Before listing the tools, it helps to understand why they remain essential even in a CAD-dominated curriculum. Drawing by hand and building physical models force you to slow down. You cannot zoom in to fix proportions or hit Ctrl+Z when a knife slips on chipboard. That friction is where learning happens.
Most architecture programs still require hand drafting in the first one or two years, and many design studios use physical models throughout the entire degree as part of their design representation methods. Faculty assign these exercises because they build the spatial intuition no software can teach. Beyond academics, partners and senior architects in firms still rely on quick sketches and trace overlays during design reviews. Knowing how to use the tools below is a marker of fluency in the profession.
💡 Pro Tip
Buy tools individually rather than committing to a pre-packed “student kit” from a campus bookstore. Those kits often pad the price with low-grade items you will replace within a semester. Spending the same budget on three or four high-quality essentials gives you better results and saves money over the full degree.
1. Architectural Scale Ruler (Triangular Scale)
The architectural scale ruler is the single most important architecture tools ruler you will own. It lets you read and draw plans at standard scales such as 1:50, 1:100, 1:200, or in imperial systems 1/4″ = 1′-0″, 1/8″ = 1′-0″, and so on. Without it, dimensioned drawings are meaningless.
A triangular scale carries six different scales on one tool, which covers nearly every drawing situation in school. Look for solid aluminum or high-grade plastic with engraved (not printed) markings. Printed numbers wear off within a year of regular use. Both metric and imperial versions exist, and many programs require students to own one of each since site visits, building codes, and software outputs may use different systems.
For programs that rely on metric, the most-used scales are 1:20, 1:50, 1:100, and 1:200. For imperial-based curricula, expect to use 1/8″, 1/4″, 1/2″, and 3/4″ most often.
📐 Technical Note
Architectural scales are standardized under ISO 5455:1979 (Technical drawings, Scales), which lists preferred reduction ratios such as 1:5, 1:10, 1:20, 1:50, 1:100, 1:200, 1:500, and 1:1000 for architectural and civil drawings. Knowing which scales fall within this preferred range helps when sharing drawings across teams in different countries.
2. Mechanical Pencils with Lead Range
Wooden pencils have a place, but mechanical pencils do most of the work in architecture school. They keep a consistent line weight, never need sharpening, and produce cleaner drawings on tracing paper and vellum. Three sizes cover almost every situation.
Keep a 0.3mm for fine detail and dimensions, a 0.5mm for general drafting, and a 0.7mm or 0.9mm for heavier construction lines and quick sketches. Pair them with leads in different hardness grades. HB or B for general work, 2H or 3H for light layout lines, and 2B for shading and presentation sketches.
Quality matters here more than people expect. A sturdy metal-bodied mechanical pencil with a knurled grip, like the Rotring 600 or Pentel GraphGear 1000, will outlast plastic versions by years and feels balanced enough that hand fatigue stays manageable during long studio nights.
3. Quality Eraser Set
Erasing is part of drawing. Architecture students go through erasers faster than any other tool, so building a set worth using saves time and frustration.
Three types cover almost everything. A white vinyl block eraser handles general cleanup without smudging. A click-style eraser pencil, such as the Pentel Clic Eraser, lets you remove fine details inside dense drawings without disturbing surrounding lines. A kneaded eraser shapes to the line you need to lift and is ideal for graphite shading work or tracing paper, where standard erasers can tear the surface.
Skip the pink rubber erasers that come on the back of standard pencils. They smear graphite and leave colored residue on tracing paper, which shows up under presentation lights.
⚠️ Common Mistake to Avoid
Many first-year students try to erase mistakes on inked drawings or final presentation sheets with a regular vinyl eraser. This often pulls fibers from the paper and leaves a visible patch under studio lights. For ink corrections, use a dedicated electric eraser with a fine-tip refill, or build the habit of working in pencil first and only inking once the layout is finalized.
4. T-Square or Parallel Bar
For hand drafting, you cannot draw straight horizontal lines accurately without a T-square or a parallel bar mounted to your drafting board. Both work the same way: they slide vertically along the board and give you a stable reference for ruling lines.
A T-square is portable and cheap, which makes it a good first purchase for students still figuring out their workspace. A parallel bar is more accurate over long lines and stays parallel to the top edge of your board, which matters when you are working on large sheets at A1 or 24″ x 36″. Most architecture schools have studios fitted with parallel bars on the boards, so a T-square is often enough for home use.
Look for a 36-inch (or 90 cm) version with a transparent edge. Transparent edges let you see the lines underneath, which improves alignment when stacking drawing sheets.
5. Set of Triangles (30/60 and 45)
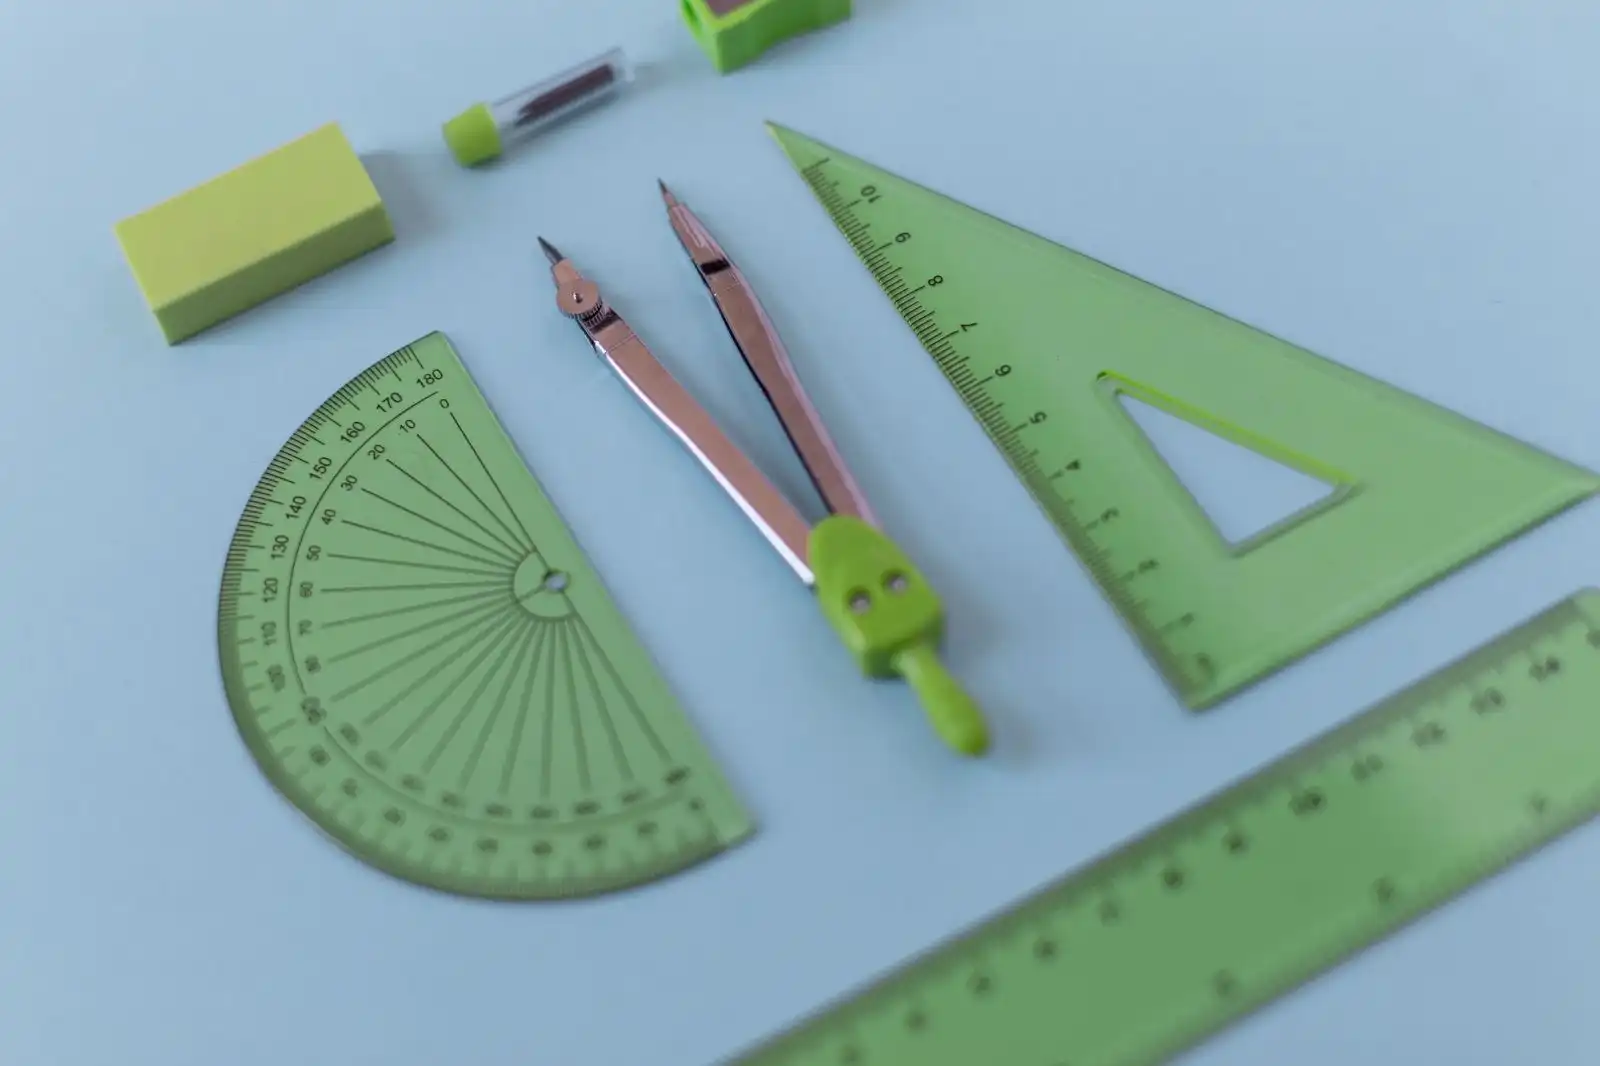
Triangles work in combination with your T-square or parallel bar to draw vertical and angled lines. The two essential ones are a 30/60-degree triangle and a 45-degree triangle. Together they cover the most common angles in architectural drawings: 30, 45, 60, 75, 90, and combinations thereof.
Adjustable triangles, which let you set any angle between 0 and 90 degrees, are useful in later years when drawings include non-orthogonal geometry. Start with the standard pair and add an adjustable version if your studio work demands it.
Choose triangles with inking edges. These edges are slightly raised so ink does not bleed underneath, and the same feature reduces graphite smudging when you are drafting in pencil. Sizes around 8 to 12 inches handle most studio work without becoming unwieldy.
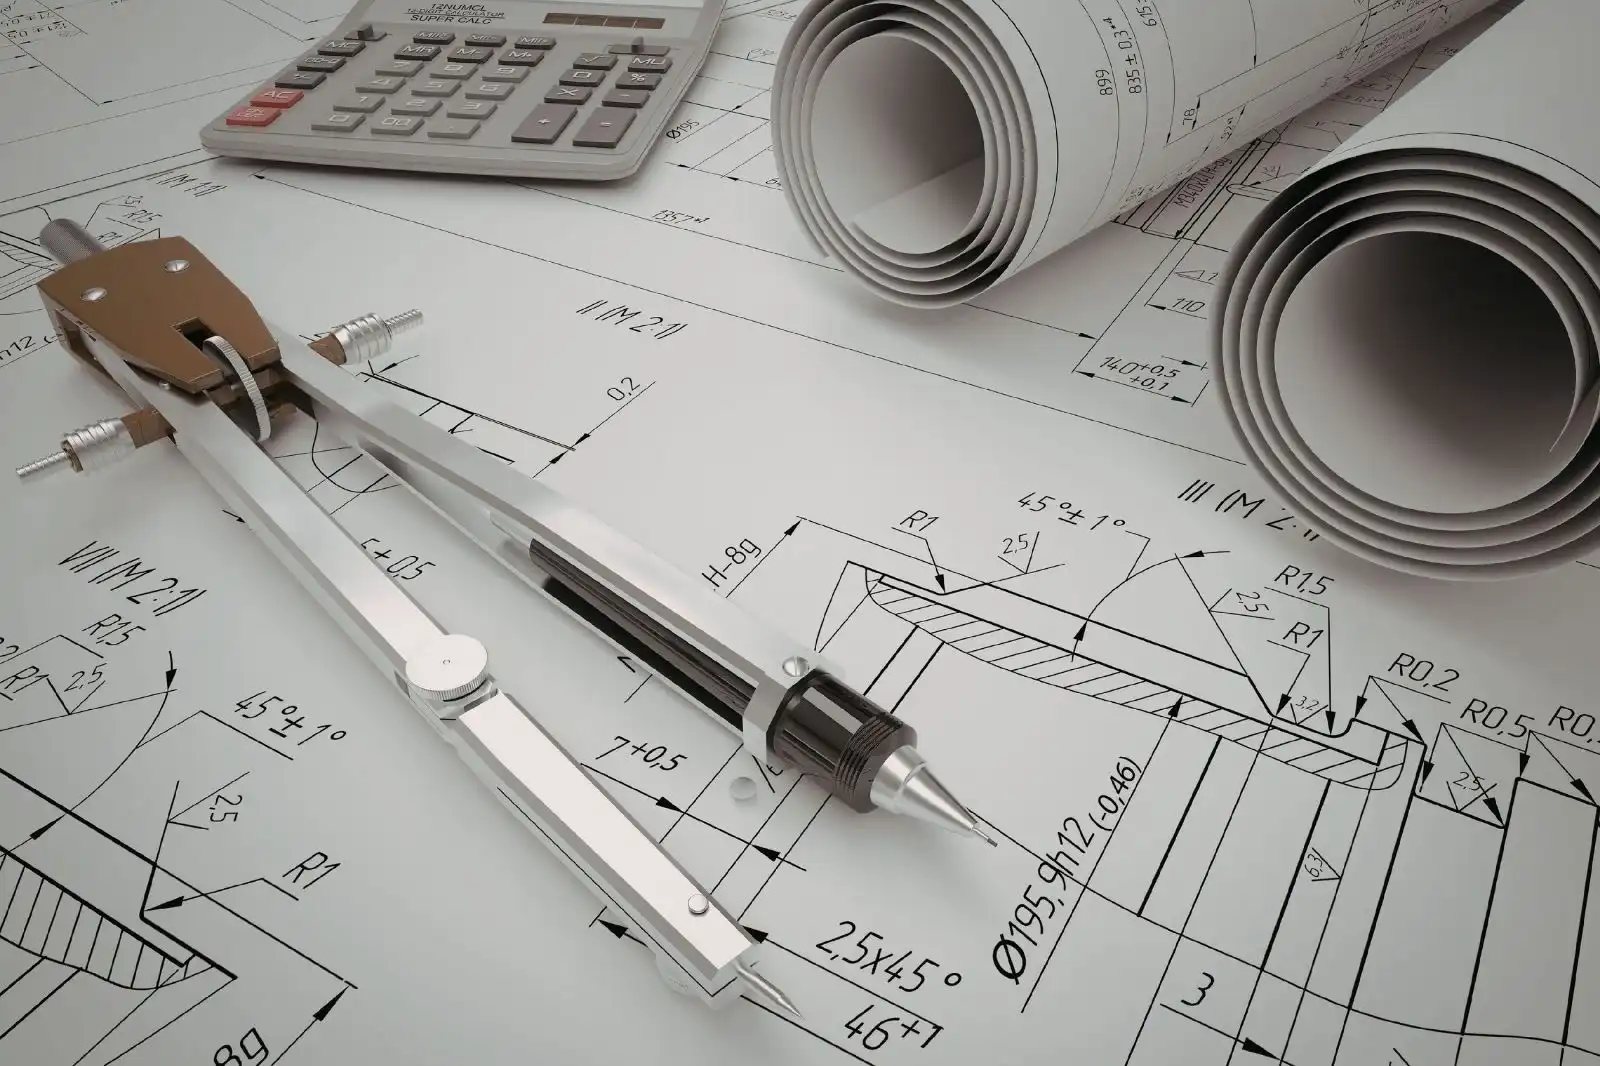
6. Drafting Compass and Circle Templates
Drawing accurate circles and arcs by hand requires a quality compass. A bow compass with an adjustable thumb-screw stays put when you set a radius, unlike cheaper friction-fit versions that drift mid-stroke.
Circle templates speed up small-radius work. A standard architectural circle template covers diameters from roughly 1mm to 35mm, which handles columns, fixtures, and detail elements faster than a compass. For larger circles, the compass is still your tool.
French curves and flexible curves round out the curve-drawing kit. They are essential for site plans, organic forms, and any drawing where you cannot rely on circular geometry alone.
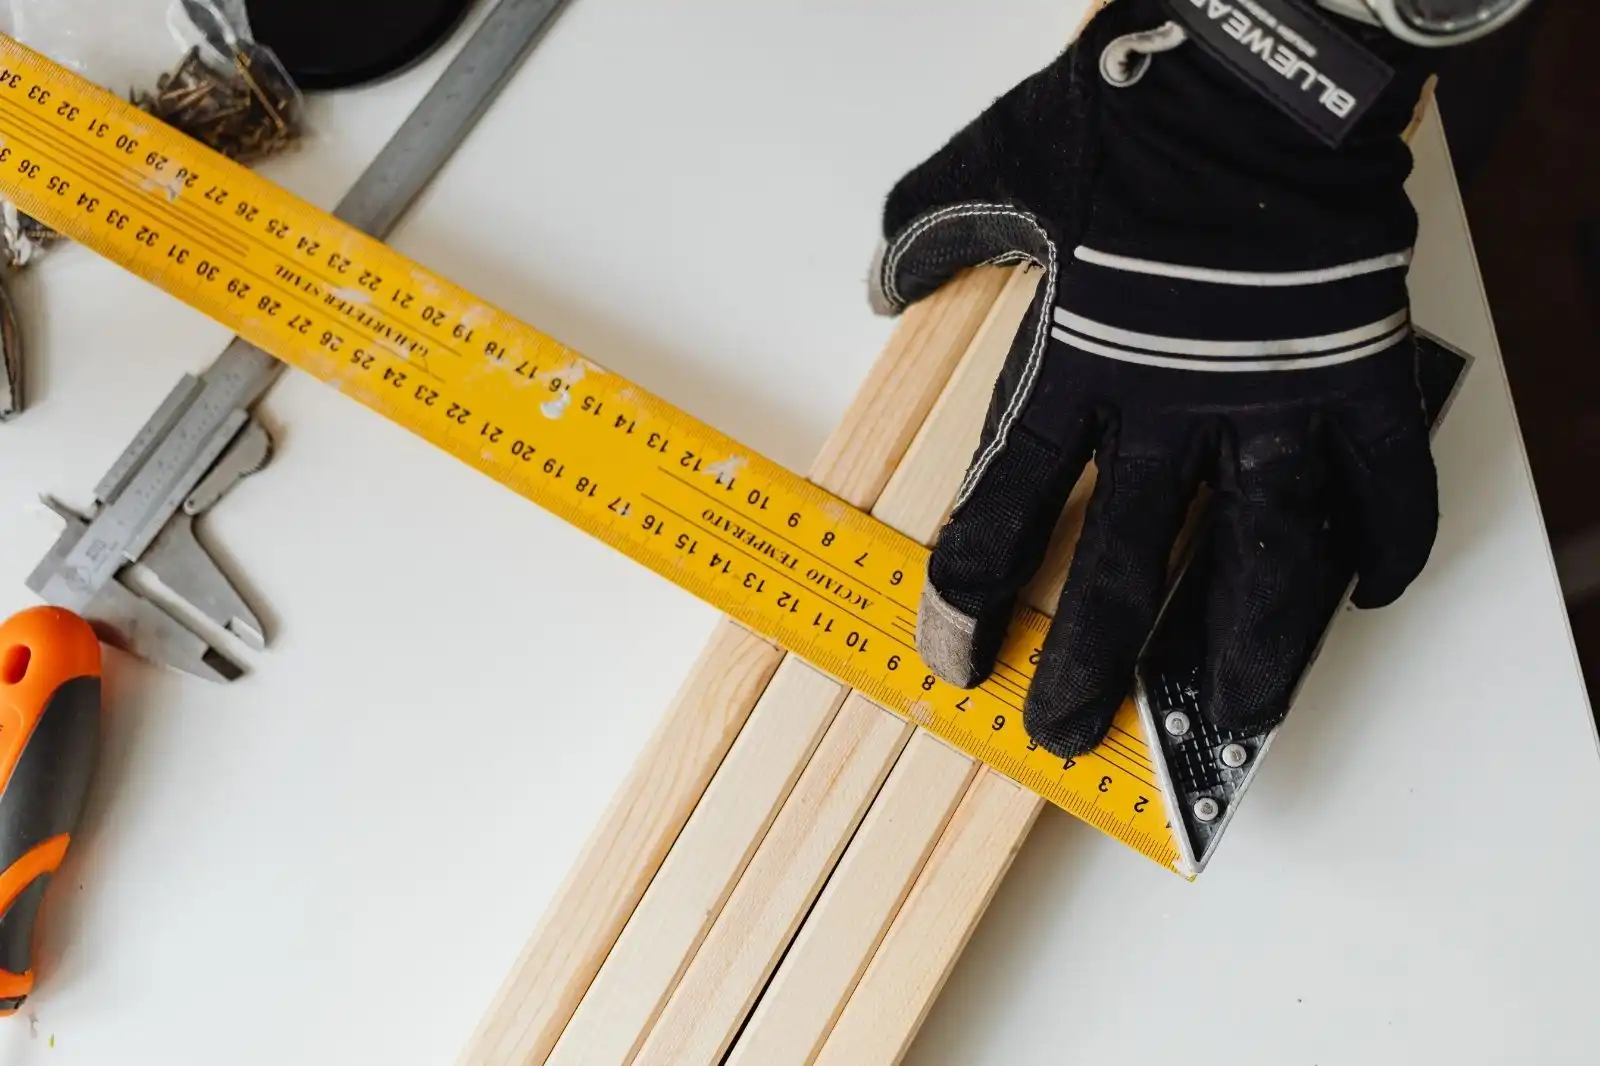
7. Cutting Mat and Knives for Model Making
Architecture modeling tools start with two items: a self-healing cutting mat and a sharp knife. Models eat through both of these, but the right setup makes the work cleaner and safer.
For the cutting mat, an A2 (roughly 24″ x 18″) size fits most studio desks and gives enough room to cut full sheets of chipboard or basswood without rotating constantly. Self-healing mats from brands like Olfa or Alvin last for years. The grid printed on the surface helps with quick alignment, and the soft vinyl absorbs blade pressure so cuts stay clean.
For knives, an X-Acto #1 with #11 blades is the standard choice for fine work. A heavier utility knife handles thicker materials like foam core and chipboard. Replace blades often. A dull blade tears material instead of cutting it, which ruins models and increases the chance of slipping into your hand.
💡 Pro Tip
When cutting basswood or chipboard, score the line three or four times with light pressure rather than trying to cut through in one pass. The first pass marks the line, the next two deepen the cut, and the final pass separates the material. This produces cleaner edges and reduces the chance of the blade veering off the line, which is the most common cause of cuts during model-making nights.
8. Steel Ruler and Cork-Backed Ruler
For cutting, you need a steel ruler. Plastic and aluminum scale rulers will warp or get nicked by knife blades, which makes them inaccurate over time. A 12-inch and an 18-inch steel ruler cover most cutting tasks.
Cork-backed steel rulers have a strip of cork on the underside, which prevents the ruler from slipping when you press a knife against it. This is a small upgrade that pays off the first time you cut a long, straight line through chipboard without the ruler shifting halfway through.
Keep these rulers separate from your drawing scale rulers. Using a steel ruler for measuring drawings will eventually leave marks on your sheets, and using a scale ruler for cutting will destroy the engraved markings.
9. Sketchbook and Trace Paper

Every architect carries a sketchbook. The choice between hardbound notebooks (like Moleskine or Leuchtturm) and spiral-bound sketchbooks (like Strathmore) comes down to whether you want a record of your thinking or a workspace for quick studies. Many students carry both.
For studio work, a roll of trace paper (also called yellow trace or “bumwad”) is non-negotiable. Trace lets you overlay multiple iterations of a design without redrawing the base each time, which is the core of how architects develop ideas. A 12-inch roll covers most studio needs and lasts a full semester.
Trace paper also pairs well with the digital workflow. You can sketch revisions over a printed CAD plan, photograph or scan the trace, and continue iterating in software. This blend of hand and digital reflects how most contemporary practices actually work, an approach also covered in this guide on architecture concept models.
10. Laser Distance Measure (Laser Tape Measure)
Site visits, existing-building surveys, and even quick room measurements during studio research go faster with a laser distance measure. A handheld laser tape can measure distances up to 60 to 100 meters with millimeter accuracy, which is far beyond what a standard tape measure can do alone or with a partner.
Models from Leica (the Disto series) and Bosch (the GLM series) are the standard. They start around the price of a basic tape measure but pay back the cost on the first thesis site survey. Basic features to look for include continuous measurement, area calculation, and Pythagoras mode (which calculates indirect heights).
A traditional 5-meter tape measure still earns space in your bag for short distances and physical reference, but the laser tape handles everything beyond a few meters with less hassle and more accuracy. For more on the role of measurement and other digital aids in studio work, see this overview of cool gadgets for architects and designers.
Comparison: Essential Drafting Tools at a Glance
The table below summarizes the core drafting and measuring tools, their primary use, and an approximate priority for first purchase.
| Tool | Primary Use | Year Most Used | Buy First? |
|---|---|---|---|
| Architectural scale ruler | Reading and drawing dimensioned plans | All years | Yes |
| Mechanical pencils (set) | Drafting and sketching | All years | Yes |
| T-square or parallel bar | Hand drafting straight lines | Year 1-2 | Yes |
| Triangle set (30/60 and 45) | Vertical and angled lines | Year 1-2 | Yes |
| Cutting mat and knives | Model making | All years | Yes |
| Compass and circle templates | Curves, arcs, columns | Year 1-3 | No (later) |
| Steel ruler (cork-backed) | Cutting straight edges | All years | Yes |
| Sketchbook + trace paper | Ideation, design iteration | All years | Yes |
| Eraser set | Drawing corrections | All years | Yes |
| Laser distance measure | Site surveys, room measurement | Year 3-5 | No (later) |
How to Build Your Toolkit Without Overspending
Buying everything at once is unnecessary and usually wasteful. Most architecture programs send a tool list during orientation, and faculty often recommend brands and sizes specific to your studio. Wait for that list before placing a large order.
If you want to start before classes begin, focus on the eight items in the “Buy First” column above. The compass and laser tape can wait until you actually need them, which for most students is the second or third year. Some tools, like the laser tape, can also be borrowed from a department equipment library when needed, especially for one-off site visits.
Brands matter more for some items than others. For scales, triangles, and mechanical pencils, brand quality directly affects accuracy and longevity, so spending more upfront pays off. For cutting mats, sketchbooks, and trace paper, generic store-brand options work fine for most students.
🏗️ Real-World Example
The Bartlett School of Architecture (UCL, London): One of the world’s top-ranked architecture schools, the Bartlett operates a dedicated workshop facility (B-made) that supports students with model-making, 3D printing, robotics, and CNC milling. The school’s continued investment in physical fabrication facilities reflects a wider philosophy at leading architecture schools: hand drafting and physical model-making build the spatial judgment that software-only training cannot replace.
Cost figures and tool availability vary by region and supplier, so check what is sold near campus before ordering online. Many programs also have a stationery shop or co-op where students can buy tools at a small discount.
Caring for Your Tools So They Last
Architecture school is hard on tools. The students who finish with a working kit instead of a pile of broken parts tend to follow a few habits.
Keep your scale ruler, triangles, and pencils in a soft case or roll-up tool wrap. Loose tools in a backpack get scratched, bent, or lose their precision over time. A dedicated case adds weight, but it pays off in tool lifespan.
Replace knife blades the moment they feel dull. A blade that requires extra pressure is more dangerous and produces worse models than a fresh one. Buy blades in bulk packs (100-blade boxes are standard for X-Acto #11) and keep spares in your model-making kit.
Clean your cutting mat occasionally with mild soap and a soft cloth. Dust and tiny material fragments build up in the surface and can scratch finished models.
For digital tool counterparts that complement your physical kit, the school’s recommended software list will usually overlap with what professional offices use. If you want to look ahead at how this scales into practice, this comparison of ArchiCAD vs SketchUp shows how studio software choices map onto firm workflows.
✅ Key Takeaways
- An architectural scale ruler, mechanical pencils, and a quality eraser set form the foundation of every architecture student’s kit.
- Hand drafting tools (T-square, triangles, compass) remain core equipment in most architecture programs, especially in the first two years.
- Model-making essentials include a self-healing cutting mat, sharp X-Acto knives, and a steel cork-backed ruler.
- A sketchbook and trace paper support ideation throughout the entire degree, even in software-heavy studios.
- A laser distance measure becomes valuable for site visits and surveys, usually starting in the third year.
- Buying tools individually from quality brands beats pre-packed campus kits for both performance and cost over the full degree.
Final Thoughts on Building Your Architecture Toolkit
The tools above are not glamorous, and most of them have not changed much in the last fifty years. That is exactly why they earn space in your bag. They reward careful use, last longer than most software subscriptions, and shape the way you think about space and scale in ways no screen-based tool can replicate.
Start with the essentials, take care of what you buy, and add the specialized items as your projects demand them. By your final year, you will have a kit that has been through every all-nighter, every site survey, and every model-making marathon, and that history is part of what makes it useful. The tools mature with the architect.


Leave a comment