

Table of Contents Show
You can use Blender for architectural visualization by importing floor plans, modeling geometry with precision tools, applying PBR materials, and rendering with Cycles or EEVEE. Blender is free, open-source, and increasingly adopted by architecture studios for everything from concept renders to client presentations.
Blender has earned serious attention from architects and visualization specialists over the past few years. What was once considered a tool mainly for film and game artists now sits alongside 3ds Max and Cinema 4D in professional archviz pipelines. If you have been wondering whether you can use Blender for architecture, the short answer is yes, and the barrier to entry is lower than most paid alternatives. This guide walks through the core steps of using Blender for architecture, from initial setup to final render output.
Why Architects Are Turning to Blender for Architectural Design
The most obvious reason is cost. Blender software for architecture carries a $0 license fee, which makes it especially attractive for students, freelancers, and small firms that cannot justify annual subscriptions for 3ds Max or V-Ray. But price alone does not explain its growing adoption. Blender 3D for architecture now includes Cycles (a physically based path tracer), EEVEE (a real-time render engine), and Geometry Nodes for parametric workflows. These tools cover the full visualization pipeline inside a single application. For a broader look at how architectural visualization workflows are structured across the industry, that resource covers the standard stages from modeling through delivery.
Is Blender good for architecture? For visualization output, absolutely. For BIM documentation and construction drawings, no. Blender does not produce IFC files natively or handle scheduling and cost estimation. It is a modeling and rendering tool, not a BIM platform. Architects who need both typically model in Revit or ArchiCAD and export geometry to Blender for final visualization work. The official Blender website maintains a full feature list and download links for all operating systems.
💡 Pro Tip
If you are tr
ansitioning from SketchUp or Rhino, install the CAD Sketcher add-on for Blender. It adds constraint-based 2D drafting directly inside Blender’s viewport, making the shift from CAD-style workflows much less jarring.
Setting Up Your Blender Workspace for Architecture
Before you start modeling, configure Blender to behave like an architecture tool rather than a general-purpose 3D package. Set your scene units to meters under Scene Properties, and change the grid scale to match. This avoids constant unit conversion headaches later. Enable the Import DXF/DWG add-on (included with Blender) so you can bring in floor plans directly from AutoCAD or similar CAD software.
A few add-ons are worth installing early. Archipack and Archimesh generate parametric doors, windows, stairs, and walls. BlenderBIM adds IFC import and export if you need to pull models from Revit. For asset management, consider linking to ambientCG or Poly Haven for free, CC0-licensed PBR textures and HDRIs. Both libraries integrate directly into Blender’s asset browser.
Modeling Architecture in Blender
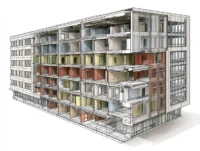
Architectural modeling in Blender follows a straightforward pattern: import a reference plan, extrude walls, cut openings, and add detail. Start by importing your floor plan as a DXF or background image. Scale it to real-world dimensions, then trace walls using the Extrude and Loop Cut tools. Boolean operations work well for cutting window and door openings into wall geometry, though you should clean up the resulting topology afterward to avoid shading artifacts during rendering.
For repetitive elements like window frames, railings, or facade panels, Blender’s Array and Mirror modifiers save significant time. Geometry Nodes offer even more flexibility for parametric patterns. If you are interested in how these parametric capabilities compare with tools like Grasshopper, the parametric design tools guide on learnarchitecture.net covers the key differences.
⚠️ Common Mistake to Avoid
Many beginners model walls as single-sided planes instead of giving them real thickness. This causes lighting errors in Cycles because the renderer needs closed geometry to calculate light bounces correctly. Always model walls, floors, and ceilings with actual depth, even if it is only 15-20 cm.
Applying Materials and Textures for Archviz Renders
Blender’s Shader Editor uses a node-based system for building materials. For architectural visualization, PBR (Physically Based Rendering) workflows produce the most realistic results. A standard PBR material connects Base Color, Roughness, Normal, and Metallic texture maps into the Principled BSDF shader node. This single shader handles most architectural surfaces, from polished concrete to brushed metal to fabric upholstery.
Texture mapping matters as much as the textures themselves. Use UV projection or the Object coordinate mode for large surfaces like walls and floors to avoid visible seams. For wood flooring and brick, the Mapping node lets you control scale, rotation, and offset precisely. Sites like Poly Haven and ambientCG provide free, high-resolution texture sets specifically tagged for architectural use. If you are exploring other free digital tools for architects, several complement Blender’s material workflow.
📌 Did You Know?
Blender’s Cycles render engine uses the same physically based path tracing approach as commercial renderers like V-Ray and Corona. According to the Blender Foundation, Cycles supports GPU acceleration on NVIDIA (CUDA/OptiX), AMD (HIP), and Apple Silicon (Metal), allowing render times competitive with paid alternatives on equivalent hardware.
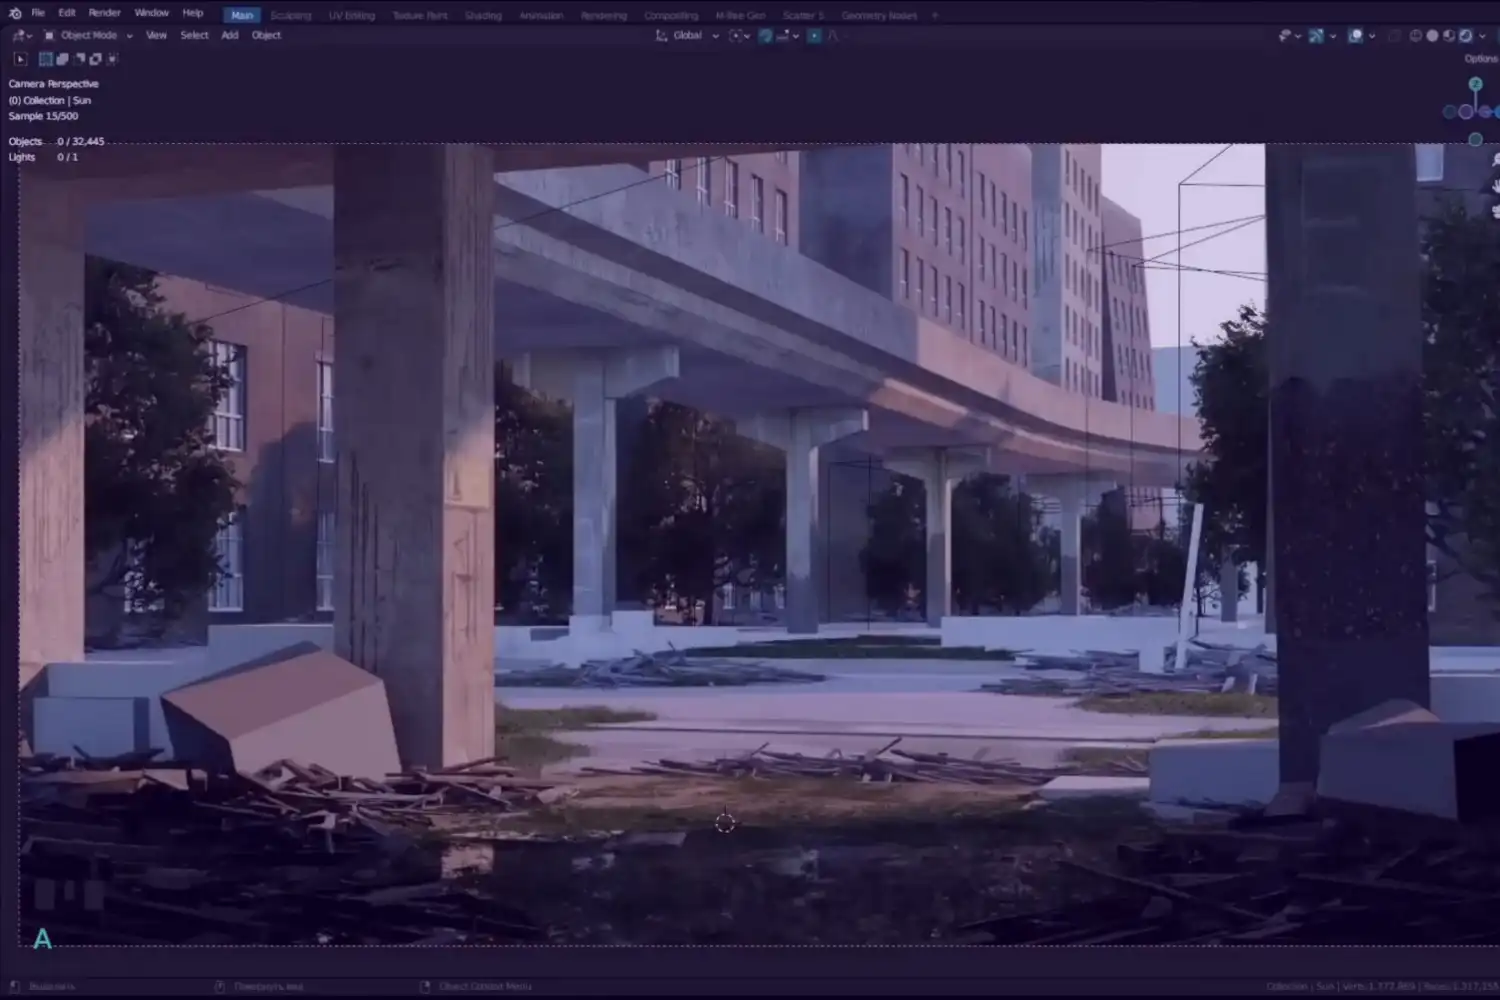
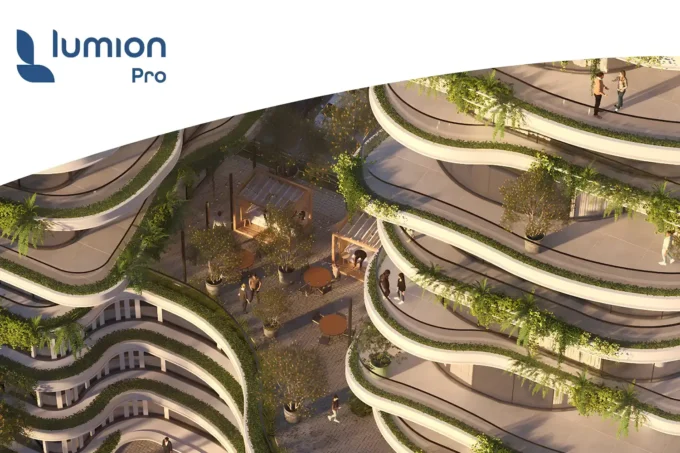
Lighting and Rendering Your Architectural Scene
Lighting makes or breaks an architectural render. For exterior scenes, an HDRI environment map provides realistic sky illumination and reflections with minimal setup. Drop an HDRI into the World shader, adjust rotation to place the sun where you want it, and Cycles handles the rest. Interior lighting requires more control. Use area lights to simulate windows letting daylight in, and add IES light profiles for artificial fixtures to get accurate falloff patterns.
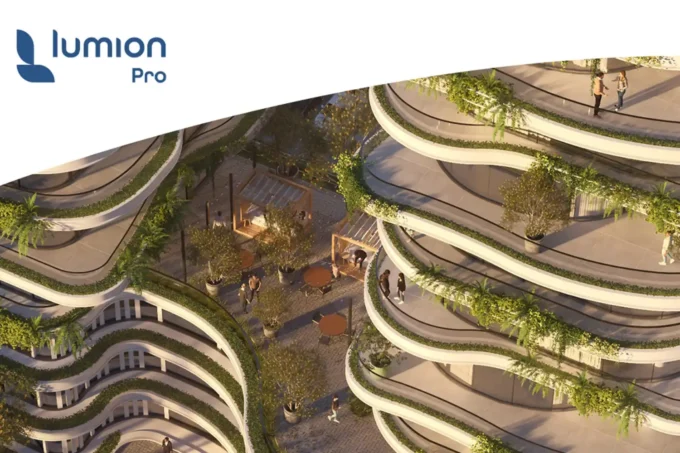
Blender offers two render engines relevant to archviz. Cycles produces photorealistic results through path tracing but requires more render time. EEVEE renders in near real-time and works well for design iteration, client walkthroughs, and animation, though it approximates global illumination rather than calculating it physically. Many studios use both: EEVEE for quick feedback during the design process, Cycles for final deliverables. The Blender manual’s Cycles documentation covers sampling, denoising, and performance tuning in detail.
💡 Pro Tip
For interior scenes, enable the Light Path > Clamping option (set indirect clamping to around 10) to reduce firefly artifacts without visibly affecting image quality. This is especially useful in scenes with small, bright light sources like recessed downlights or candles.
Camera setup also influences the final image. Set the focal length between 18 mm and 35 mm for architectural shots, matching how real-world architecture photographers compose their images. Enable Vertical Shift (or use the Lens Shift value) to correct perspective distortion rather than tilting the camera upward, which introduces converging verticals.
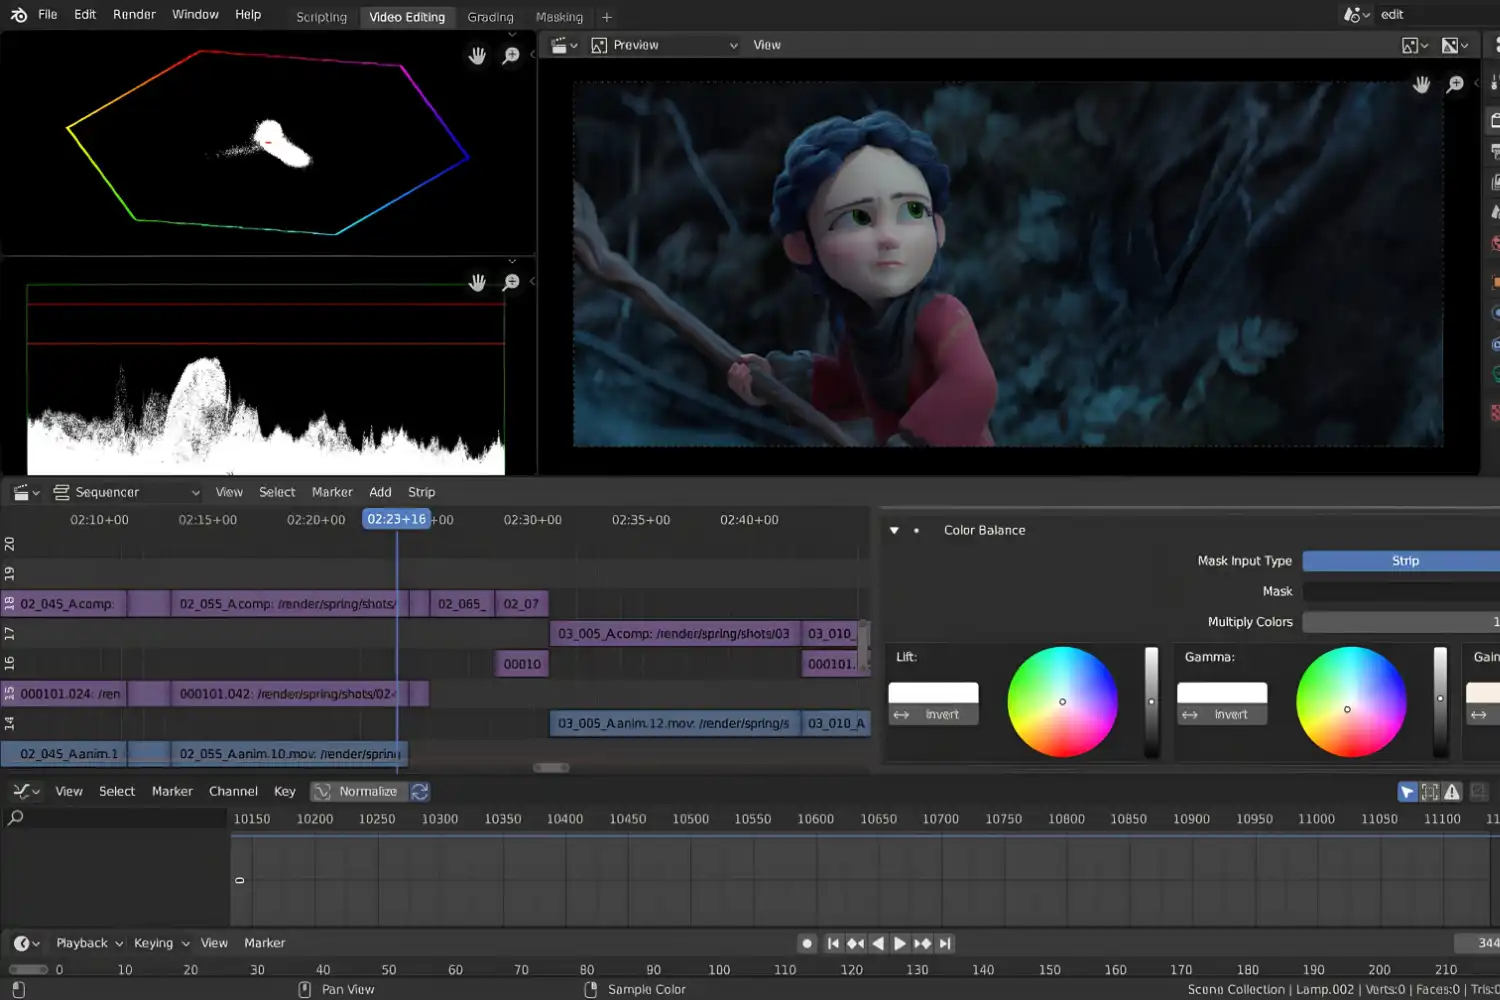
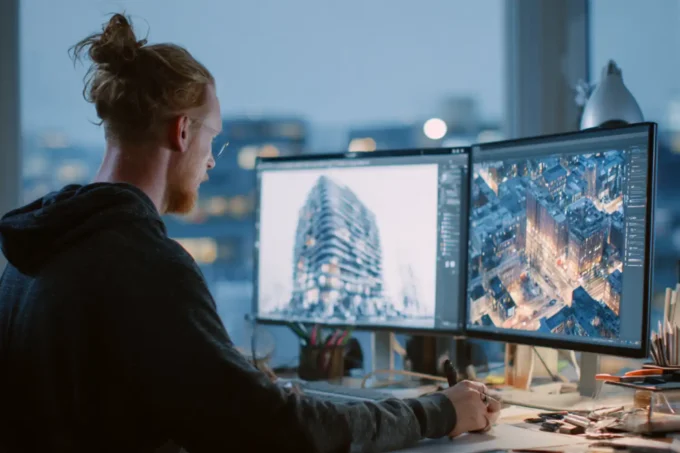
Post-Production and Presenting Your Work
Render output from Blender should be saved in EXR or PNG format. EXR preserves the full dynamic range of your scene, which gives you more flexibility during color grading and exposure adjustments in Photoshop or Affinity Photo. Use Blender’s built-in Compositor for basic post-processing like glare, color balance, and vignette before exporting, or handle everything externally if you prefer a dedicated editing application.
Architectural renders often end up in portfolios, competition panels, or client presentations. If you are building an architecture portfolio that includes 3D visualization work, the portfolio building guide on learnarchitecture.net covers how to structure and present visual work effectively. For studios exploring AI-assisted rendering alongside traditional tools, the AI visualization tools overview compares current options.
Putting It All Together
Your Next Step: Download Blender, import a simple floor plan you already have, and build one room with real wall thickness, a basic PBR material set, and a single HDRI for lighting. Render it with Cycles at 512 samples. That single exercise covers 80% of what this blender tutorial for architecture described and gives you a concrete result to evaluate before committing to a full project.
Frequently Asked Questions
Can Blender be used for architecture professionally?
Yes. Studios like Brick Visual and several ArchDaily-featured firms use Blender for architectural visualization in production work. It handles modeling, materials, lighting, and rendering at a professional level. The main limitation is the absence of native BIM features, so most offices pair it with Revit or ArchiCAD for documentation.
Is Blender better than SketchUp for architectural visualization?
For rendering quality, Blender is significantly more capable. Its built-in Cycles engine produces photorealistic results without third-party plugins. SketchUp is faster for quick massing studies and early design exploration. Many architects use SketchUp for concept design and Blender for final visualization. A comparison of 3D architectural design software options can help you decide based on your workflow.
How long does it take to learn Blender for architecture?
Basic modeling and rendering for architecture takes roughly 4 to 6 weeks of consistent practice. The interface has a steeper initial learning curve than SketchUp, but most architects report that productivity catches up within 2 to 3 months. Free structured courses on YouTube and the Blender Foundation’s own tutorials accelerate the process.
What add-ons should architects install in Blender?
Start with Archipack (parametric architectural elements), CAD Sketcher (constraint-based drafting), and the DXF/DWG importer (built-in). For BIM workflows, BlenderBIM adds IFC support. Node Wrangler (built-in) speeds up material creation. These cover most architectural needs without additional cost.
Can I import Revit models into Blender?
Yes, through IFC export. Export your Revit model as an IFC file, then import it into Blender using the BlenderBIM add-on. Alternatively, export from Revit as FBX or OBJ, though these formats lose BIM metadata. The IFC route preserves layer organization and material assignments more reliably.
- blender 3d for architecture
- blender for architectural design
- blender for architectural visualization
- blender for architecture
- blender software for architecture
- blender tutorial for architecture
- can blender be used for architecture
- can i use blender for architecture
- is blender good for architecture
- using blender for architecture


Leave a comment