


Table of Contents Show
Rhino vs Revit comes down to purpose. Rhino is a NURBS modeler built for freeform geometry, concept design, and computational work through Grasshopper. Revit is a BIM platform built for construction documentation, scheduling, and multidisciplinary coordination. Use Rhino to shape ideas, and use Revit to deliver buildable, data-rich projects.
Both tools sit on the desk of almost every architecture studio, yet they solve different problems. Picking the wrong one early can cost weeks of rework. This breakdown looks at how each program thinks, where each one wins, and how teams pair them so the strengths of one cover the gaps in the other.
What Is the Core Difference Between Rhino and Revit?
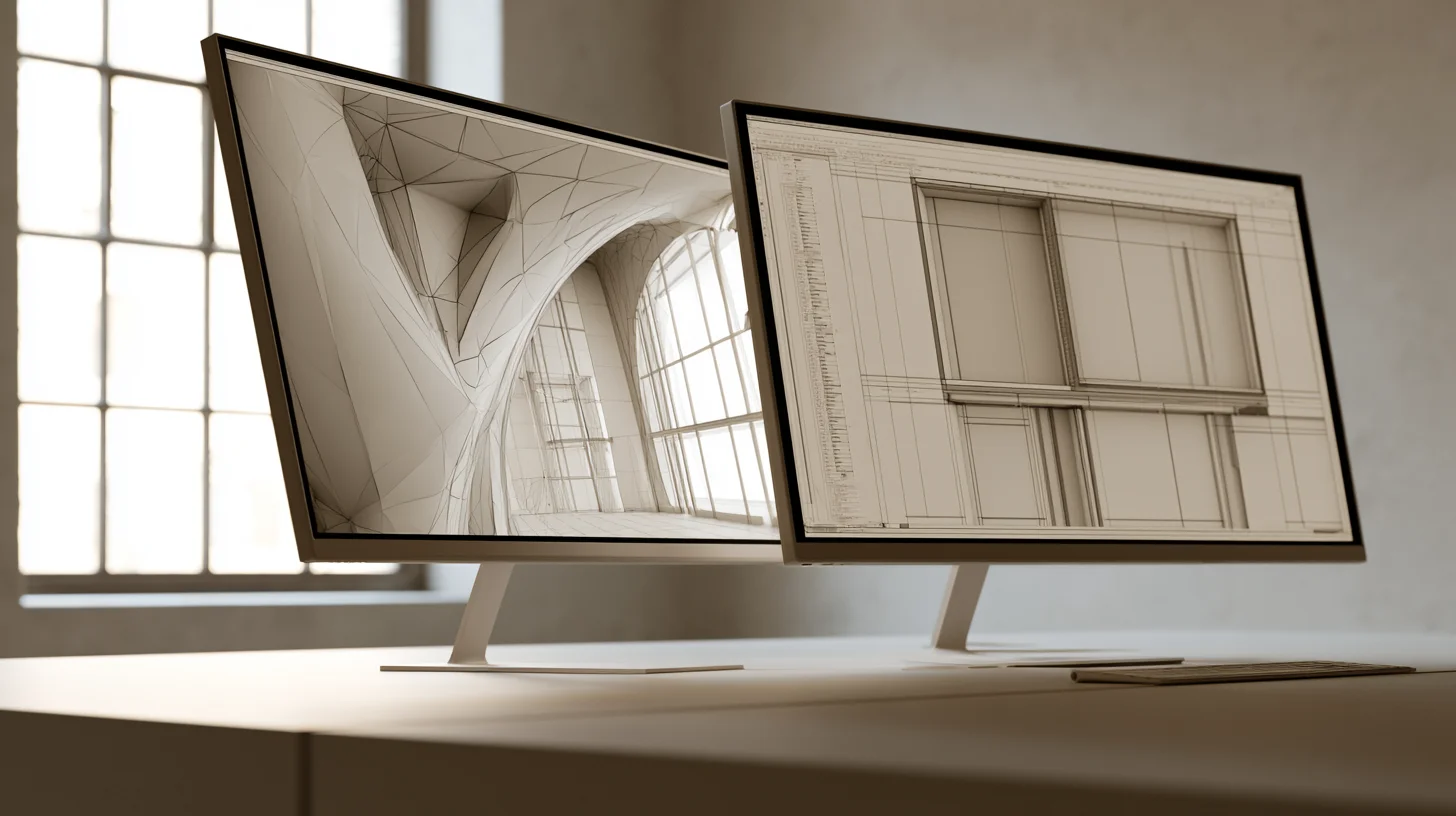
The core difference is geometry versus information. Rhino describes shapes as mathematical surfaces, so you can push and pull almost any curved form with precision. Revit describes a building as a connected database of walls, floors, and roofs that carry data, dimensions, and relationships. One draws geometry, the other models a building.
Rhino, made by Robert McNeel and Associates, uses NURBS surfaces that handle double-curved and sculptural forms with ease. Revit, made by Autodesk, is a BIM authoring tool where every element updates across plans, sections, and schedules at the same time. That single idea, a model that knows what it is, shapes the entire revit vs rhino decision.
This split changes how you think while you work. In Rhino you ask what a form should look like and refine it freely, with no assumption that a surface is a wall or a slab. In Revit you place objects that already carry meaning and behavior, so a wall hosts doors, reports its area, and respects the levels it sits between. The first approach rewards exploration, the second rewards structure and accountability. Knowing which mindset a phase of work needs is the fastest way to decide between them.
⚖️ Pros & Cons at a Glance
✔️ Pros: Rhino offers near-total geometric freedom, a gentle modeling start, and the Grasshopper ecosystem. Revit offers automatic documentation, live coordination across disciplines, and reliable schedules.
✖️ Cons: Rhino has weak native documentation and no real BIM data. Revit struggles with complex curved forms and has a steep, workflow-heavy learning curve.
Rhino vs Revit: A Feature-by-Feature Comparison
The table below sets the two programs side by side on the points that usually decide a project. Read it as a starting filter, then weigh the rows that matter most for your scope and team.
Comparison Table of Rhino and Revit
| Feature | Rhino | Revit |
|---|---|---|
| Core technology | NURBS surface and solid modeling | BIM database of parametric building objects |
| Best for | Concept design, complex geometry, facades | Construction documentation and coordination |
| Geometry freedom | Very high, freeform and double-curved forms | Limited, tied to standard building elements |
| Parametric workflow | Grasshopper visual scripting | Families plus Dynamo for automation |
| Documentation and schedules | Limited, often needs plugins | Strong, automatic drawings and schedules |
| Collaboration | File-based, links through Rhino.Inside | Worksharing on a shared central model |
| Platform | Windows and macOS | Windows only |
| Learning curve | Quick to model, steeper for Grasshopper | Steep, built around strict workflows |
When to Use Rhino
Reach for Rhino when form is the question you are still answering. During early conceptual design, the freedom to sketch any surface and edit it without rules keeps your options open. Rhino also handles precise fabrication geometry, so the same model that explores a shape can feed CNC milling, laser cutting, or panel layouts later.
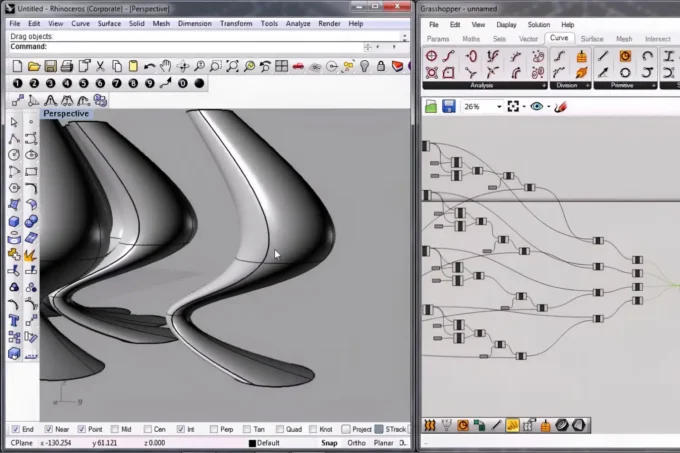
The deeper reason teams choose Rhino is Grasshopper, its visual scripting environment. Instead of repeating manual steps, you build a definition that generates and adjusts geometry from a few inputs. This is where parametric facades, structural patterns, and data-driven forms come from. If you are new to this way of working, the guide to Grasshopper and Rhino for architects is a practical place to start, and the roundup of the best parametric design tools shows how Rhino fits the wider field.
🏗️ Real-World Example
Heydar Aliyev Center (Baku, 2012): Zaha Hadid Architects modeled the building’s flowing, column-free shell as continuous double-curved surfaces. That kind of seamless skin, where wall becomes roof becomes ground, is exactly the freeform geometry a NURBS modeler like Rhino is built to control.
Rhino is also the friendlier entry point for many students and small studios because it runs on both Windows and macOS and the modeling tools feel direct. If you are weighing it against another popular modeler, the comparison of SketchUp vs Rhino 8 covers where each one pulls ahead for conceptual and computational work.
Rhino earns its place in competition entries and design studies where the brief is still open. Because the file format is widely supported, geometry moves cleanly into rendering, analysis, and fabrication tools without heavy conversion. A facade studied in Rhino can be tested for sun exposure, optimized through Grasshopper, and then unrolled into flat cutting patterns for a prototype, all from one model. That range is why so many architects treat the rhino 3d vs revit choice as a question of which job is in front of them rather than a permanent allegiance to one program.
When to Use Revit
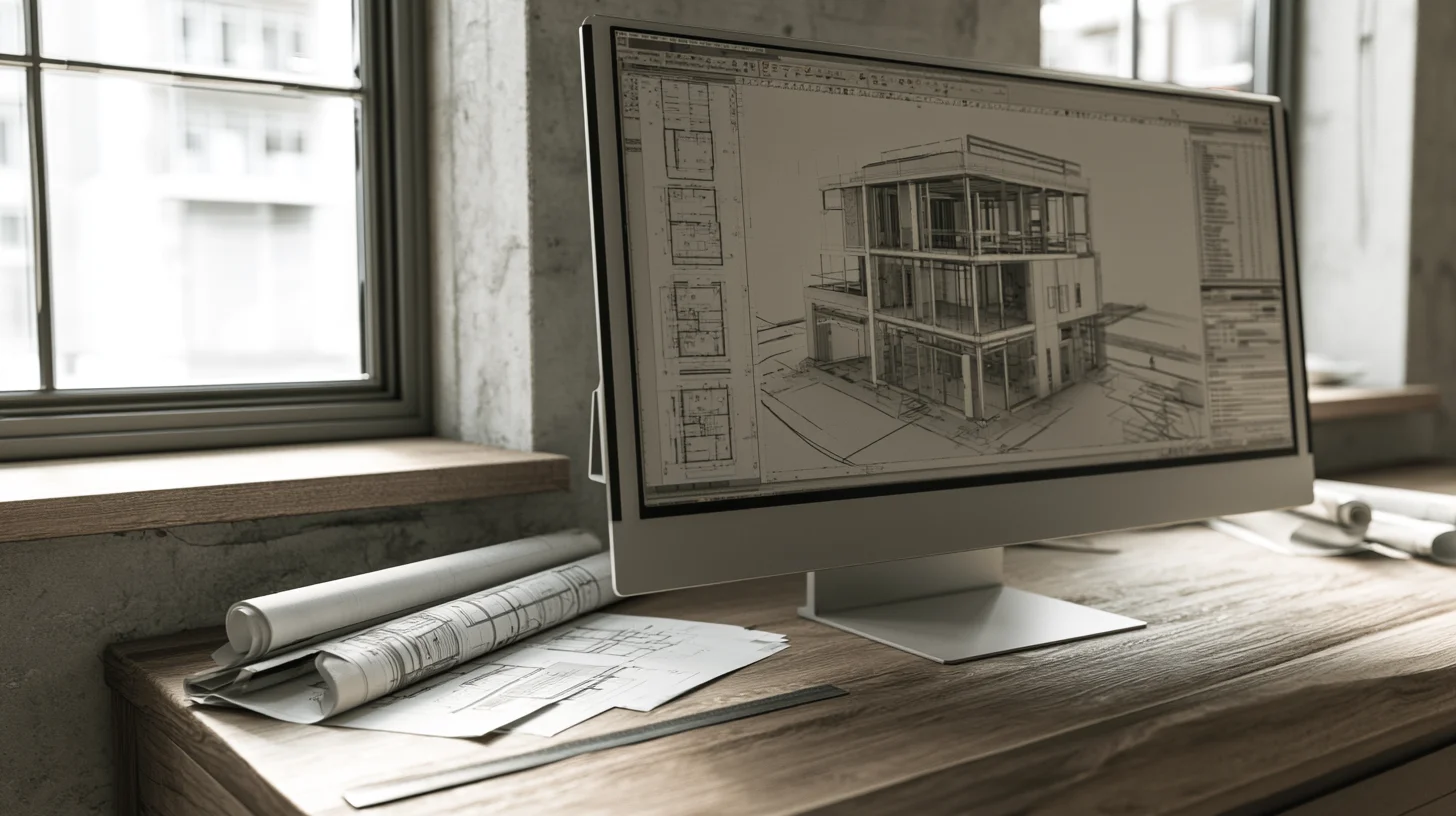
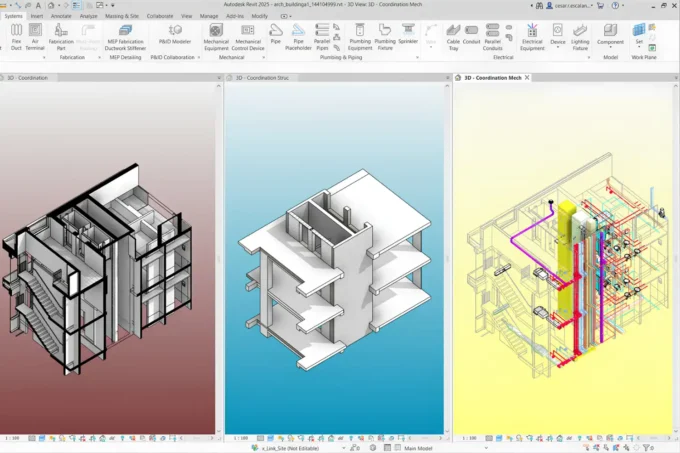
Choose Revit once a project moves from idea to building. Its strength is the single coordinated model that produces plans, sections, elevations, and schedules automatically. Change a window once and every view, quantity, and door schedule updates, which removes the drawing drift that plagues file-based workflows. For permit sets and tender packages, that consistency is hard to match.
Revit also shines on multidisciplinary jobs. Architectural, structural, and MEP teams can work on linked or shared models and catch clashes before they reach the site. If you compare it against another major BIM tool, the breakdown of Revit vs ArchiCAD explains how its parametric families and worksharing hold up, and the list of free BIM collaboration platforms shows how Revit models move between teams.
💡 Pro Tip
A common mistake on site is forcing complex curved geometry directly in Revit, which fights the software and slows everyone down. Experienced teams model the difficult forms in Rhino first, then bring them into Revit as native elements, so documentation stays clean without losing the design intent.
Revit pays off most on larger and longer projects where the same model carries a building from schematic design through to handover. Quantities feed cost estimates, room data supports area calculations, and the model becomes a record the client can use to operate the building later. That lifecycle value is the heart of the autodesk revit vs rhino argument once a job is real and accountable to a budget and a code authority.
The trade-off is rigidity. Revit expects you to work within its families and rules, and stepping outside them takes effort. For a clean rectilinear office or housing block this structure is a gift, since it prevents errors and keeps documentation coordinated. For a sculptural museum it can feel like a cage, which is the moment teams look back toward Rhino for the parts that refuse to fit standard elements.
One practical limit worth planning around: Revit runs on Windows only, so Mac-based studios need Boot Camp, a virtual machine, or a cloud workstation. Match that against your hardware before committing a whole team.
Can You Use Rhino and Revit Together?
Yes, and for many practices the smartest answer to autodesk revit vs rhino is to use both. The free Rhino.Inside.Revit tool from McNeel runs Rhino and Grasshopper inside a live Revit session, so you can generate geometry parametrically in Grasshopper and place it as real Revit walls, floors, or families. The design freedom of one tool feeds the documentation engine of the other.
A typical pipeline looks like this: explore the massing and facade logic in Rhino, lock the geometry with a Grasshopper definition, then push it into Revit for coordination and drawings. This pairing is why the rhino vs revit question is rarely about replacing one with the other. It is about sequencing them so each does what it does best.
Set up the bridge early rather than late. If you build a parametric panel system in Grasshopper and only think about documentation at the end, the handoff into Revit can break and force a rebuild. Teams that plan the connection from the first week keep their Grasshopper definitions clean, name elements consistently, and agree on which program owns which layer of information. Done well, the combined workflow gives a studio the sculptural reach of Rhino and the buildable rigor of Revit without asking anyone to compromise on either.
What This Means for Your Next Project
Bottom Line: Match the tool to the stage. Rhino owns early form-finding, complex geometry, and computational design, while Revit owns documentation, data, and multidisciplinary coordination. On anything ambitious, the strongest workflow is to model in Rhino, document in Revit, and bridge the two with Rhino.Inside.Revit.
For the official source on each platform, see Autodesk Revit and Rhinoceros 3D by McNeel. For wider context, the Building Information Modeling overview explains the BIM approach behind Revit, and ArchDaily’s guide to rendering parametric designs with Rhino and Grasshopper shows the creative side of the Rhino workflow in practice.
















Leave a comment