

Table of Contents Show
To learn SketchUp architecture effectively, break the process into four weekly phases: interface and navigation, core modeling tools, architectural detailing, and presentation-ready output. This structured approach lets beginners produce a complete building model within a single month while building habits that carry into professional practice.
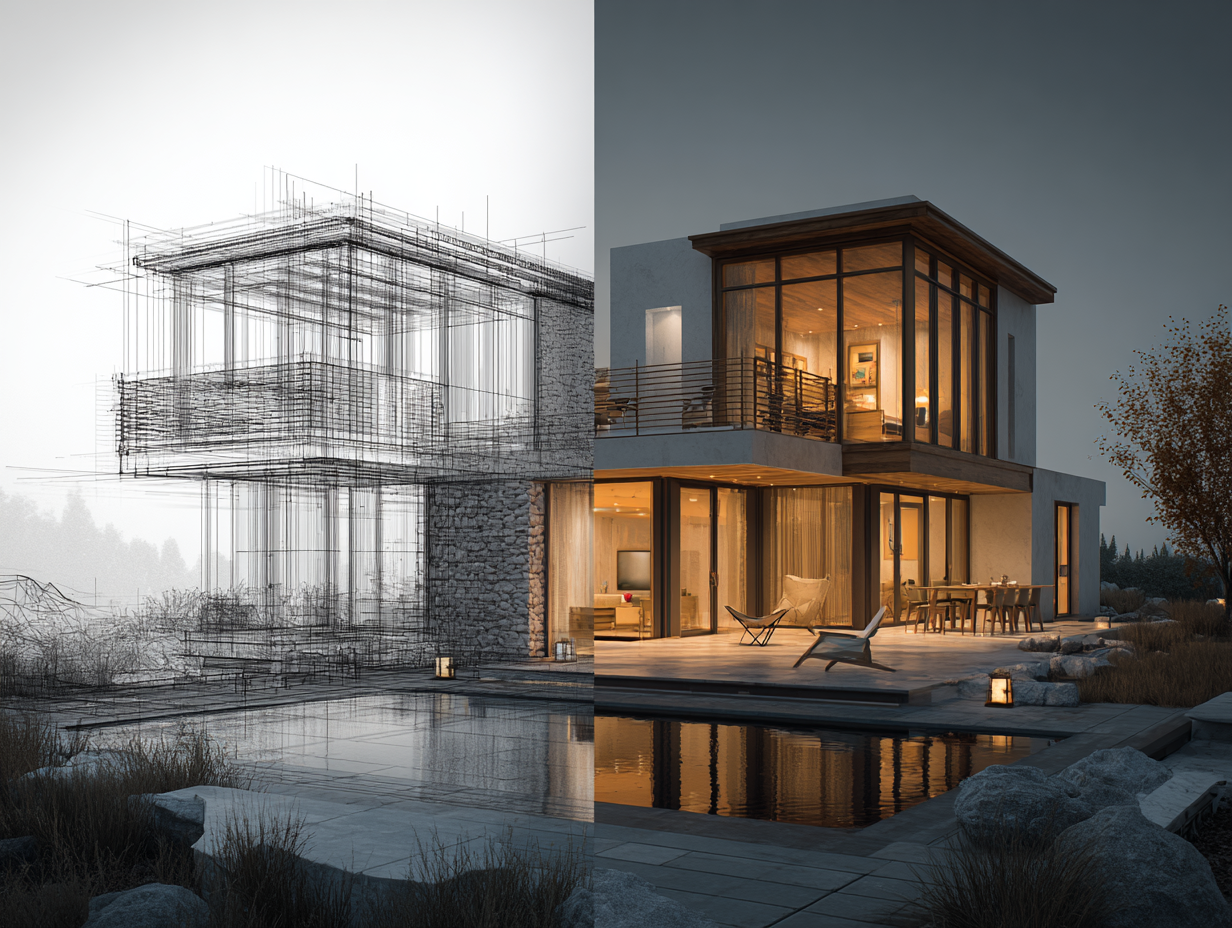
SketchUp has been a go-to 3D modeling tool for architects since Trimble took over development in 2012. Its push-pull interface makes spatial thinking almost physical, which is why architecture schools and small firms rely on it for everything from early massing studies to client presentations. But the software’s simplicity can be deceptive. Without a structured plan, new users tend to pick up bad modeling habits that become painful to fix later. The 30-day roadmap below gives you a clear path from first launch to a finished architectural model, with specific daily goals and practical exercises at each stage.
Why SketchUp Works So Well for Architectural Design
Most 3D modeling programs force you to think in abstractions: parameter trees, constraint systems, or command-line inputs. SketchUp takes a different approach. You draw a rectangle, push it up, and you have a wall. This direct manipulation is what makes SketchUp architecture workflows feel intuitive, especially for people who think spatially rather than numerically.
The software runs three pricing tiers. SketchUp Free works in a browser and covers basic modeling. SketchUp Pro at $399 per year (as of 2026) adds LayOut for construction documents and access to the Extension Warehouse. SketchUp Studio at $819 per year bundles Scan Essentials and Trimble Connect for larger teams. For learning purposes, the free web version handles everything you need during your first 30 days.
📌 Did You Know?
SketchUp’s 3D Warehouse contains over 4 million free models uploaded by users worldwide, making it the largest free library of 3D architectural components available. Architecture students regularly download furniture, fixtures, and even full building shells to study how experienced modelers organize geometry.
Week 1: Interface, Navigation, and Basic Geometry
Your first seven days should focus entirely on muscle memory. Open SketchUp, pick any template with an architectural scale, and spend Day 1 just orbiting, panning, and zooming. Use the scroll wheel to zoom, hold the middle button to orbit, and hold Shift plus the middle button to pan. These three moves will account for about 40% of your interaction with the software, so they need to feel automatic.
Days 2 through 4 cover the six tools you will use most: Line, Rectangle, Push/Pull, Move, Offset, and Eraser. Draw a simple floor plan from a rectangle, offset the edges inward to create wall thickness, then push the walls up. That sequence, rectangle to offset to push/pull, is the backbone of architectural design with SketchUp. Practice it repeatedly with different dimensions until you can model a single room with openings in under ten minutes.
Days 5 through 7 introduce the Tape Measure tool for setting guide points, the Rotate tool for angled geometry, and the Follow Me tool for creating profiles along a path (useful for cornices, handrails, and extruded moldings). By the end of Week 1, you should be able to model a basic rectangular building shell with door and window openings.
💡 Pro Tip
Type exact dimensions immediately after activating a tool. Draw a rectangle, then type 6m,4m and press Enter to set precise measurements. This habit prevents the most common beginner mistake: modeling at incorrect scales and discovering the problem only after hours of work.
Week 2: Groups, Components, and Organized Modeling
Week 2 is where most self-taught users either build solid foundations or develop problems that haunt them for years. The single most important concept in SketchUp for architecture is the difference between groups and components.
Raw geometry in SketchUp sticks together. If you draw a box next to another box, their touching faces merge into a single surface. Groups isolate geometry so it stays independent. Components do the same thing but add a critical feature: editing one instance updates all copies. A window you place twenty times in a facade? Make it a component. Change the glazing profile once, and every instance updates automatically.
Spend Days 8 and 9 rebuilding your Week 1 model using proper groups for walls, floors, and roof. Days 10 and 11 focus on creating window and door components with correct insertion points. Day 12 covers the Outliner panel, which lets you see your model’s hierarchy and rename elements for clarity. Days 13 and 14 introduce Layers (called Tags in newer versions) for controlling visibility, such as toggling furniture on and off or isolating structural elements.
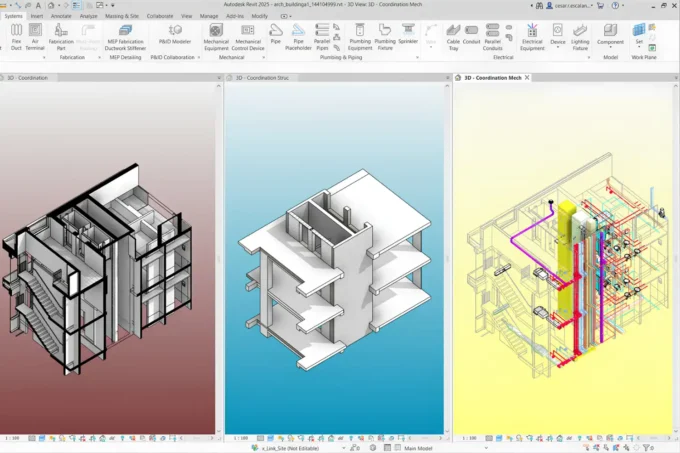
A well-organized SketchUp architecture model uses Tags to separate categories (walls, furniture, landscape, annotations) and Components for repeated elements. This mirrors how BIM software like ArchiCAD organizes building data, and it prepares you for professional workflows where file sharing and rendering depend on clean model structure.
⚠️ Common Mistake to Avoid
Beginners often skip grouping and model everything as loose geometry. The result is a tangled mesh where moving one wall distorts adjacent floors and ceilings. If you find yourself fighting “sticky” faces, stop and group immediately. Rebuilding a properly grouped model from scratch takes less time than trying to untangle ungrouped geometry after the fact.
Week 3: Architectural Detailing and Materials
With clean modeling habits in place, Week 3 shifts to making your model look and function like a real building. Days 15 and 16 focus on the Section Plane tool, which slices through your model to create plan views, sections, and wall details. Place a horizontal section plane at 1.2 meters above a floor to generate a floor plan view. Place a vertical one to cut a building section. Architectural drawings in SketchUp rely heavily on section planes, so practice positioning them precisely.
Days 17 and 18 cover materials and textures. SketchUp ships with a default material library, but for architecture-specific finishes like brick bonds, timber cladding, and concrete textures, download packs from sites like SketchUp Texture Club or use the 3D Warehouse to grab pre-textured components. Apply materials by painting faces directly, and adjust scale and position using the Texture menu so brick courses align at corners.
Days 19 through 21 introduce Scenes and Styles. A Scene saves a specific camera position, visible tags, section plane state, and style settings. Set up scenes for your floor plan, two elevations, a section, and a perspective view. Styles control the visual appearance: line weight, background color, edge profiles, and shadow settings. Architectural tools for SketchUp like section planes and scenes combine to create a presentation set directly inside the model file, which you can later export to LayOut for formal drawing sheets.
How to Use the 3D Warehouse Effectively
The 3D Warehouse is both a strength and a trap. Downloading a single high-polygon sofa can bloat your file size and slow your viewport to a crawl. Before placing any downloaded component, check its polygon count by selecting it and looking at Entity Info. Furniture models should stay under 50,000 faces for residential projects. If a downloaded item exceeds that, look for a lighter alternative or simplify it yourself. Sites that offer free CAD blocks for architecture often include lightweight SketchUp-format files that work better in large projects.
Video: SketchUp 2026 for Beginners
This tutorial by Ace of Arch walks through the updated SketchUp 2026 interface, essential tools, and a first-house modeling exercise, making it a solid companion to your Week 1 and 2 practice sessions.
Week 4: Rendering, Export, and Portfolio Output
The final week connects your SketchUp model to the outside world. Days 22 and 23 focus on SketchUp’s built-in export options. You can export 2D graphics as PNG or PDF for quick presentation boards, or export 3D files as .dae (Collada), .dwg, or .fbx for use in rendering engines and other software.
Days 24 and 25 introduce rendering. SketchUp architectural rendering typically happens through plugins. V-Ray for SketchUp is the industry standard for photorealistic output, while Enscape offers real-time visualization directly inside the viewport. For students on a budget, the built-in SketchUp Diffusion AI feature and free options like SU Podium’s trial period give you enough to produce presentable images. The SketchUp to Lumion workflow is another popular pipeline that reads .skp files natively and produces high-quality renders without heavy manual setup.
Days 26 and 27 cover LayOut (Pro and Studio only), which turns your SketchUp scenes into scaled architectural drawings with title blocks, dimensions, and annotations. If you are using the free version, you can achieve similar results by exporting section views as high-resolution PNGs and composing them in a graphic editor.
Days 28 through 30 are dedicated to building a small portfolio piece. Pick a real building or design a simple house, model it with clean groups and components, apply materials, set up scenes for plan, section, elevation, and perspective, then render or style the output. This final exercise ties together everything from the previous three weeks.
💡 Pro Tip
Before rendering, purge unused components and materials by going to Window > Model Info > Statistics > Purge Unused. A typical student model carries 30 to 50% dead weight from deleted or replaced 3D Warehouse downloads. Purging can cut file size in half and significantly speed up render times.
What Are the Best SketchUp Plugins for Architecture?
SketchUp’s Extension Warehouse and the independent SketchUcation Plugin Store host thousands of add-ons. For architectural work, a handful stand out. Profile Builder generates parametric walls, floors, and framing members from 2D paths. FredoScale adds advanced deformation tools for organic and curved geometry. Curic Mirror simplifies symmetrical design, and Selection Toys makes it faster to isolate geometry in complex models.
For sketchup architectural drawings, the Skalp extension generates hatch patterns in section cuts automatically, saving hours of manual work on construction documents. And for site modeling, Artisan and Sandbox Tools (included with SketchUp Pro) handle terrain sculpting and contour manipulation.
Start with free extensions during your 30-day learning period. Paid plugins make sense once you know your workflow well enough to identify specific bottlenecks.
30-Day SketchUp Architecture Learning Timeline
The table below summarizes each week’s focus areas and daily targets:
| Week | Focus Area | Key Tools | Milestone |
|---|---|---|---|
| Week 1 | Navigation and basic geometry | Line, Rectangle, Push/Pull, Offset, Move, Eraser | Model a rectangular building shell with openings |
| Week 2 | Organization and hierarchy | Groups, Components, Tags, Outliner | Rebuild model with proper grouping and reusable components |
| Week 3 | Detailing and presentation setup | Section Planes, Materials, Scenes, Styles | Create plan, section, elevation, and perspective scenes |
| Week 4 | Export, rendering, and portfolio | Export tools, V-Ray/Lumion, LayOut | Complete a portfolio-ready architectural model with renders |
Where to Go From Here
Your Next Step: Open SketchUp today, set your template to “Architectural Design, Meters” (or feet, depending on your region), and spend 30 minutes just orbiting, drawing rectangles, and pushing them up. Getting comfortable with navigation before you worry about anything else sets the foundation for everything that follows. If you complete all four weeks, you will have a model clean enough to drop into a visualization pipeline or present directly to a client.
FAQ
How long does it take to learn SketchUp for architecture?
With consistent daily practice of one to two hours, most people reach a comfortable working level within 30 days. Basic modeling skills come within the first week, but producing clean, organized models suitable for professional presentations or rendering typically takes three to four weeks of focused effort.
Is SketchUp Free good enough for architecture students?
Yes, for learning purposes. The free web version includes all core modeling tools, the 3D Warehouse, and basic export options. You only need SketchUp Pro when you start producing formal construction documents in LayOut or when you need desktop-only extensions like V-Ray or Skalp.
Can I use SketchUp for professional architectural projects?
Many small and mid-sized architecture firms use SketchUp Pro as their primary design tool, especially for residential projects, interior design, and early-stage concept work. For full BIM documentation on larger projects, firms often pair SketchUp with Revit or ArchiCAD, using SketchUp for design exploration and the BIM platform for documentation.
What is the best rendering plugin for SketchUp architecture models?
V-Ray for SketchUp is the most widely used option for photorealistic architectural rendering. Enscape is popular for real-time walkthroughs and quick client presentations. Lumion reads SketchUp files natively and is a strong choice for students and small firms that want high-quality output without a steep learning curve.
How does SketchUp compare to Revit for architecture?
SketchUp is faster for conceptual design, massing studies, and visual communication. Revit is a full BIM platform built for detailed construction documentation, scheduling, and multi-discipline coordination. Many architects use both: SketchUp for early design phases and Revit for development and documentation.
- architectural design with sketchup
- architectural drawings in sketchup
- architectural tools for sketchup
- learn sketchup architecture
- learn sketchup for architecture
- sketchup architectural drawings
- sketchup architectural rendering
- sketchup architecture
- sketchup architecture app
- sketchup architecture software
- sketchup for architecture


Leave a comment