


Table of Contents Show
The best Lumion settings for realistic architectural renders combine ray tracing, carefully tuned lighting, PBR materials, and targeted post-processing effects. Rather than relying on one-click presets, building your own effects stack gives you full control over how light, shadow, and color appear in every scene.
Lumion’s built-in Styles (Realistic, Interior, Dramatic) offer a quick starting point, but they apply the same values regardless of your scene type. An exterior villa at golden hour needs different shadow intensity, exposure, and sky settings than an open-plan office under overcast skies. If you are comparing Lumion to other architectural rendering software, understanding these manual settings is what separates average output from photorealistic results. Once you understand each layer of the effects stack, you can save custom FX presets and reuse them across projects with minor tweaks. This guide walks through the settings that matter most, from ray tracing to final color grading.

How Ray Tracing Improves Lumion Render Quality
Ray tracing should be the first effect you enable. It simulates how light bounces, refracts, and reflects in the real world, producing accurate shadows, reflections on glass, and soft light falloff on interior surfaces. The ray tracing pipeline has been refined significantly since Lumion 2024 introduced its overhauled lighting system. In Photo Mode, open the +FX panel and switch on Ray Tracing.
The key slider here is Samples. Higher sample counts reduce visible noise in the final image. A setting of 256 samples eliminates most grain for standard scenes. For complex interiors with multiple light sources, 512 or even 1024 samples may be necessary, though render times increase proportionally. Lumion’s built-in Denoiser smooths any remaining artifacts automatically.
The Glass Shadows toggle is worth enabling for scenes with skylights, glass partitions, or decorative objects. It lets glass cast proper shadows and interact with Depth of Field. For simple flat windows, leaving it off rarely makes a visible difference and saves render time.
💡 Pro Tip
When ray tracing is enabled, the Skylight, Hyperlight, and Global Illumination effects are automatically disabled. If you notice your lighting looks different after toggling ray tracing on, do not re-enable these effects manually. They conflict with the ray tracing pipeline and can produce washed-out or double-lit results.
Lumion Light Settings for Exterior and Interior Scenes
Lighting is the single biggest factor in whether a Lumion render looks convincing or flat. The approach differs significantly between exterior and interior work.
Lumion Exterior Render Settings: Sun and Sky
For exterior renders, the Sun Studies effect (found in +FX) lets you set a specific geographic location, date, and time. This produces accurate sun angles and shadow directions for your project site. A villa in Barcelona at 4:00 PM in September will cast very different shadows than a residential block in Oslo at noon in December.
Keep Sun Brightness between 1.0 and 2.0 for most daylight scenes. Values above 3.0 tend to blow out white surfaces and create harsh, overexposed patches on facades. Adjust Sky Light to fill shadow areas with soft ambient color. A value around 0.5 to 1.0 keeps shadows visible without making them pitch black.
The Real Skies feature provides HDRI-based sky domes that add natural cloud patterns and horizon gradients. Choosing a sky that matches your target mood (clear, partly cloudy, dramatic) has a bigger impact on realism than most post-processing effects.
Lumion Light Settings for Interiors
Interior scenes rely on a mix of natural daylight entering through windows and artificial light fixtures placed within the model. Lumion offers Spotlights, Omnilights, and Area Lights, each measured in real-world units (Lumens for Spotlights and Omnilights, Nits for Area Lights).
A useful benchmark from Lumion’s knowledge base is roughly 20 Lumens per square foot for a well-lit room. A 9-by-12-foot bedroom, for example, needs about 2,160 Lumens total across all fixtures. Start conservatively and add brightness gradually. Too many lights or excessive combined brightness causes blotchy walls and uneven shadows in ray-traced renders, especially in enclosed spaces.
⚠️ Common Mistake to Avoid
Many users place dozens of Spotlights and Omnilights throughout an interior to “brighten things up.” Each additional point light increases memory usage and slows both preview and render performance. Instead, use fewer, well-placed Area Lights for general fill and reserve Spotlights for accent lighting on specific features like artwork or countertops.
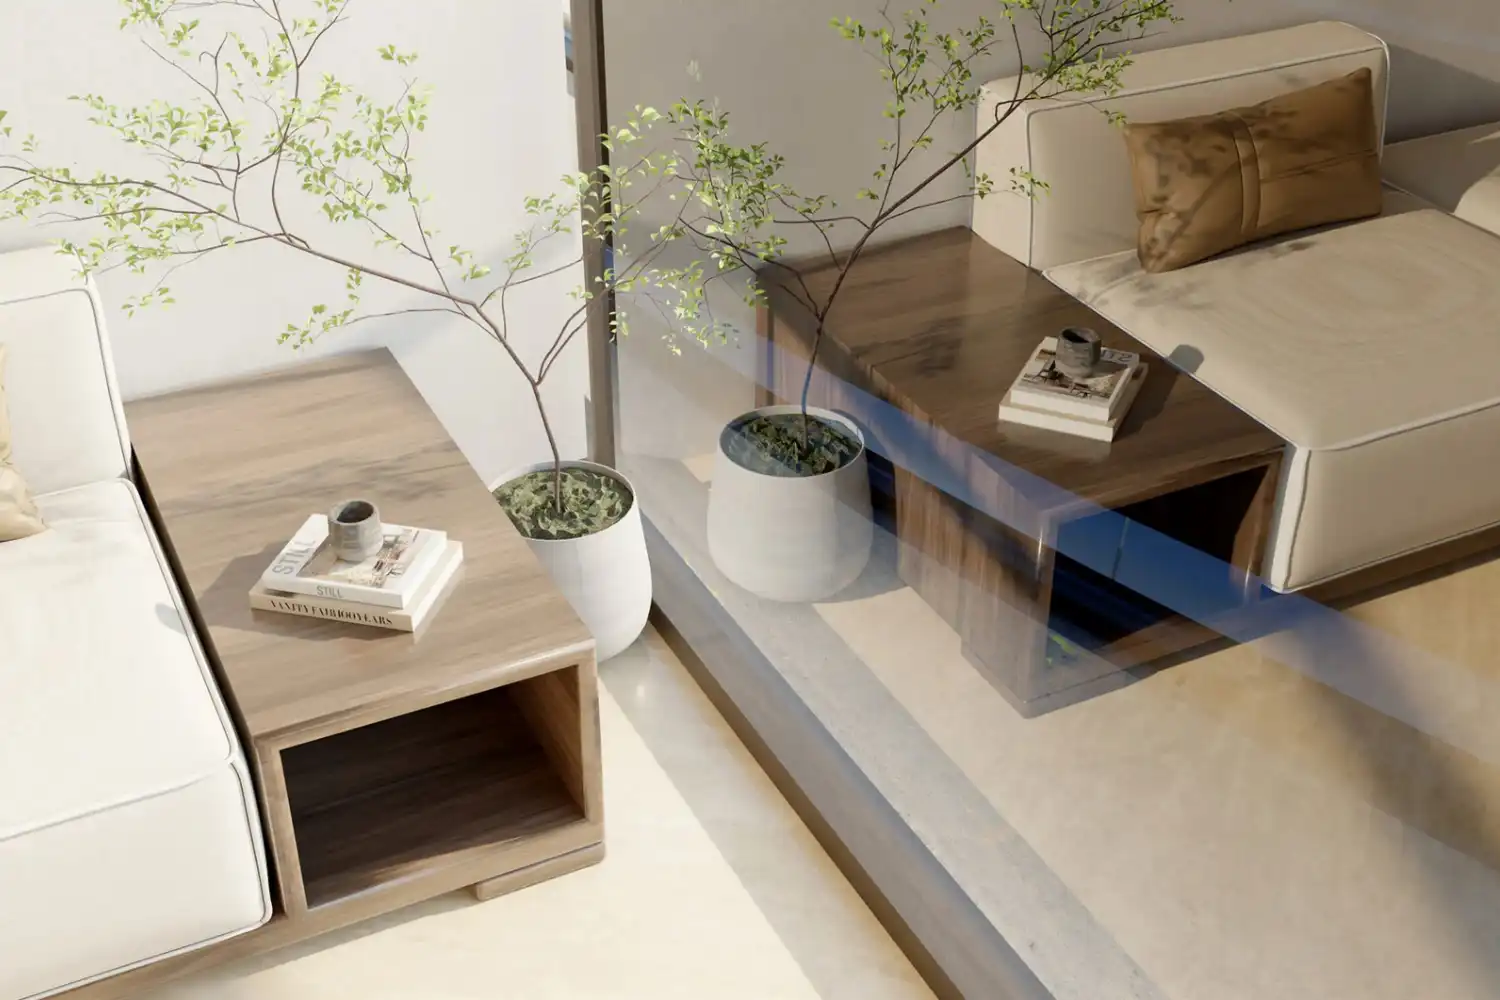
Tuning PBR Materials for Realistic Lumion Rendering
Even with perfect lighting, a scene falls apart if materials do not respond to light correctly. Lumion’s Material Editor uses a full PBR (Physically Based Rendering) pipeline with a Metalness/Roughness workflow. This is one of the most impactful areas to adjust in your best Lumion render settings.
The Roughness slider (0 to 200%) controls how sharp or diffused reflections appear on a surface. Polished marble floors sit at around 10 to 20%, while matte concrete walls land closer to 80 to 90%. Avoid setting any surface to absolute 0% or 200%. Real materials are never perfectly smooth or perfectly rough.
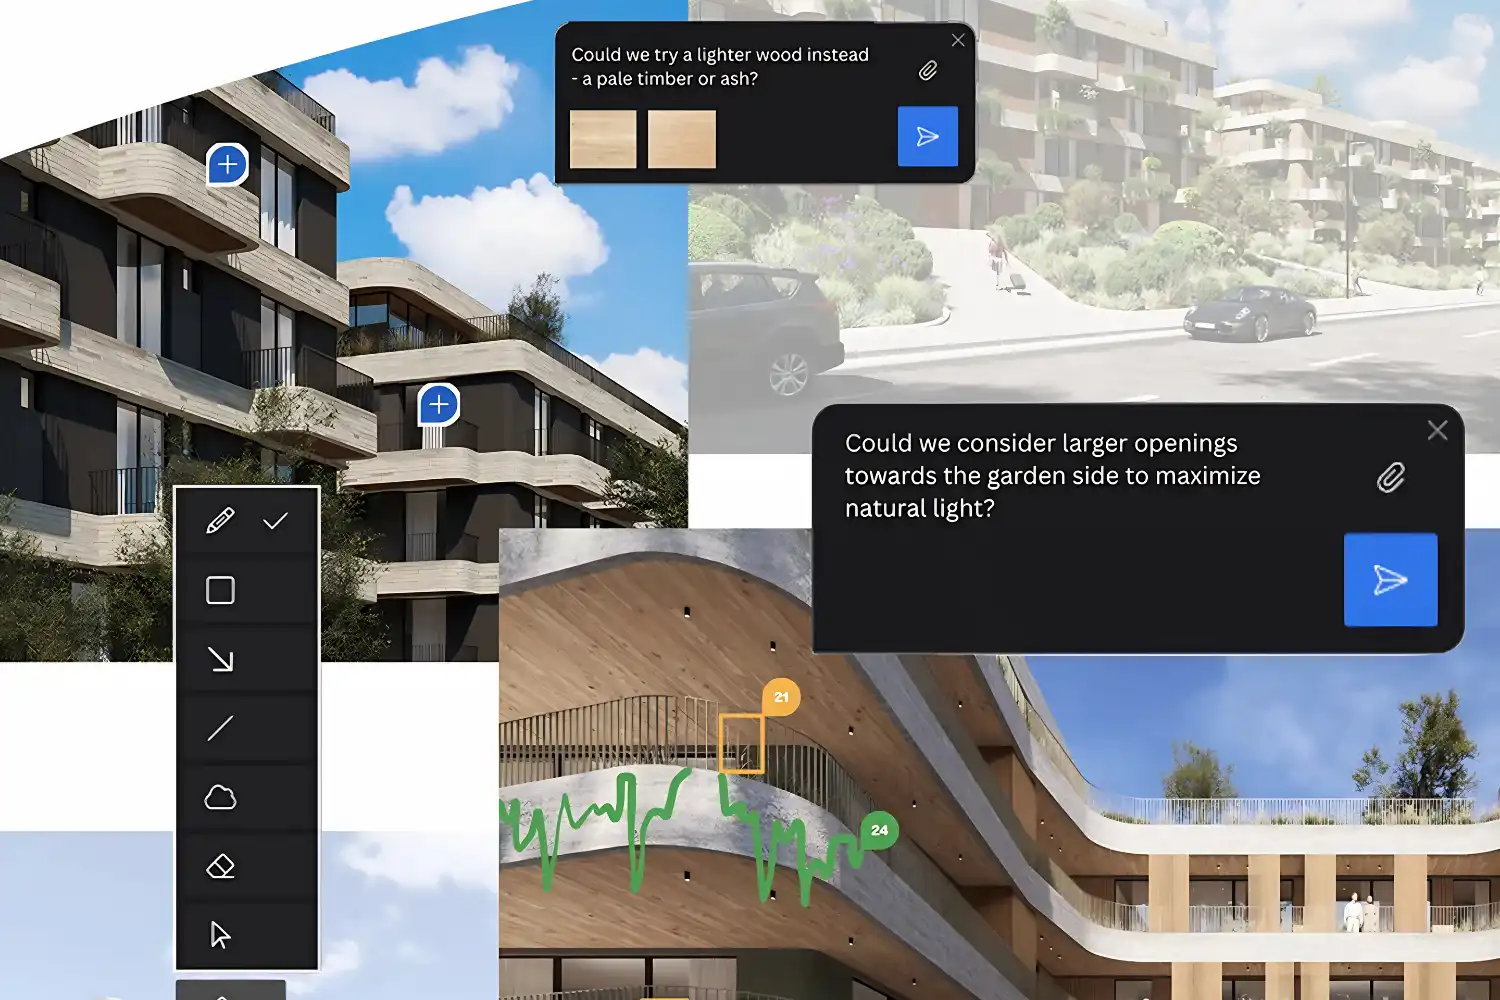
Lumion’s built-in material library includes hundreds of PBR-ready textures from Poliigon, covering wood, stone, metal, fabric, and more. For custom textures, you can import your own maps using the PBR workflow, assigning up to 8 maps per surface (Color, Normal, Roughness, Metalness, Displacement, AO, Emissive, and Opacity). The software’s broad file format support makes it easy to bring in models from Revit, SketchUp, or ArchiCAD with materials already assigned.
Pay attention to Map Scale. A brick texture applied at the wrong scale will immediately look artificial. Check real-world dimensions of the material you are representing and match the tiling accordingly. If a single brick is roughly 215 mm long, the texture repeat should reflect that proportion on the wall surface.
📐 Technical Note
Lumion uses the Metallic PBR workflow (not Specular). When importing custom texture sets from sites like Poliigon or Quixel, ensure you are downloading the Metalness/Roughness variant. Placing a Specular map in the Metalness slot will produce incorrect reflections, particularly on non-metal surfaces like wood and plaster.
Lumion Camera Settings and Composition
Camera placement and lens settings control how the viewer experiences a render. Lumion’s camera effects panel lets you adjust focal length, depth of field, and exposure, similar to controlling a physical DSLR.
For exterior architectural shots, a focal length between 24 mm and 35 mm captures the full facade while maintaining natural perspective. Going below 20 mm introduces noticeable barrel distortion that makes walls appear to curve outward. Interior shots benefit from a 28 mm to 50 mm range depending on room size.
Depth of Field adds a selective focus effect. Use it sparingly for architectural visualization work. A subtle blur on distant background elements can add photographic realism, but heavy bokeh on close foreground objects often looks more like product photography than architectural imagery.
The Two-Point Perspective effect corrects vertical line convergence, keeping building edges straight. This is the digital equivalent of using a tilt-shift lens in architectural photography. Enable it for any exterior shot where you want clean, professional verticals.
Color Correction and Post-Processing Effects
The Color Correction effect is where you fine-tune the final look of your image. Think of it as a built-in Lightroom panel. The main sliders include Temperature, Tint, Vibrance, Brightness, Contrast, and Saturation.
A common approach for photorealistic Lumion rendering is to slightly desaturate the scene. Real photographs rarely have the vivid, punchy colors that Lumion defaults tend to produce. Pulling Saturation down by 10 to 20% and adding a slight warm Temperature shift (toward yellow/orange) immediately makes a scene feel more grounded.
Avoid stacking too many post-processing effects. Chromatic Aberration, Lens Flare, and Bloom can add character, but overuse creates a cinematic look that moves away from the realism most architects need for client presentations. If you add Chromatic Aberration, keep it subtle. A value above 20% starts to look more like a defective lens than an intentional artistic choice.
💡 Pro Tip
Before adjusting color correction, look at a real photograph of a similar building type, location, and time of day. Match your Temperature and Tint to that reference image. This reference-based approach produces far more convincing results than dialing sliders by feel, especially for exterior daylight scenes.

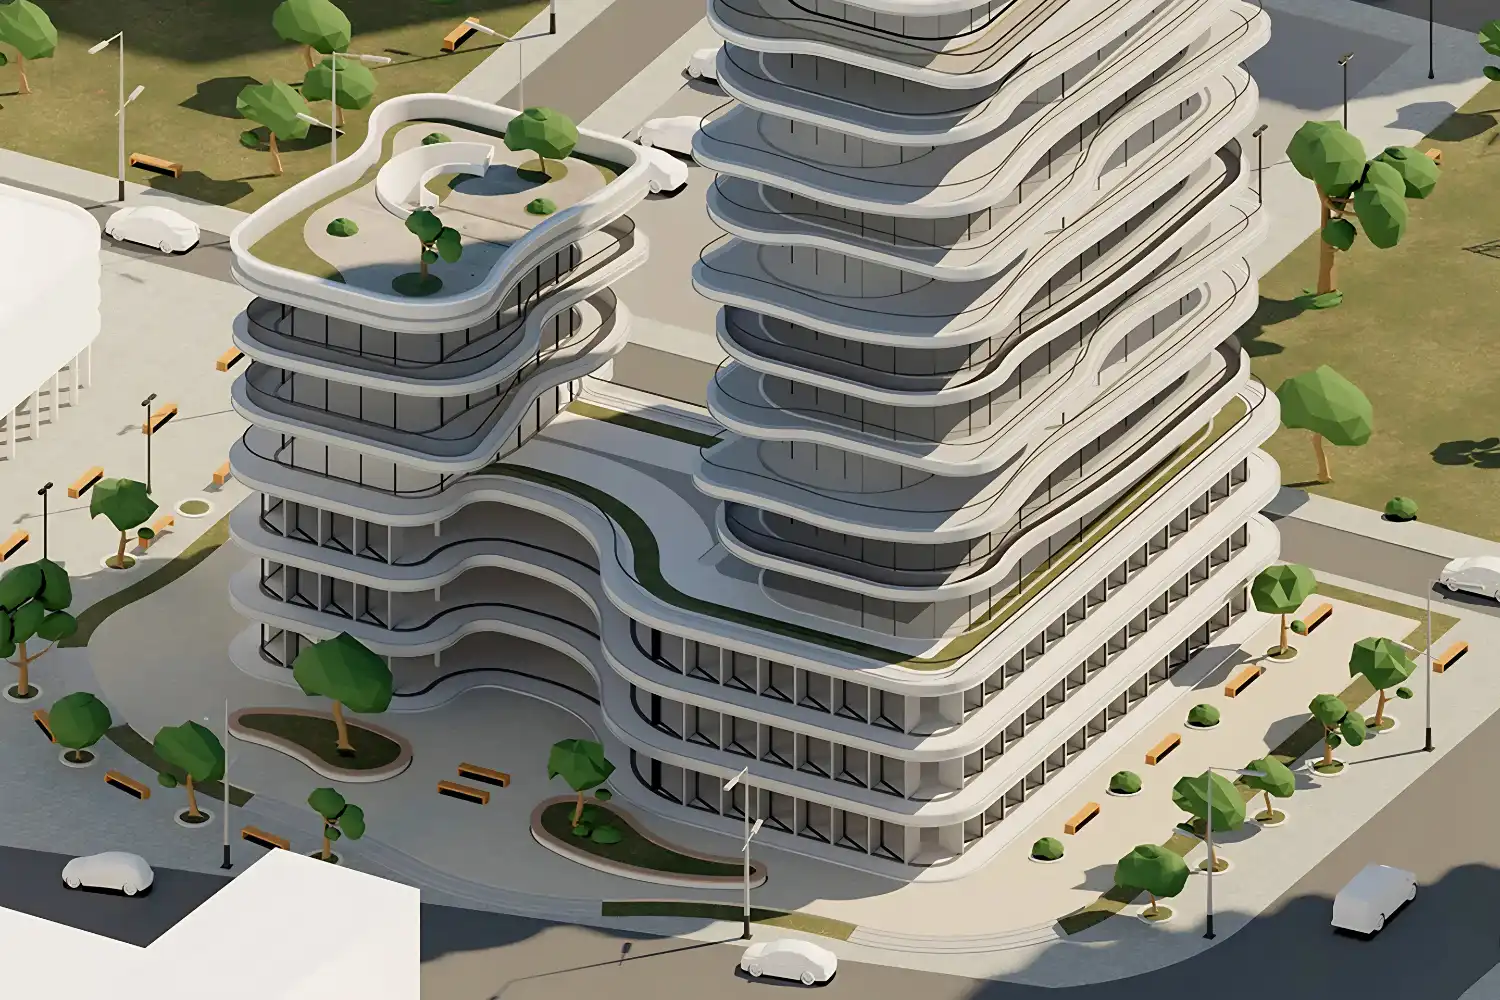
What Are the Best Lumion Settings for Exterior Renders?
The best Lumion settings for exterior renders combine Sun Studies for accurate sun position, Real Skies for natural cloud coverage, Ray Tracing enabled at 256+ samples, and moderate Color Correction with desaturation. Build your scene with foreground, middle ground, and background elements (vegetation, people, vehicles) to create depth.
Landscape context matters as much as the building itself. Use Lumion’s terrain tools and nature library to populate the scene with trees, grass, and ground cover that match the project’s geographic region. A Mediterranean courtyard rendered with Nordic pine trees will look wrong regardless of how good your lighting is.
For output resolution, 3840 x 2160 (4K) is now the standard for client presentations and portfolio images. For print boards (A3 or larger), render at 5K or higher. Lumion’s AI upscaling feature (available from version 2024 onward) can render at 1920 x 1080 and upscale to 4K with acceptable quality, cutting render times significantly.
Recommended Effect Stack for Exteriors
The following table summarizes a reliable starting-point effect stack for exterior architectural renders:
| Effect | Recommended Setting | Purpose |
|---|---|---|
| Ray Tracing | On, 256 samples | Accurate reflections, shadows, light bounce |
| Sun Studies | Match project location and time | Realistic sun angle and shadow direction |
| Real Skies | Select mood-appropriate HDRI | Natural sky dome with clouds and gradients |
| Color Correction | Saturation -10 to -20%, warm Temperature | Tones down oversaturation, adds warmth |
| Two-Point Perspective | On | Corrects vertical line convergence |
| Depth of Field | Subtle, background only | Adds photographic realism |
How to Optimize Lumion Performance Without Losing Quality
High-quality settings mean nothing if Lumion struggles to render them. Scene complexity, model polygon count, and the number of light sources all affect performance.
Start by checking your hardware against Lumion’s official requirements. A dedicated GPU with at least 8 GB VRAM (NVIDIA RTX 3060 or higher) handles most projects comfortably. For large-scale urban scenes or high sample counts, 12 GB VRAM or more is recommended.
If preview performance drops, use Lumion’s proxy mode to replace distant objects with wireframe boxes while you work. Toggle it off before final rendering. Hiding objects in Layers and using the Layer Visibility effect in Photo Mode lets you control what appears in each render without deleting anything from the project file.
For interior projects with both indoor and outdoor elements, consider splitting the project into separate files: one for interior renders and one for exterior. This reduces the active polygon count and memory load for each render session.
🎓 Expert Insight
“Amazing 3D worlds start with the real world. Having a detailed understanding of what you’re trying to model will allow you to capture the subtleties that are present in a physical environment.” — The Lumion Collective
This principle applies equally to settings. Studying real photographs of similar buildings under similar lighting conditions before opening the effects panel will always produce better results than adjusting sliders in isolation.

Building Your Own Custom FX Stack
Once you find Lumion render settings that work for a specific project type (say, residential exteriors at golden hour), save them as a custom .LME effects stack file. This file stores every effect and slider value from your current Photo Mode setup.
To apply the saved stack to a new project, load the .LME file and adjust only the scene-specific elements: sun position, camera angle, and any materials unique to the new model. This workflow saves significant time on multi-project studios where consistency matters.
Keep separate FX stacks for different conditions: one for daylight exterior, one for dusk/twilight, one for overcast, and one for interior with mixed lighting. Over time, these become your personal library of proven settings that produce reliable, high-quality output. If you are evaluating Lumion alongside AI visualization tools, our comparison covers how traditional renderers and AI-based platforms differ in output quality and workflow integration.
Final Thoughts
✅ Key Takeaways
- Enable Ray Tracing first and set samples to at least 256 for noise-free results.
- Use Sun Studies with real geographic coordinates to produce accurate exterior shadows.
- Keep artificial lighting conservative in interiors; aim for roughly 20 Lumens per square foot as a baseline.
- Tune PBR material Roughness to match real-world surfaces rather than leaving defaults.
- Desaturate slightly and use a real photograph as a color reference for natural-looking post-processing.
- Save your working settings as custom .LME effect stacks to maintain consistency across projects.
The difference between an average architectural render and a convincing one usually comes down to a handful of settings applied with intention. Ray tracing handles the physics of light. Proper materials give surfaces a tangible quality. And restrained color correction ties the scene together without making it look processed. Build your effects stack layer by layer, test against real-world references, and save what works. That approach will serve you better than any preset.
FAQ
What is the best render quality setting in Lumion?
For final presentations and portfolio images, use the High or Ultra quality preset at 4K resolution (3840 x 2160). Medium quality works for quick internal reviews. The main difference between High and Ultra is the ray tracing sample count, which affects noise levels and render time.
How do I make Lumion renders look less artificial?
Focus on three areas: reduce saturation by 10 to 20% in Color Correction, use Real Skies instead of procedural sky backgrounds, and ensure all PBR materials have accurate Roughness values. Artificial-looking renders almost always stem from oversaturated colors, fake-looking skies, or materials with default settings.
Does ray tracing work for exterior renders in Lumion?
Yes. Ray tracing improves both exterior and interior scenes. For exteriors, it produces accurate reflections on glass facades and water features, and it handles sun shadow falloff more naturally than the rasterization pipeline. Use 256 samples as a starting point for exteriors.
What GPU do I need for the best Lumion render settings?
Lumion requires a dedicated NVIDIA or AMD GPU. For comfortable performance with ray tracing enabled, an NVIDIA RTX 3060 with 8 GB VRAM is the minimum recommendation. Larger scenes and higher sample counts benefit from 12 GB VRAM or more, such as the RTX 4070 or RTX 4080.
Can I reuse Lumion render settings across different projects?
Yes. Save your effects stack as an .LME file from Photo Mode. Load it into any new project and adjust only scene-specific elements like sun position and camera angle. This is the fastest way to maintain consistent quality across multiple architectural visualization projects.


Leave a comment