

Table of Contents Show
Architectural photography is the practice of capturing buildings, interiors, and structural details in a way that communicates design intent, spatial quality, and material character. Strong project photos shape how clients, editors, and future collaborators perceive your work, making photography one of the most undervalued skills in an architect’s toolkit.
What Is Architectural Photography and Why Does It Matter?
Architectural photography sits at the intersection of technical precision and visual storytelling. Unlike general photography, it demands an understanding of spatial relationships, structural geometry, and how light interacts with built form. For architects, the photographs of a finished project often become the primary record of their work. A rendering may sell the concept, but a photograph confirms the reality.
The difference between a casual snapshot and a well-composed architecture photography image is often what separates a project that gains press coverage from one that goes unnoticed. Publications like ArchDaily and Dezeen receive thousands of project submissions each year, and image quality is a decisive filter in their editorial process. If you are building a professional architecture portfolio, the photographs you include will carry more weight than almost any other element.
📌 Did You Know?
The first permanent photograph ever made, Nicéphore Niépce’s “View from the Window at Le Gras” (1826 or 1827), was itself an architectural photograph. It captured the rooftops and courtyard visible from his estate in Burgundy, France, making architecture photography as old as the medium itself.
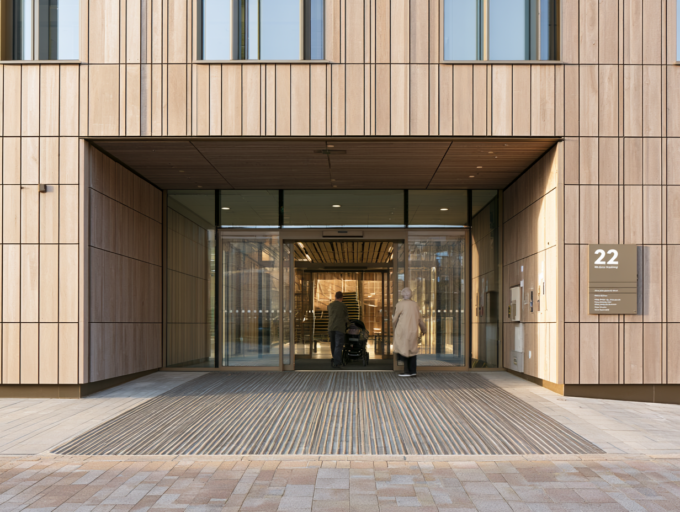
Best Architectural Photography Techniques for Exterior Shots
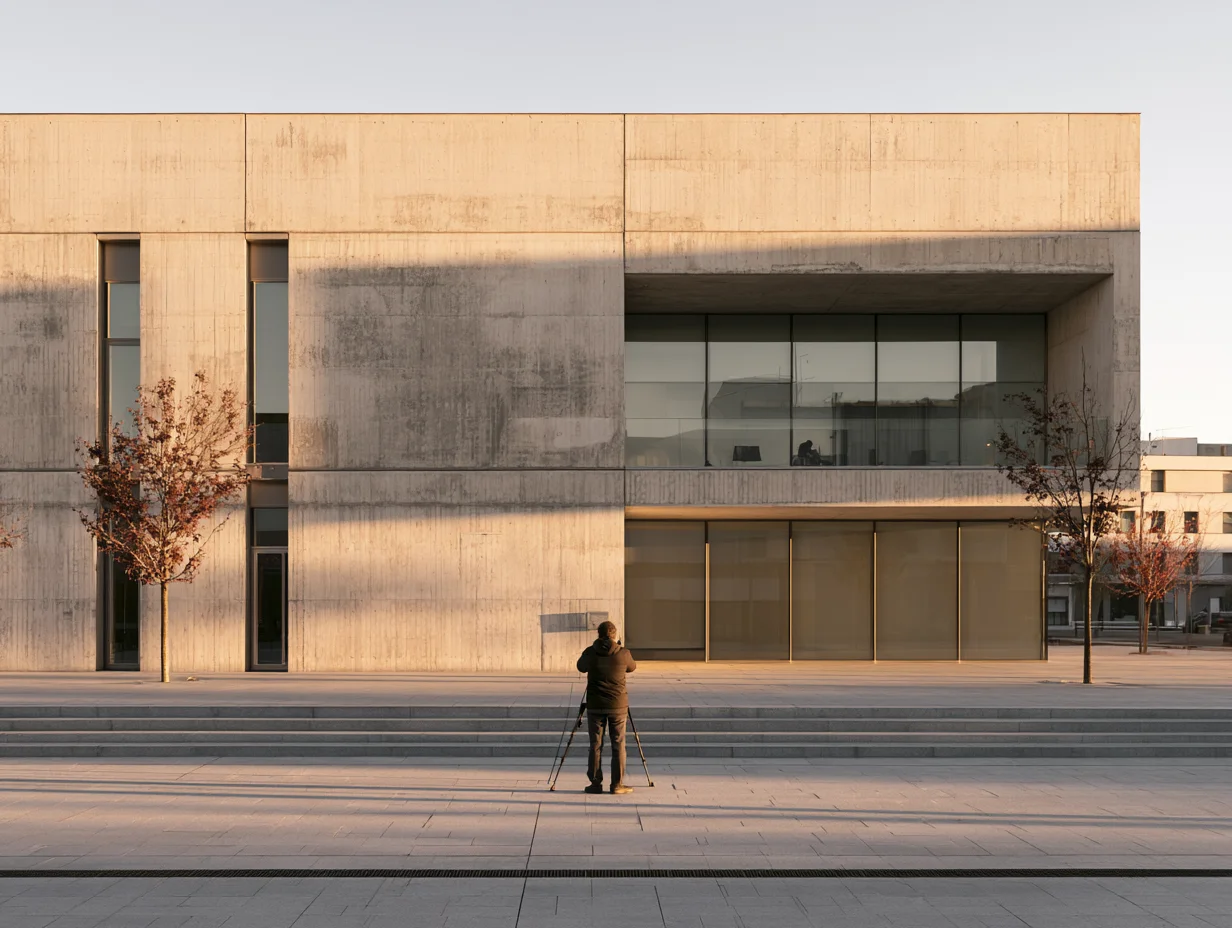
Exterior photography is where most architects start, and it is also where the biggest mistakes happen. The single most important variable is timing. Shooting at midday under harsh overhead sun flattens facades and kills shadow detail. Instead, plan your shoot for the golden hour, roughly the first hour after sunrise or the last hour before sunset, when low-angle light rakes across surfaces and reveals texture, depth, and material variation.
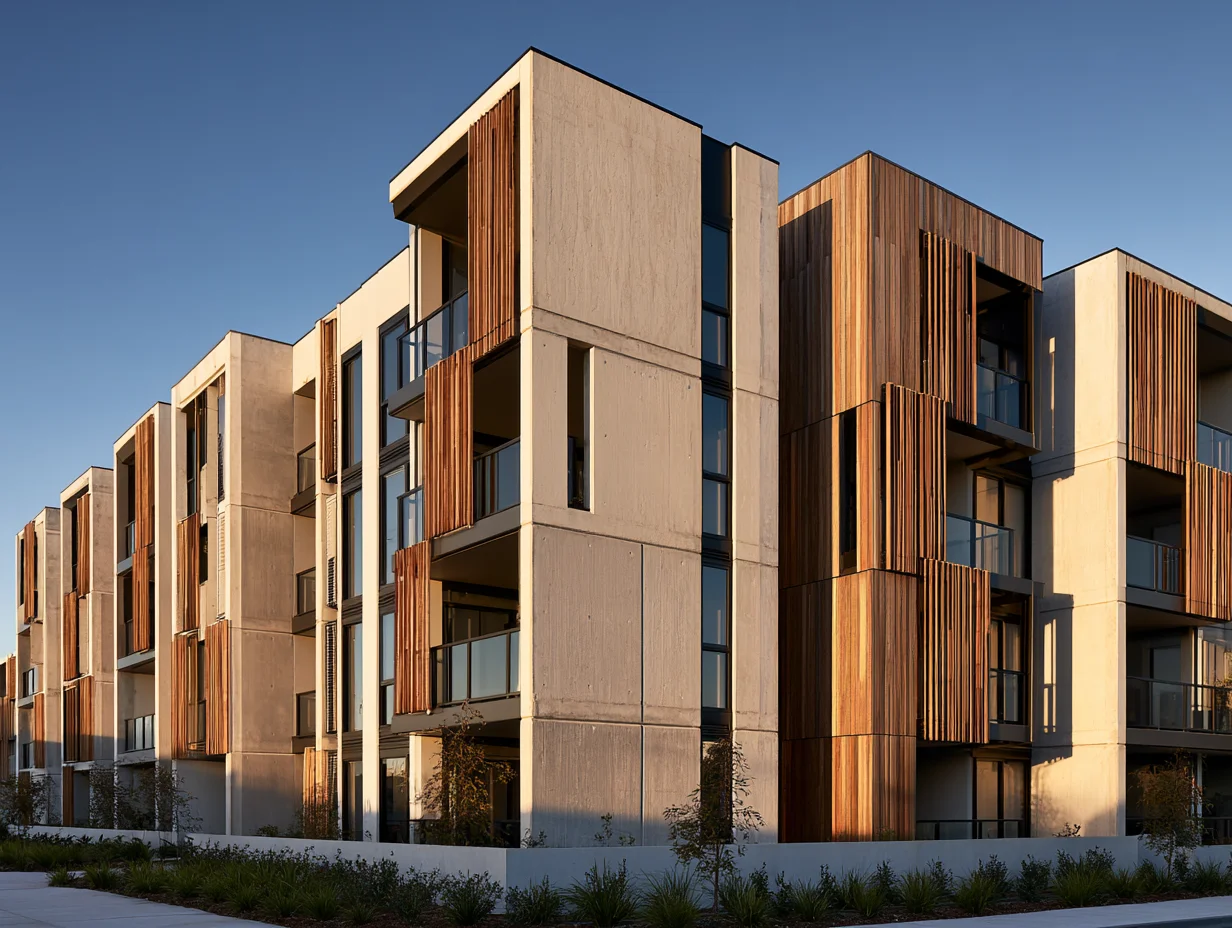
Beyond timing, your vantage point matters enormously. Walk around the building before you take a single frame. Look for angles where the primary facade reads clearly against the sky, where landscape elements frame the structure without cluttering it, and where the building’s massing can be understood in one glance. A three-quarter view, showing two faces of the building rather than one, almost always communicates volume better than a flat frontal shot.
Lens choice shapes how the viewer perceives scale. Wide-angle lenses (16-24mm on a full-frame sensor) capture more of the building and its context but introduce barrel distortion that can make vertical lines converge. A tilt-shift lens corrects this convergence optically, keeping verticals parallel and producing the clean, rectilinear look that distinguishes professional architectural photography from amateur snapshots.
💡 Pro Tip
Before a shoot, use an app like Sun Surveyor or PhotoPills to map the sun’s path relative to your building’s orientation. This lets you pinpoint the exact window when light hits the primary facade at the angle you want, which can be as narrow as 20-30 minutes on certain days. Arriving without this preparation often means returning for a second shoot.
Interior Architecture Photography: Lighting and Composition
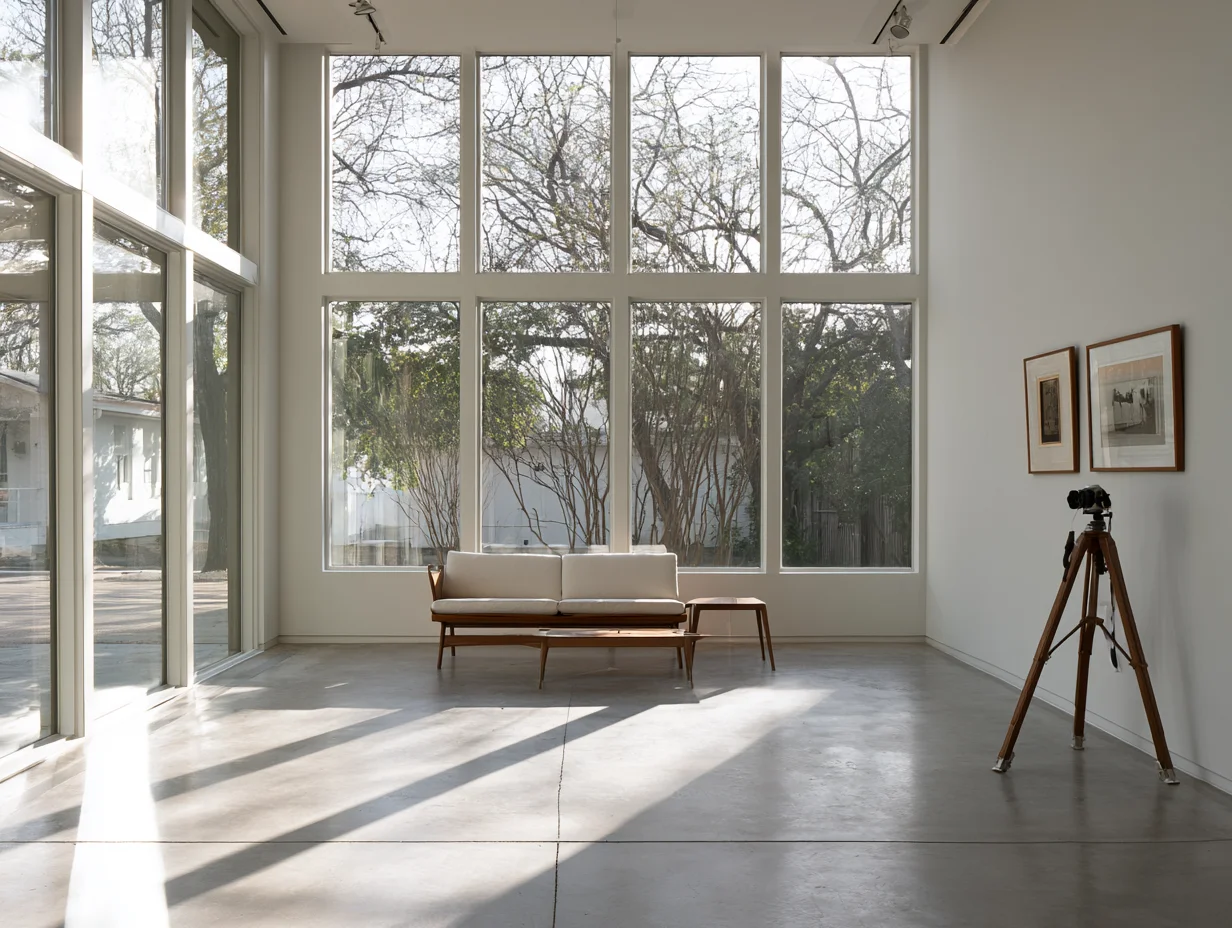
Interiors present a different challenge. You are working within enclosed space, dealing with mixed light sources (daylight through windows, artificial fixtures, reflected surfaces), and trying to convey a sense of volume that the camera naturally compresses. The key principle is: let daylight lead. Turn off overhead fluorescent lights, which cast a green or yellow tint, and rely on natural light entering through windows. Supplement with portable strobes or LED panels only where shadows go too deep.
Composition in interior architecture photography follows a few reliable patterns. Shoot from corners to show two walls and the floor plane simultaneously, giving the viewer a sense of depth. Keep the camera at waist height (approximately 1 meter) rather than eye height; this avoids the tilted-down perspective that makes floors dominate the frame. Use a tripod with a spirit level to ensure your horizontals are truly horizontal.
One often-overlooked detail: styling. Remove clutter, close toilet lids, straighten chair alignments, and check that window blinds sit at a consistent angle. These small adjustments take minutes but dramatically improve the perceived quality of the space in the final image. For additional approaches to capturing interiors, this guide on the art of architectural photography covers several useful techniques.
⚠️ Common Mistake to Avoid
Mixing daylight and tungsten or fluorescent lighting in the same frame without correcting white balance creates colour casts that are difficult to fix in post-processing. Either turn off artificial lights entirely and rely on window light, or gel your supplemental strobes to match the colour temperature of the ambient source. Trying to “fix it in Lightroom” after the fact rarely produces clean results.
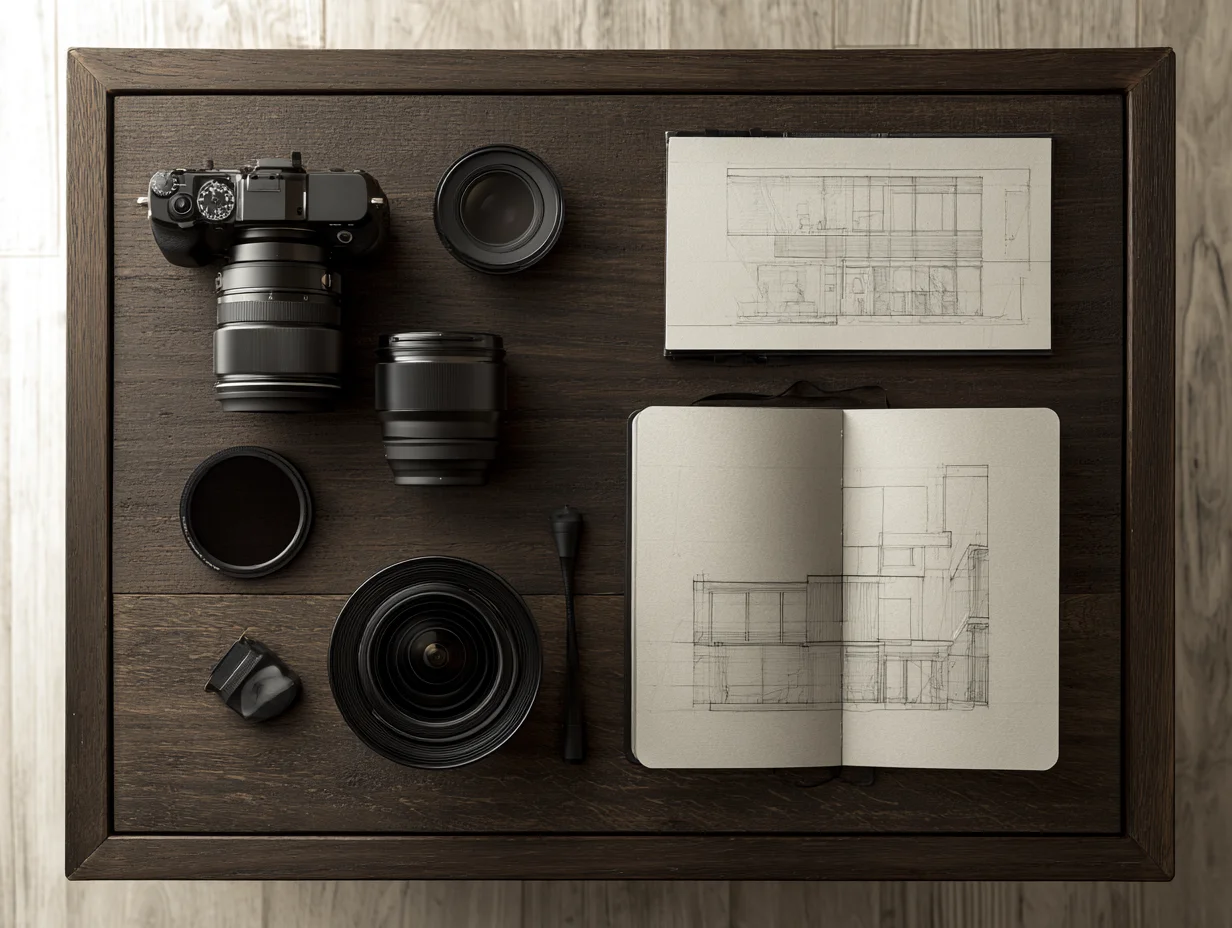
Choosing the Right Gear for Architecture Photography
You do not need the most expensive camera body to produce strong architectural images. What matters more is the lens and the support system. A full-frame camera (Canon EOS R5, Sony A7 IV, Nikon Z8, or similar) paired with a quality wide-angle prime lens will outperform any high-end body with a mediocre zoom.
Essential Equipment for Architectural Photography
| Equipment | Purpose | Recommended Options |
|---|---|---|
| Tilt-shift lens | Corrects vertical convergence on exteriors | Canon TS-E 24mm f/3.5L, Nikon PC-E 24mm |
| Wide-angle prime | Captures full rooms and facades | Sony 20mm f/1.8, Sigma 14mm f/1.8 Art |
| Sturdy tripod | Stability for long exposures and sharp detail | Manfrotto 190, Gitzo Traveler |
| Polarizing filter | Reduces glare on glass and water, deepens skies | B+W Kaesemann, Hoya HD CIR-PL |
| Remote shutter release | Eliminates camera shake during exposure | Wireless or cable release (camera-specific) |
If you are an architect photographing your own projects rather than a dedicated professional, start with a wide-angle prime and a tripod. These two items alone will produce a noticeable jump in image quality compared to handheld phone shots. A detailed breakdown of gear for capturing architectural builds offers further equipment guidance.
Composition Strategies That Strengthen Your Images

Good composition in architectural photography is about guiding the viewer’s eye through the frame with intention. Leading lines, created by corridors, roof edges, staircases, or shadow patterns, pull the eye toward a focal point. Symmetry works well for formal facades but can feel static; breaking symmetry with a single off-centre element (a person, a tree, a shadow) adds visual tension and keeps the image interesting.
Foreground, middle ground, and background layers create depth. A low planter in the foreground, the building entrance in the middle ground, and the sky or distant context in the background give the viewer a sense of being in the space rather than looking at a flat image. Negative space (large areas of sky or plain wall) can be equally powerful, isolating the building’s form and allowing it to breathe within the frame.
Consider human scale. Including a person in the frame, even as a small figure, instantly communicates the size of the building and makes the image feel lived-in. Many of the best architecture portfolios include at least a few images with human figures for precisely this reason.
Post-Processing Your Architectural Photographs
Raw files from architectural shoots need careful editing, but the goal is correction, not transformation. Start with lens profile correction in Adobe Lightroom or Capture One to remove barrel or pincushion distortion. Then straighten vertical and horizontal lines using the guided transform tool. Even small tilts of half a degree are visible in architectural images and make the photo look careless.
Adjust exposure to recover highlight detail in windows and lift shadow areas under overhangs. Pulling the highlights slider down and the shadows slider up flattens the tonal range, which is fine for interiors but can look unnatural on exteriors. For exterior shots, maintain some contrast between the sunlit and shaded sides of the building; this is what gives the facade its three-dimensional quality.
Colour grading should be minimal. Correct white balance so that white walls read as white, not blue or yellow. Remove colour casts from reflective glass. Avoid trendy film-emulation presets that shift skin tones and concrete colours into unnatural territory. The building should look like itself.
💡 Pro Tip
Export your final images at 72 dpi for web use and at 300 dpi for print portfolios, but always keep the full-resolution raw files archived. Publications occasionally request high-resolution versions months or years after the initial shoot, and re-editing from the raw file gives you far more flexibility than upscaling a compressed JPEG.
Video: The Definitive Architectural Photography Tutorial
This tutorial by Ben Harvey, a qualified architect and experienced architectural photographer, walks through gear selection, natural light management, and on-site shooting technique for both interiors and exteriors.
How to Photograph Your Own Projects as an Architect
If hiring a professional photographer is not in the budget, you can still produce strong images by following a few rules. First, visit the site at least twice before the shoot day: once to scout angles and once to confirm the sun position at your planned shooting time. Second, clean the space. Construction debris, stray cabling, and leftover packaging undermine even the best composition.
Shoot in raw format, not JPEG. Raw files preserve far more tonal and colour data, giving you room to correct exposure and white balance in post-processing. Bracket your exposures (take three shots at different exposure levels) so you can blend them later if the contrast range exceeds what a single frame can capture. This technique, called exposure blending or HDR, is standard practice in professional architectural photography.
Finally, think about what story you want each image to tell. A wide establishing shot communicates the building’s relationship to its site. A medium shot shows a specific design move, like a cantilevered volume or a material transition. A tight detail shot highlights craftsmanship, joinery, or texture. A complete set of project photos needs all three scales. If you are preparing images for a student portfolio, the same principles apply; you can find more guidance in this resource on architecture student portfolio projects.
For architects exploring how their photography feeds into broader visual communication, understanding the full architectural visualization workflow can help position photography within your overall project documentation strategy.
Where to Go From Here
Your Next Step: Pick one recently completed project and schedule a two-hour shoot during golden hour this week. Bring a tripod, shoot in raw, and aim for ten final images covering wide, medium, and detail scales. Compare the results to your previous project photos, and you will see exactly where your biggest gains are.
Frequently Asked Questions
What camera settings work best for architectural photography?
Use an aperture between f/8 and f/11 for maximum sharpness across the frame. Set your ISO as low as your camera allows (typically ISO 100). With a tripod, shutter speed becomes flexible; let it go as slow as needed for correct exposure. Shoot in manual mode and raw format to retain full control over the final image.
How is interior architecture photography different from exterior work?
Interior shots deal with limited and mixed light sources, tighter spaces that demand wider lenses, and the need to convey volume within an enclosed area. Exteriors rely more heavily on time-of-day planning and weather conditions. Interior work also involves more styling and scene preparation to remove clutter and control reflections.
Do I need a tilt-shift lens for photography architectural subjects?
A tilt-shift lens produces the cleanest results for correcting vertical convergence, but it is not strictly required. Software tools like Lightroom’s guided transform or Photoshop’s perspective warp can correct moderate convergence in post-processing. However, heavy software correction crops the image and can reduce sharpness at the edges, so optical correction remains the preferred approach for critical work.
What is the best time of day to photograph buildings?
Golden hour (the first and last hour of sunlight) provides warm, directional light that reveals texture and depth. Blue hour (roughly 20-30 minutes after sunset) works well for buildings with strong interior or exterior lighting, as the ambient sky light balances with the artificial glow. Overcast days produce soft, even light that suits detail-focused or interior-heavy shoots.
How many photos should I include in a project set?
For a portfolio or publication submission, 8 to 15 images per project is a typical range. Include a mix of wide establishing shots, medium compositional views, and tight detail images. Quality matters far more than quantity; ten strong images will always outperform thirty mediocre ones. The American Institute of Architects recommends similar ranges for award submissions.


Leave a comment