


Table of Contents Show
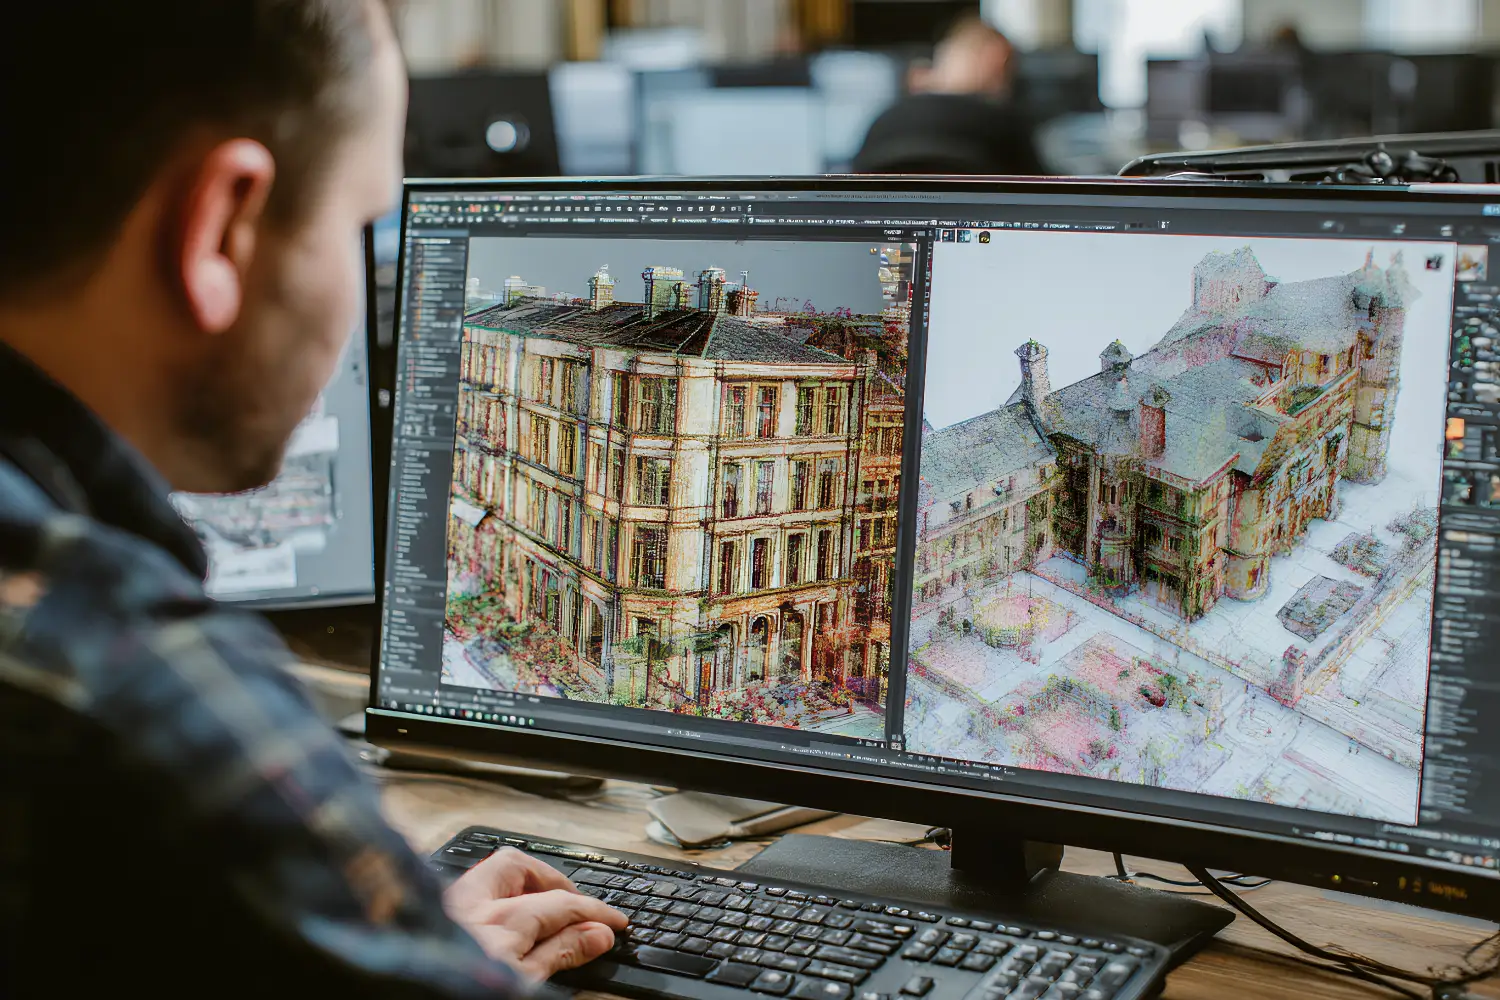
Point cloud to BIM is the process of converting laser scan data of an existing building into an accurate 3D model inside BIM software like Revit. For renovation and restoration work, this scan to BIM workflow captures real as-built conditions, replacing guesswork with measured geometry that supports precise design decisions.
Old buildings rarely match their original drawings. Walls bow, floors slope, and decades of alterations leave layers of change that no archive plan records. When you work on a renovation or a heritage restoration, you need to know what is actually there before you can design what comes next. A laser scan gives you that reality, and turning the resulting point cloud into a usable model is where the real value sits. This guide walks through the full process, the tools involved, and the practical decisions that separate a clean as-built model from a frustrating one.

What Is Point Cloud to BIM?
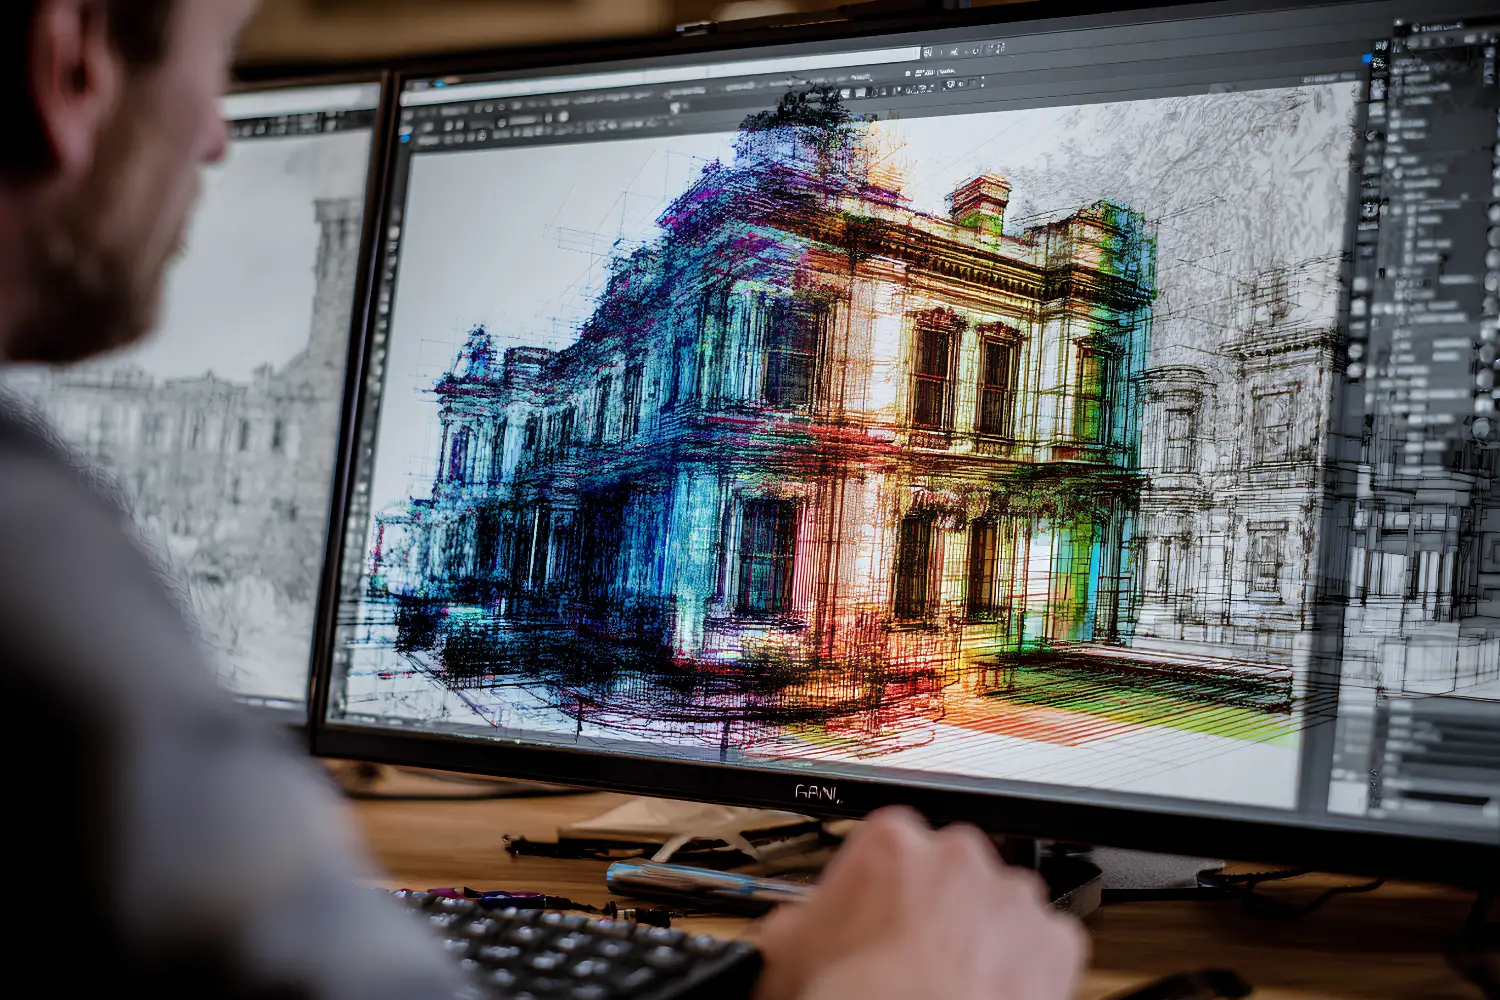
A point cloud is a dense collection of measured points, often hundreds of millions of them, each carrying an X, Y, and Z coordinate captured by a 3D laser scanner. On its own, a point cloud is just data. It looks like the building, but you cannot pull a section, schedule a window, or test a structural change from raw points. Point cloud to BIM is the work of interpreting that data and rebuilding it as intelligent objects: walls, floors, columns, doors, and roofs that carry information and behave like real building elements.
This conversion is sometimes called scan to BIM, and the two terms describe the same idea. You scan the physical space, register the scans into one coordinate system, then model over the cloud so the finished BIM reflects measured reality rather than assumption. For renovation teams, the result becomes the base model that every later design decision builds on.
Why Scan to BIM Matters for Renovation and Restoration
Renovation projects fail when the existing conditions are wrong. A duct routed through a beam that was never on the drawings, a floor that drops 80 millimeters across a room, a load-bearing wall mistaken for a partition: these surprises drive change orders and blow budgets. Point cloud BIM renovation work removes most of that risk because the model starts from measured as-built conditions, not from a faded 1960s blueprint.
For restoration of heritage and listed structures, the stakes are higher. You may need to document carved stone, vaulted ceilings, or a damaged facade with enough precision to guide repair or replication. A 3D scanning to BIM approach records that geometry permanently, which matters both for the current project and for any future conservation work. Many of the same benefits apply across adaptive reuse projects, where the existing shell is the starting point for a new function.
📌 Did You Know?
According to Historic England’s guidance publication 3D Laser Scanning for Heritage, terrestrial laser scanning has been used on heritage sites since the early 2000s, and the document is now in its third edition. The same data captured for a restoration can also feed long-term monitoring of structural movement over many years.

The Scan to BIM Workflow Step by Step
A reliable scan to BIM workflow follows a clear sequence. Skipping or rushing any stage usually shows up later as a model that does not line up. Here is how the process runs from site to finished BIM.
Step 1: Capture the Site with Laser Scanning
The project starts on site with a 3D laser scanner. Terrestrial scanners such as the Leica RTC360 capture up to two million points per second and record color imagery alongside the geometry. You set the scanner at multiple positions so that every surface is seen from at least two angles, which avoids shadow gaps behind columns, stairs, and furniture. For smaller spaces or quick surveys, handheld and phone-based options have become practical, and our overview of the mobile 3D scanning apps for architects covers where those tools fit.
Step 2: Register and Clean the Point Cloud
Each scan position produces its own cloud. Registration stitches them into a single coordinate system using overlapping points or targets placed around the site. Once registered, you clean the data by removing noise, moving objects caught mid-scan, and points that fall outside the building. A clean, well-registered cloud is the foundation of accurate point cloud architecture modeling, and time spent here saves hours during modeling.
💡 Pro Tip
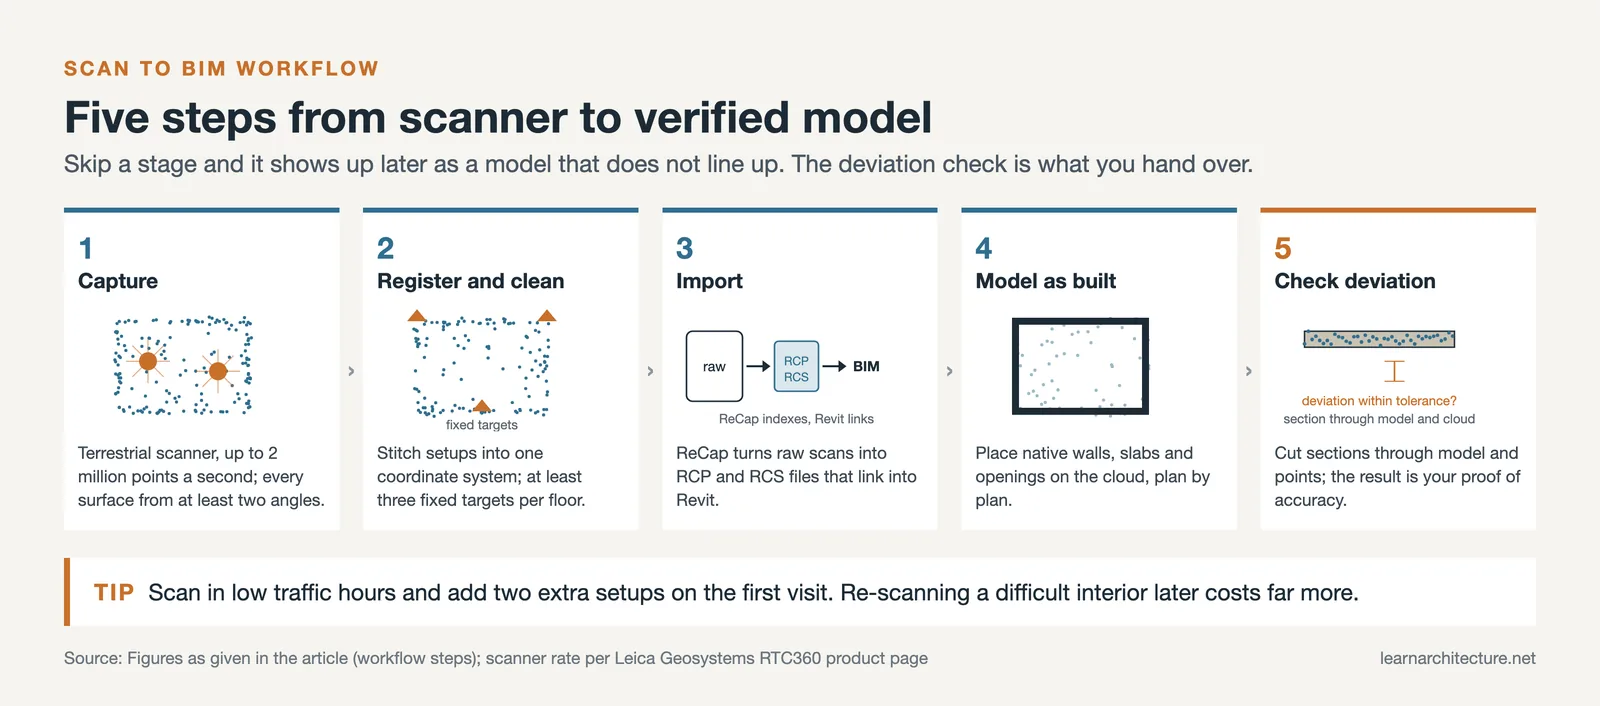
When planning scan positions on a renovation site, capture during low-traffic hours and place at least three control targets per floor that stay fixed for the whole survey. Registration drifts quickly when targets move or overlap is thin, and re-scanning a difficult interior after the fact is far more expensive than adding two extra setups on the first visit.

Step 3: Import the Point Cloud into Your BIM Software
With a clean cloud ready, you bring it into your modeling environment. Autodesk ReCap processes raw scan files into indexed formats such as RCP and RCS that link directly into Autodesk Revit. Other platforms accept similar formats, and if you are weighing your options, our comparison of Revit and ArchiCAD looks at how each handles BIM workflows. The imported cloud sits in the project as a reference layer you can trace, slice, and measure against.
Step 4: Model the As-Built Conditions
This is the core of point cloud BIM conversion. Working plan by plan and section by section, you place native BIM elements directly onto the cloud. Walls snap to scanned faces, floor levels match the measured slab, and openings sit where the scanner recorded them. For straight, regular structures, some software offers semi-automatic wall and surface detection. For irregular heritage geometry, manual modeling stays the more reliable route because algorithms struggle with curved, eroded, or non-orthogonal surfaces.
Step 5: Quality Check Against the Scan
Before the model goes anywhere, you verify it against the cloud. Cut sections through both the BIM elements and the points, and confirm the deviation stays within your agreed tolerance. This deviation check is your proof of accuracy and the document you hand over with the model. Catching a misaligned wall now is simple; catching it after the structural engineer has designed around it is not.
Comparison of Capture Methods for Scan to BIM
Different projects call for different capture hardware. The table below summarizes the main options and where each one earns its place.
| Method | Typical Accuracy | Best For | Trade-Off |
|---|---|---|---|
| Terrestrial laser scanner | 2 to 5 mm | Whole buildings, heritage detail | Higher cost, slower setup |
| Handheld SLAM scanner | 10 to 30 mm | Fast walkthroughs, large floor areas | Lower precision on fine detail |
| Phone or tablet LiDAR | 1 to 2 percent of distance | Single rooms, quick surveys | Limited range and coverage |
| Photogrammetry | Variable, lighting dependent | Facades, textured surfaces | Needs good light and many photos |
Choosing the Right Tools for Point Cloud to BIM
Your toolset spans three layers: the scanner that captures the site, the processing software that registers and cleans the cloud, and the BIM platform where modeling happens. On the capture side, vendors like Leica and Faro lead terrestrial scanning, while phone-based LiDAR has opened the door for smaller renovation jobs. Our guide to the best 3D laser scanning tools for architecture breaks down the hardware choices in more depth.
For laser scanning architecture data to reach a model, the processing and BIM tools have to talk to each other. ReCap and Revit form a common pairing because they share Autodesk file formats, but most BIM platforms now read industry point cloud formats. Once the model exists, coordinating it with structural and services teams matters as much as building it, and free or low-cost BIM collaboration platforms let smaller practices share the model without heavy licensing costs.

Level of Detail and Accuracy in Restoration Projects
Not every surface needs to be modeled to the millimeter. The skill in point cloud restoration projects is matching the modeling effort to what the project actually requires. A flat office partition can be a simple plane. A carved cornice may need high-density modeling or may be better left as referenced point cloud data rather than converted to geometry at all. Agreeing the required detail level with your client at the start prevents both over-modeling and gaps.
📐 Technical Note
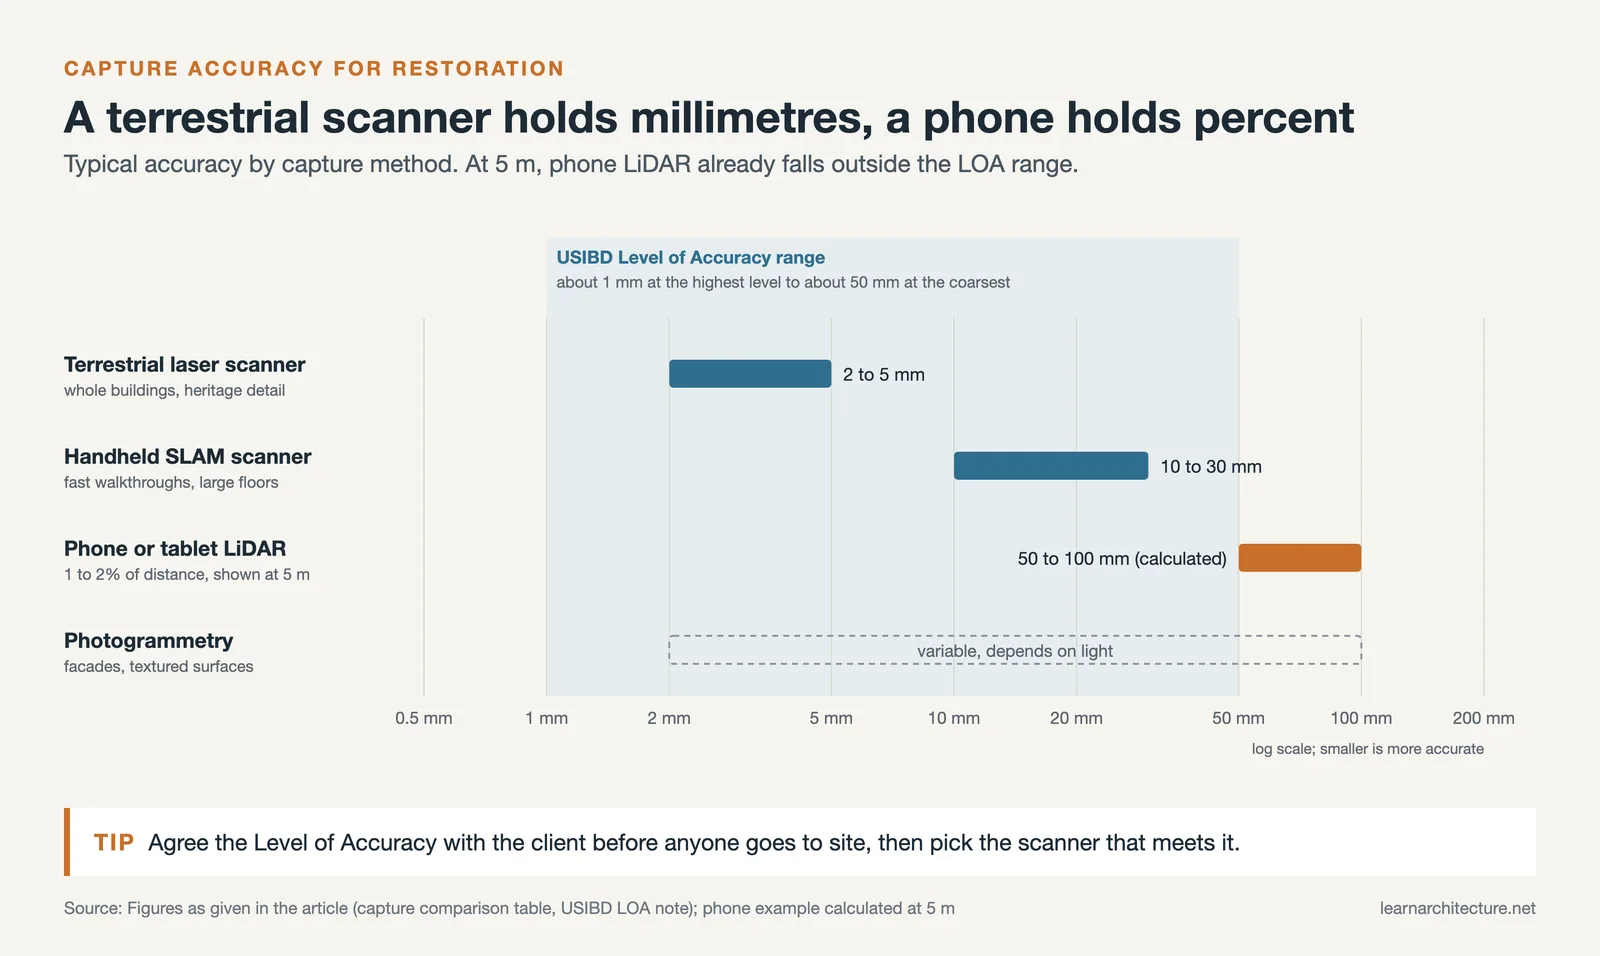
The US Institute of Building Documentation publishes a Level of Accuracy (LOA) specification that defines measured tolerances for as-built data, ranging from roughly 50 mm at the coarsest level down to about 1 mm at the highest. Pairing an LOA value with a BIM Level of Development figure in your scope gives both the survey team and the modeling team a shared, measurable target.
Documenting which elements were modeled and to what tolerance also protects you professionally. When the deliverable says a wall is accurate to 5 millimeters but a hidden cavity behind it was never scanned, a written scope keeps expectations clear for everyone on the project.
Common Challenges in Point Cloud BIM Conversion
Scan to BIM for renovation runs into recurring problems, and most of them trace back to either the capture stage or unrealistic expectations about automation. Knowing the failure points lets you plan around them.
⚠️ Common Mistake to Avoid
Many teams assume automatic feature recognition will turn a point cloud into a finished model with little human input. On regular new-build geometry it helps, but on renovation and heritage work, where walls lean and surfaces are uneven, automation produces messy results that take longer to fix than to model by hand. Treat auto-detection as a starting point, not a finished deliverable.
Occlusion is another frequent issue. Furniture, scaffolding, and people block surfaces during scanning and leave holes in the cloud. The fix is planning coverage carefully on site rather than hoping to patch gaps later. File size also grows fast, since a full-building scan can run into tens of gigabytes, so a capable workstation and an indexed format such as RCS keep the model responsive while you work.
Technical specifications and tolerances should be verified by a licensed surveyor or engineer for your specific project, as accuracy requirements vary by structure and jurisdiction.

Putting It All Together
A point cloud to BIM project rewards careful work at the start. Capture the site thoroughly, register and clean the data with discipline, and model only to the detail your project needs. Do that, and you hand the design team a base model they can trust instead of one they constantly have to second-guess.
✅ Key Takeaways
- Point cloud to BIM converts laser scan data into an intelligent model of an existing building.
- The workflow runs in order: capture, register and clean, import, model, and verify against the scan.
- Renovation and restoration projects benefit most because they start from measured reality, not outdated drawings.
- Match modeling detail to project needs using a defined accuracy level and BIM Level of Development.
- Plan scan coverage carefully on site, since gaps and registration errors are costly to fix later.
Frequently Asked Questions
How long does a point cloud to BIM project take?
Timing depends on building size and required detail. Scanning a mid-size building often takes one to two days on site, while modeling can run from a few days to several weeks. Heritage restoration with fine ornamentation sits at the longer end because much of the geometry must be modeled by hand.
What software do I need for scan to BIM?
You need a point cloud processing tool such as Autodesk ReCap to register and clean scans, plus a BIM platform like Revit or ArchiCAD to model the elements. Many scanner manufacturers also supply their own registration software that exports to standard point cloud formats.
Can I use a phone to capture a point cloud for BIM?
Phones and tablets with LiDAR can capture usable point clouds for single rooms and small surveys, with accuracy around 1 to 2 percent of the measured distance. For whole-building documentation or heritage work that needs millimeter precision, a terrestrial laser scanner remains the dependable choice.
How accurate is point cloud to BIM for restoration?
A model built from a terrestrial scan can hold geometric accuracy in the range of a few millimeters, depending on scanner quality, registration, and how carefully the elements are modeled. The deviation check against the cloud is what confirms the final accuracy you can report.














Leave a comment